Discover Awaruku Bush Reserve
Awaruku Bush Reserve is a charming three-hectare forest reserve located in Torbay on the North Shore of Auckland. This suburban reserve is a hidden gem, featuring a 600-year-old kahikatea tree and several mature pūriri trees. Part of he reserve sits in an old quarry, where you can find glowworms at night. The main entrance is on Awaruku Road, accessible via East Coast Road and Fitzwilliam Drive. Be sure to check your map carefully, as the reserve is nestled in a suburban area and can be easy to miss.
Explore the Forest and Historic Quarry
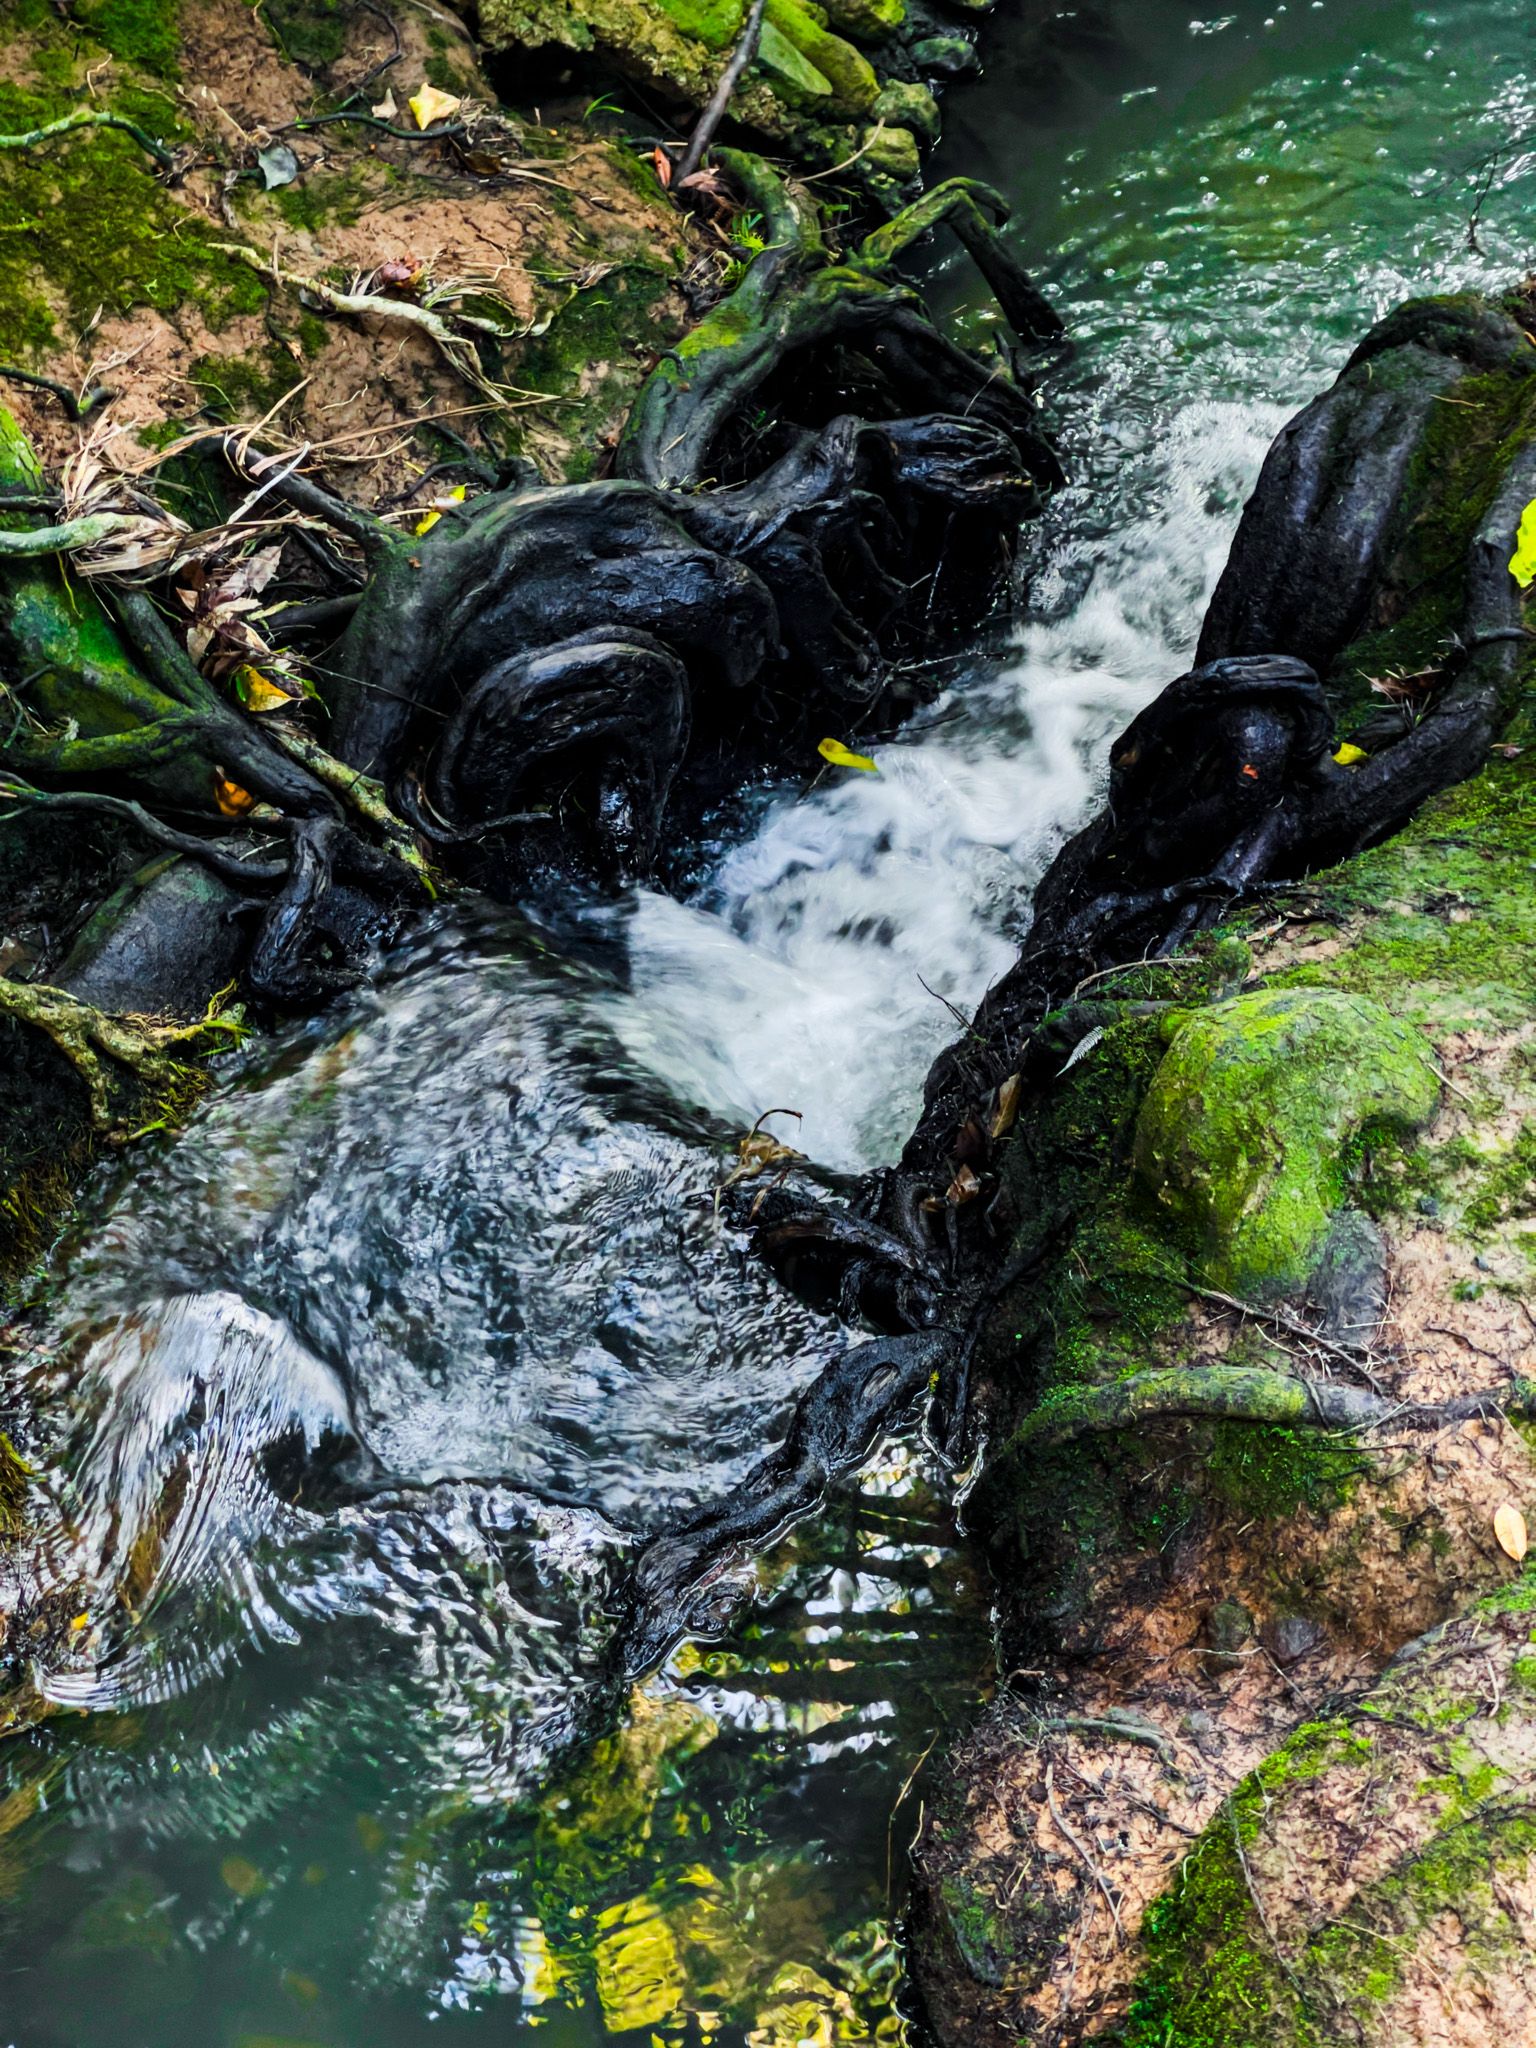
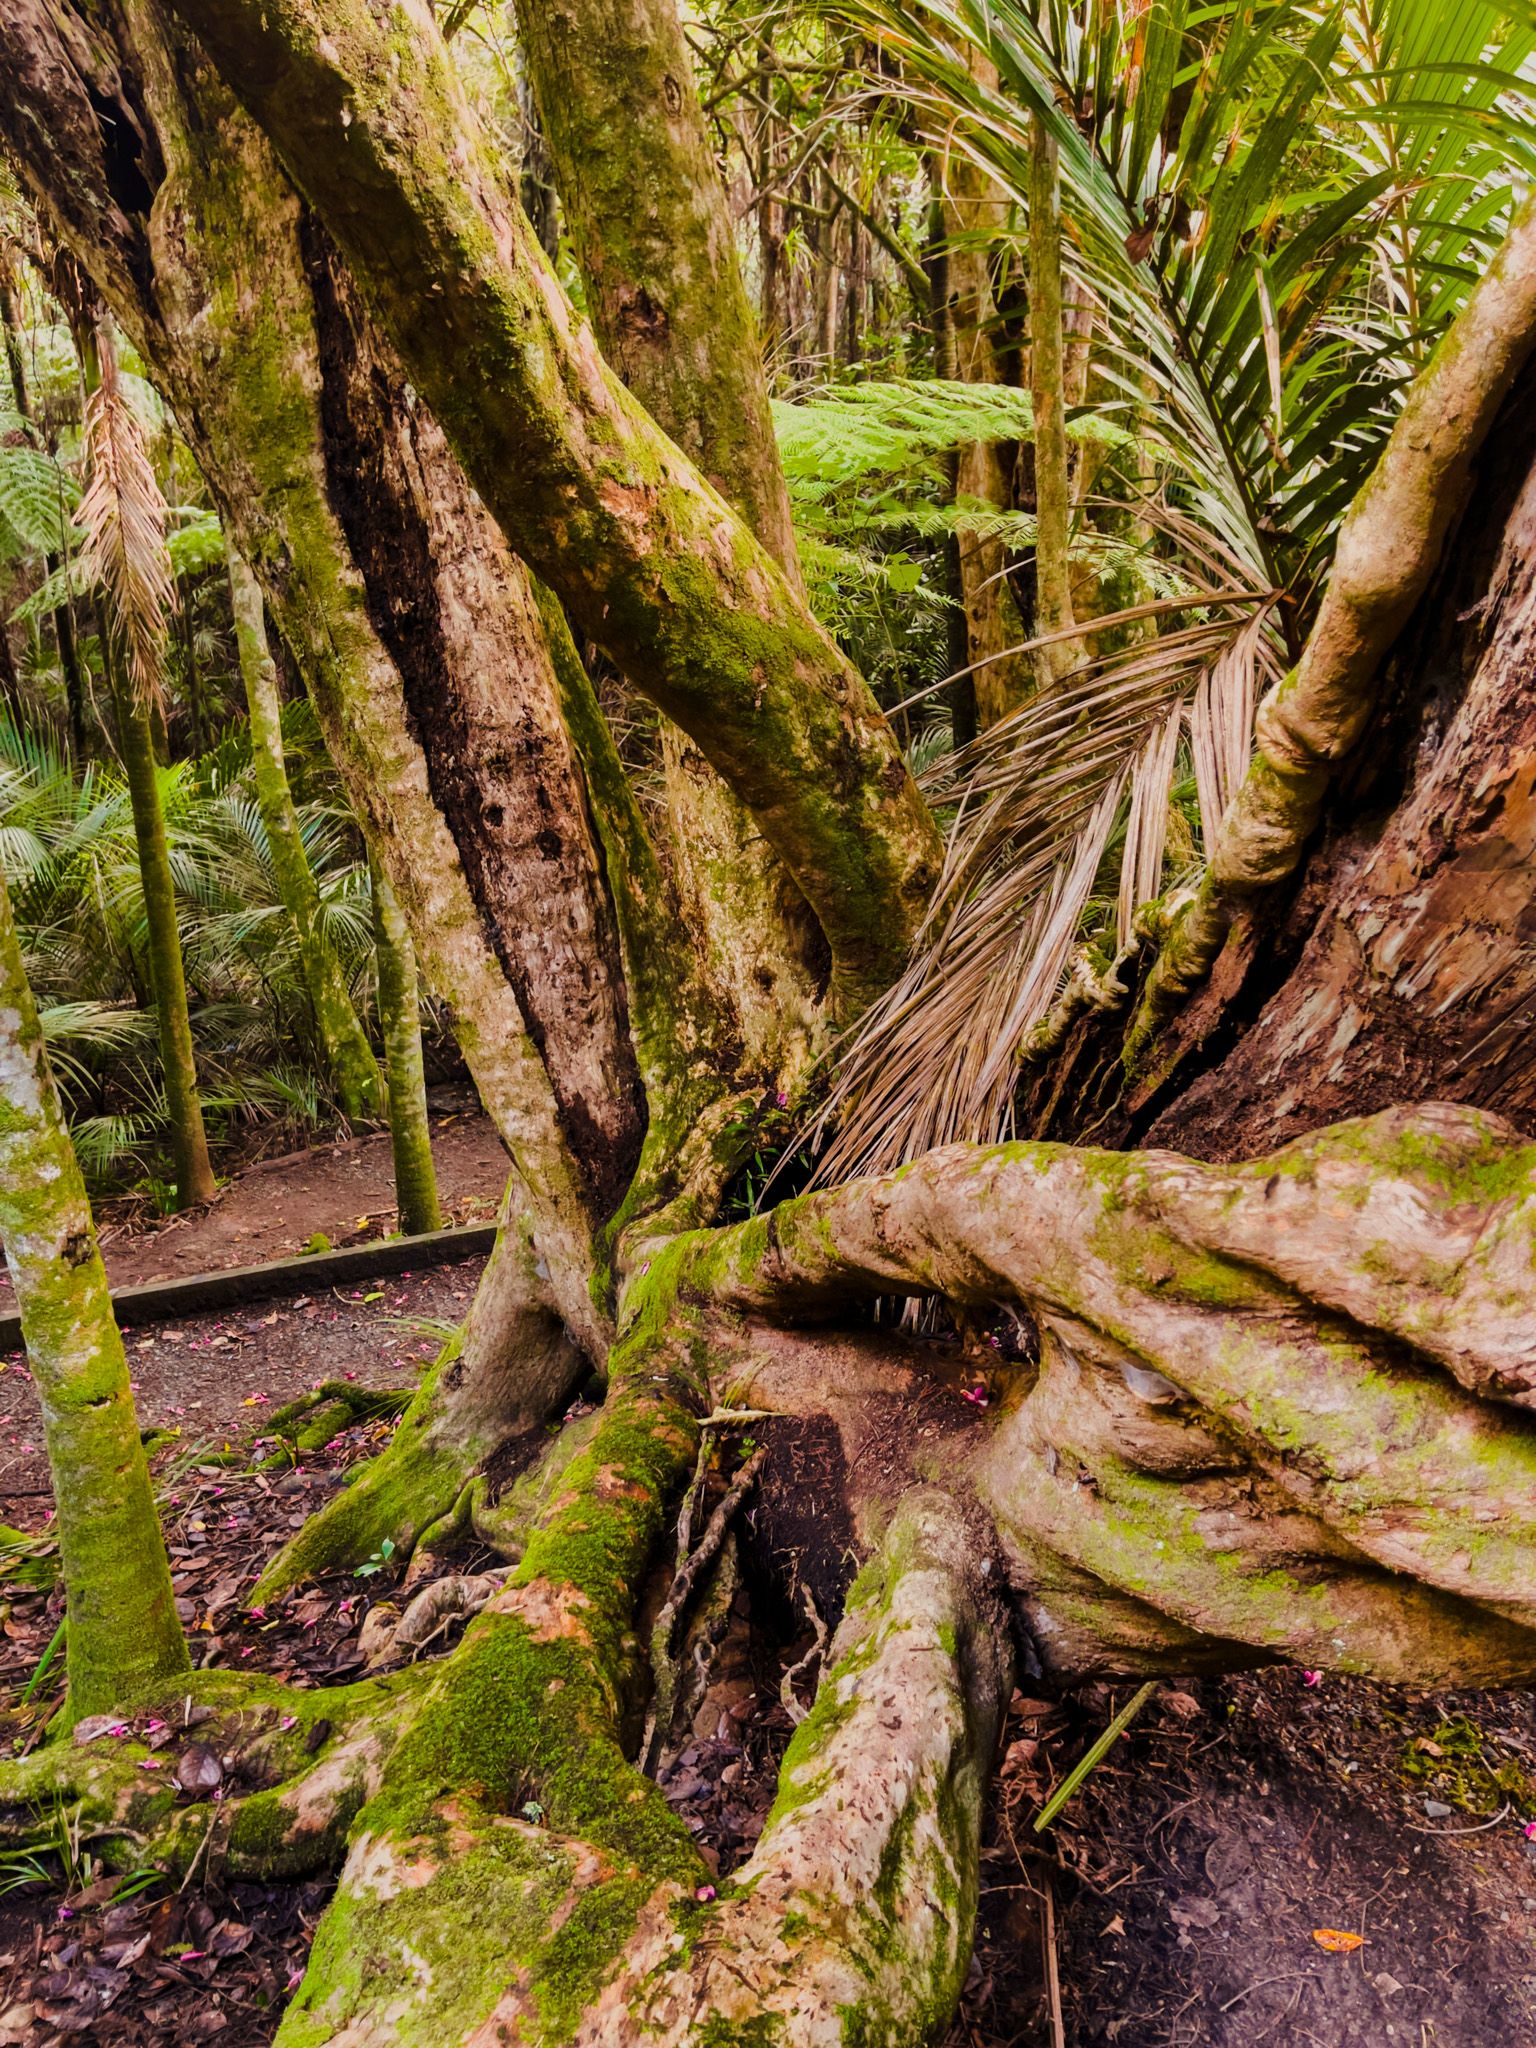
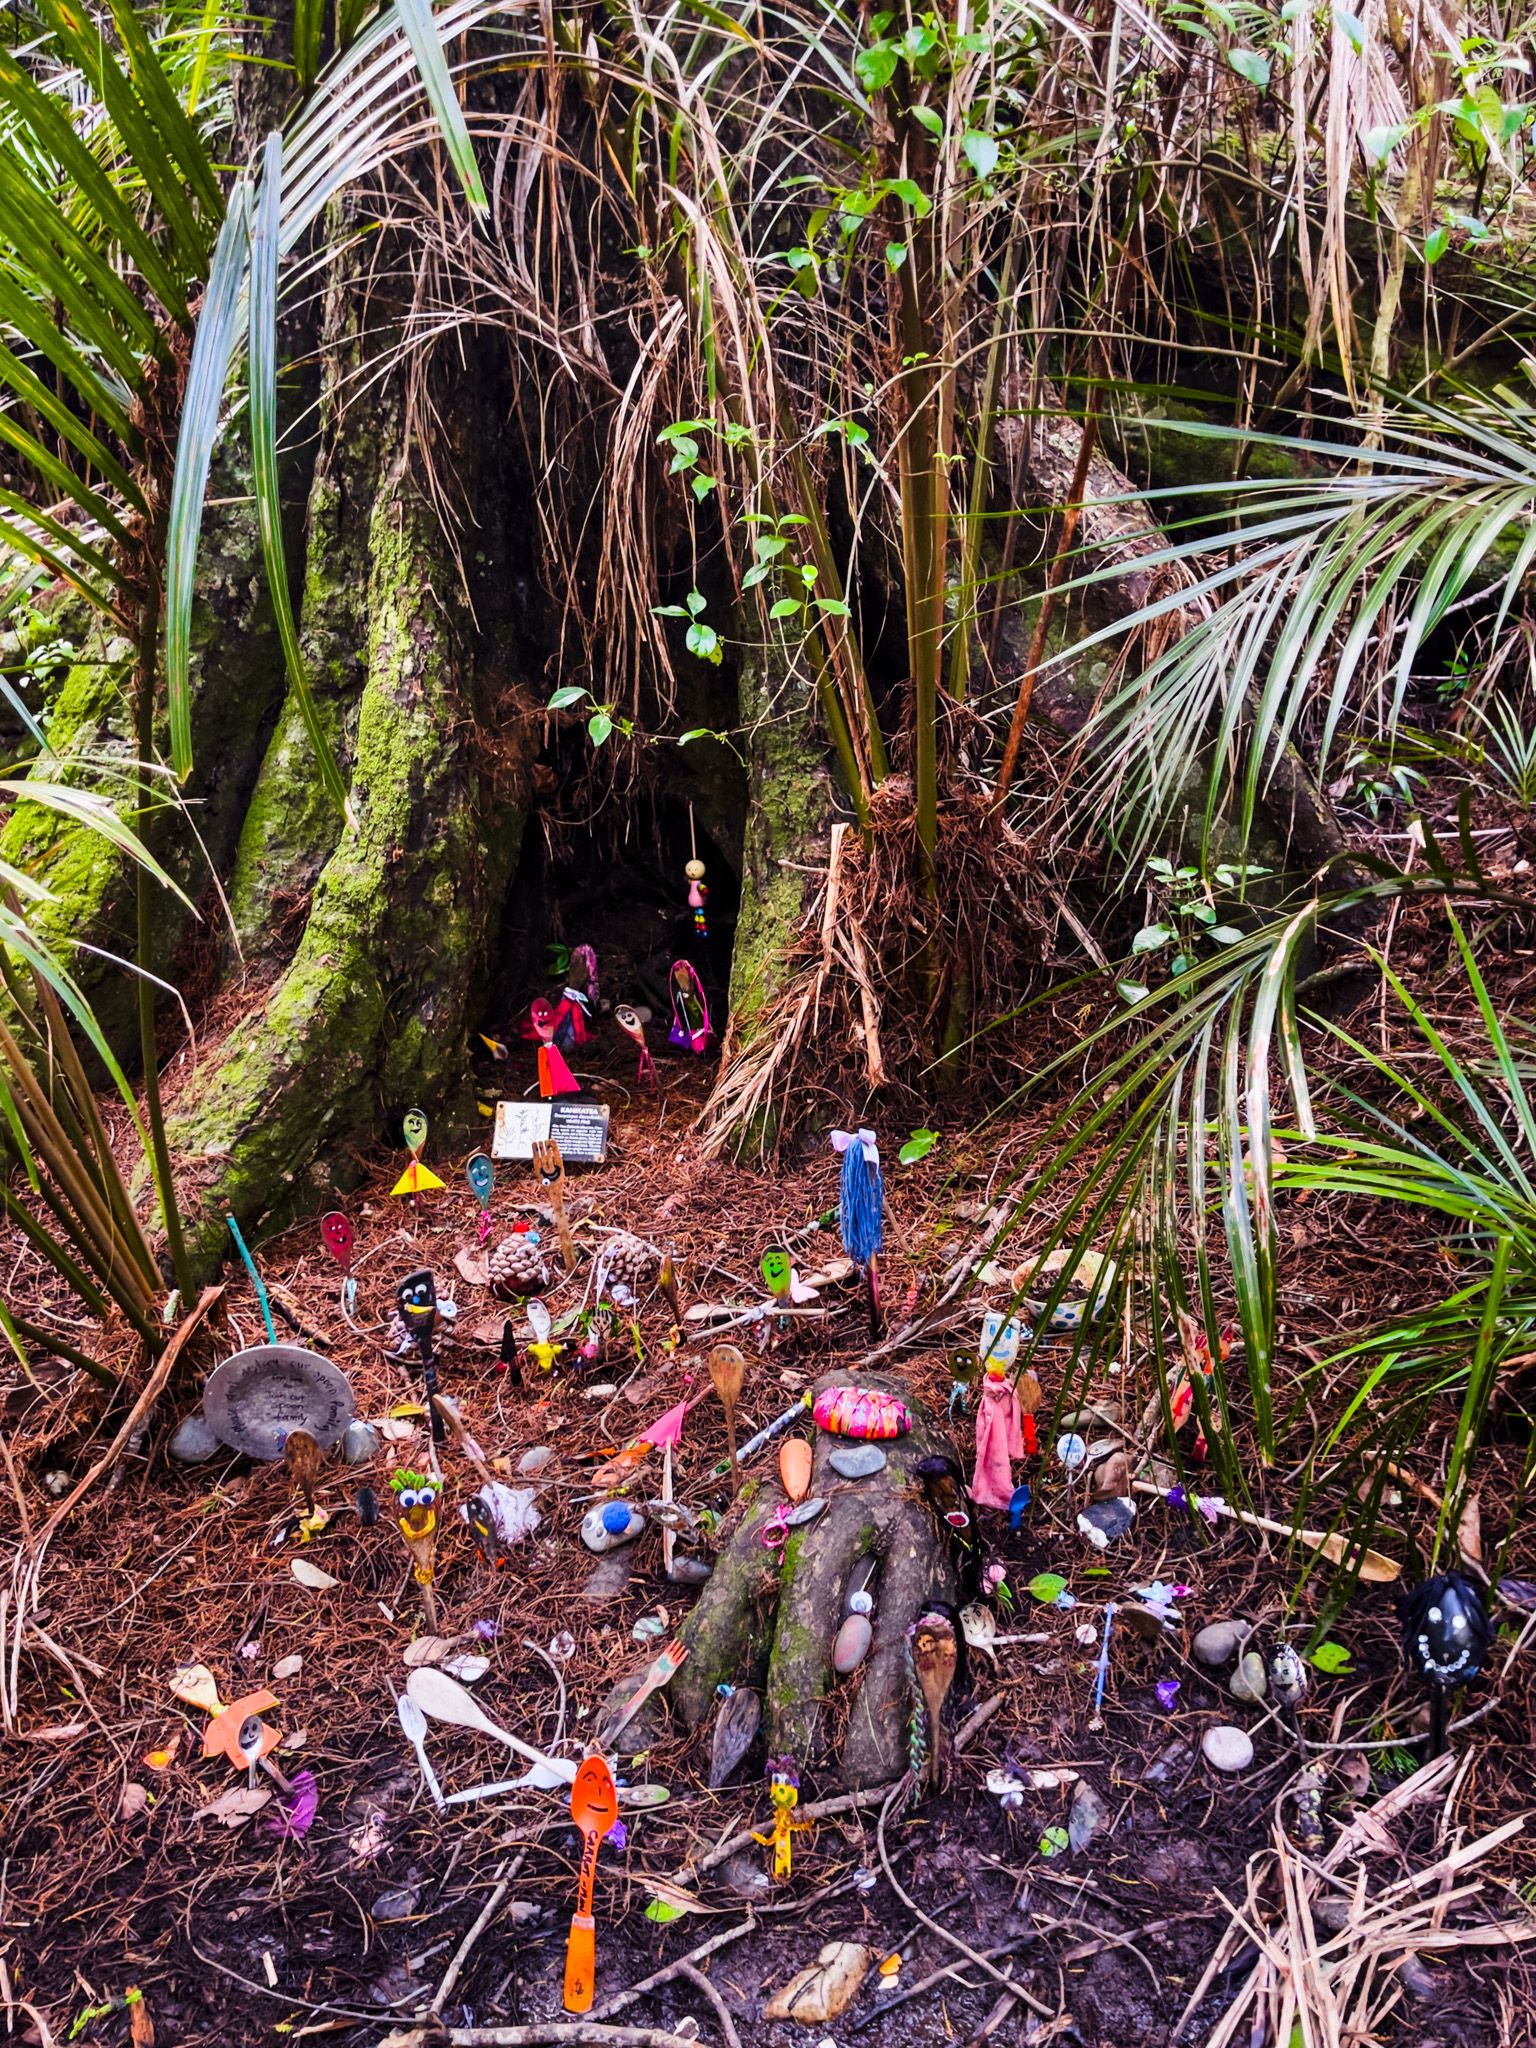
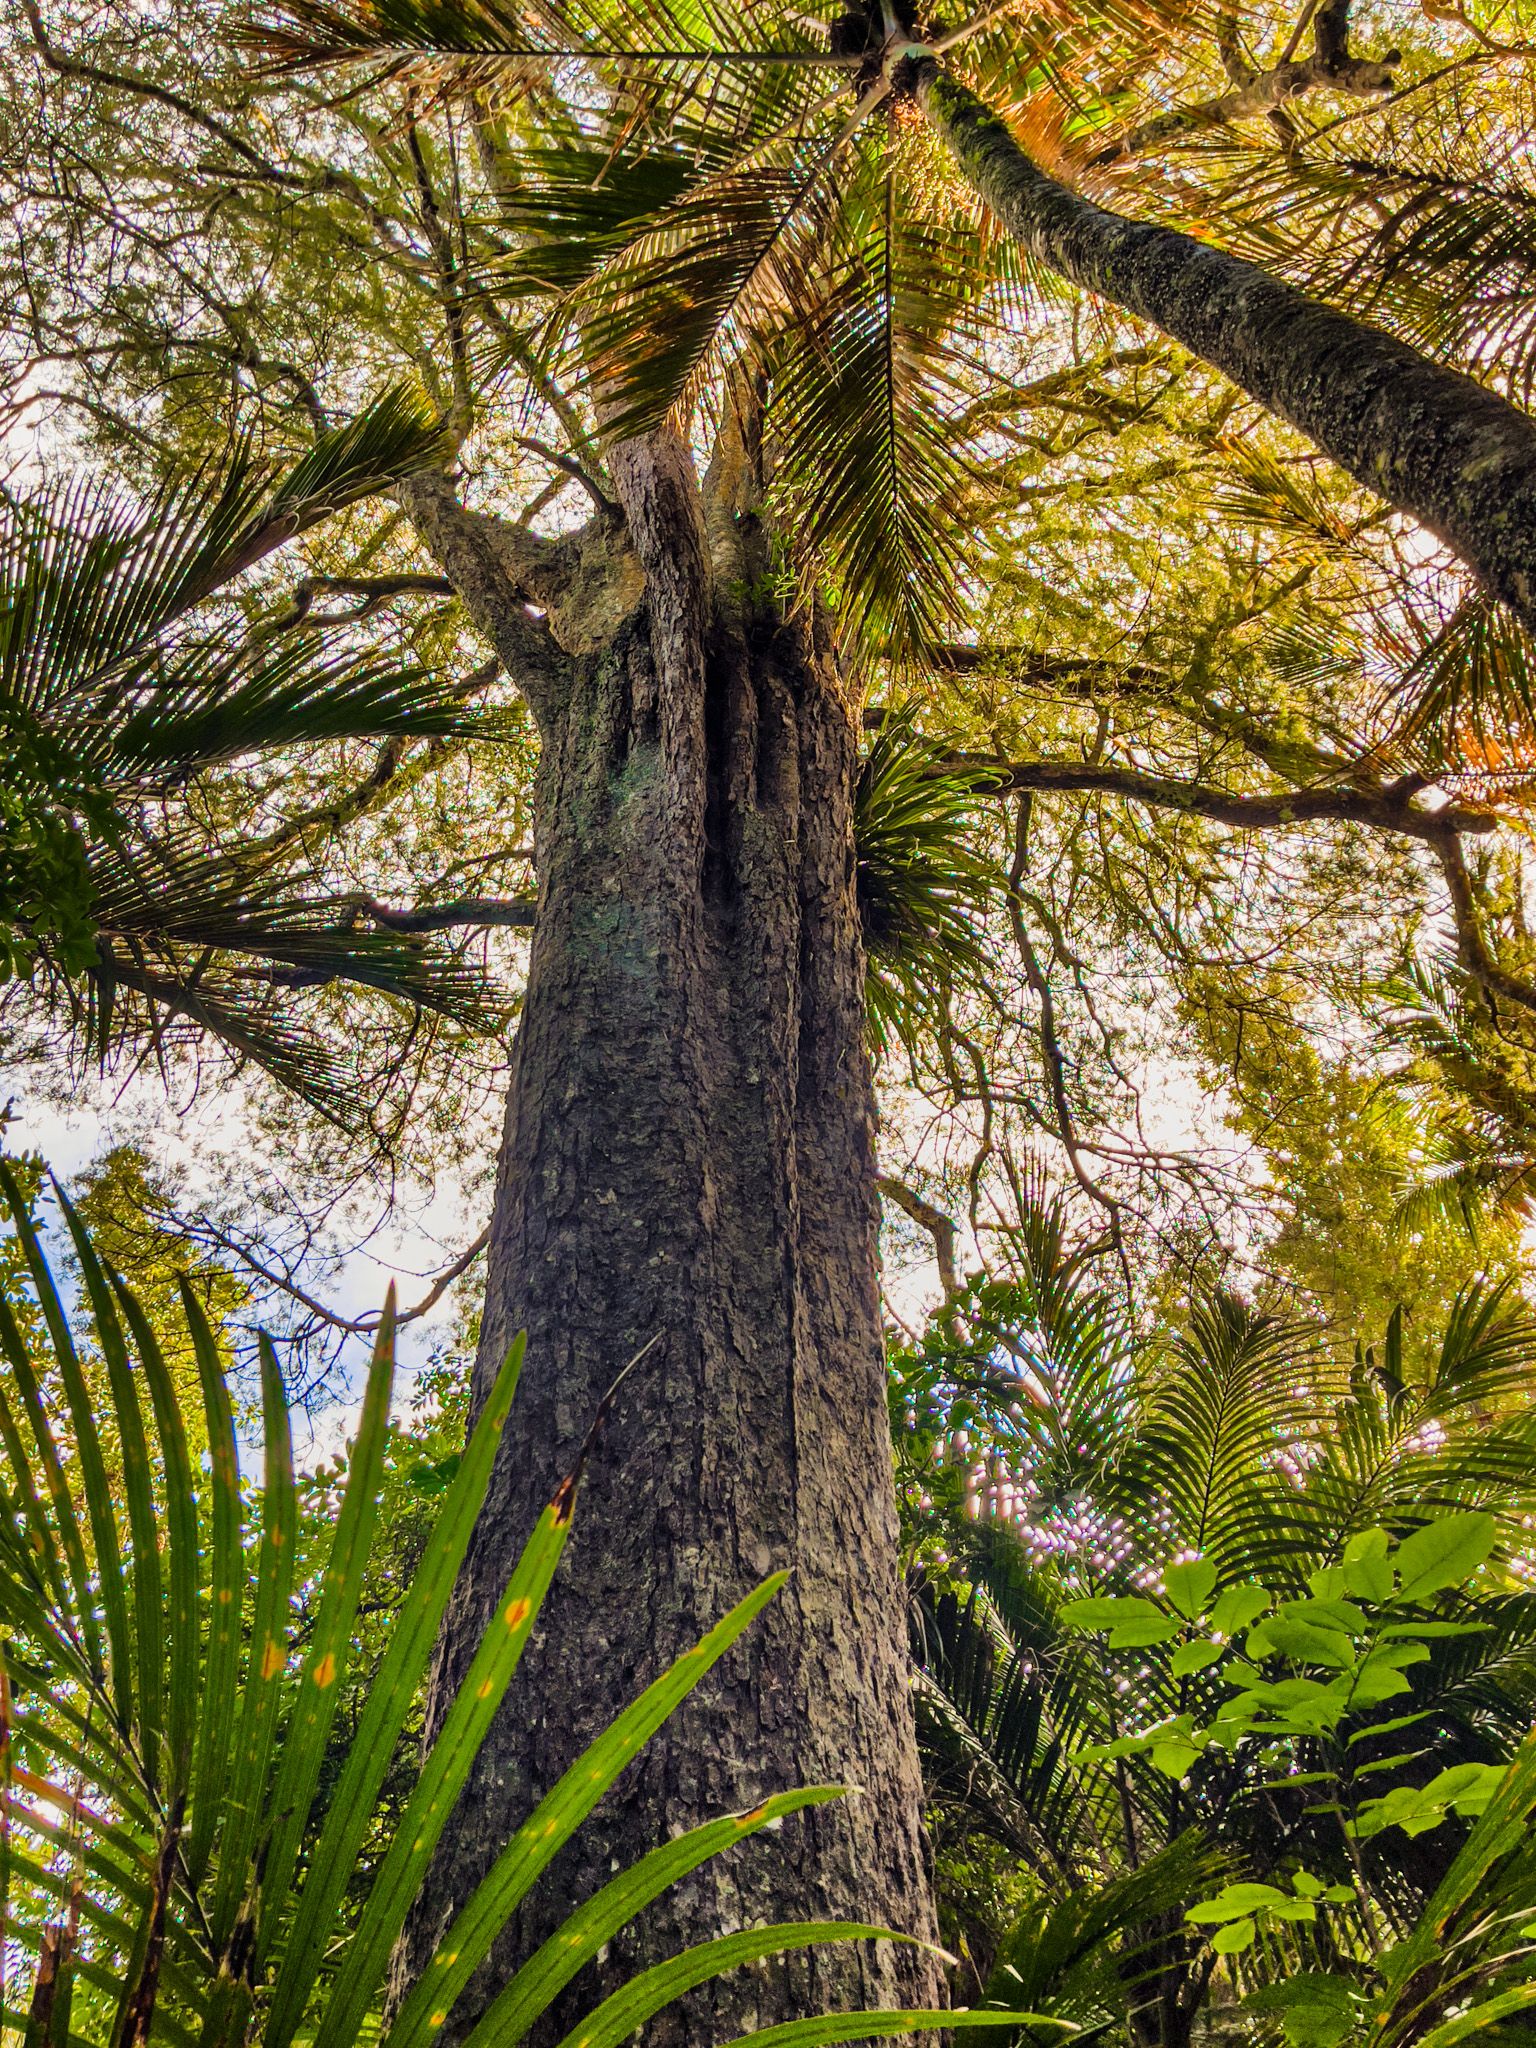
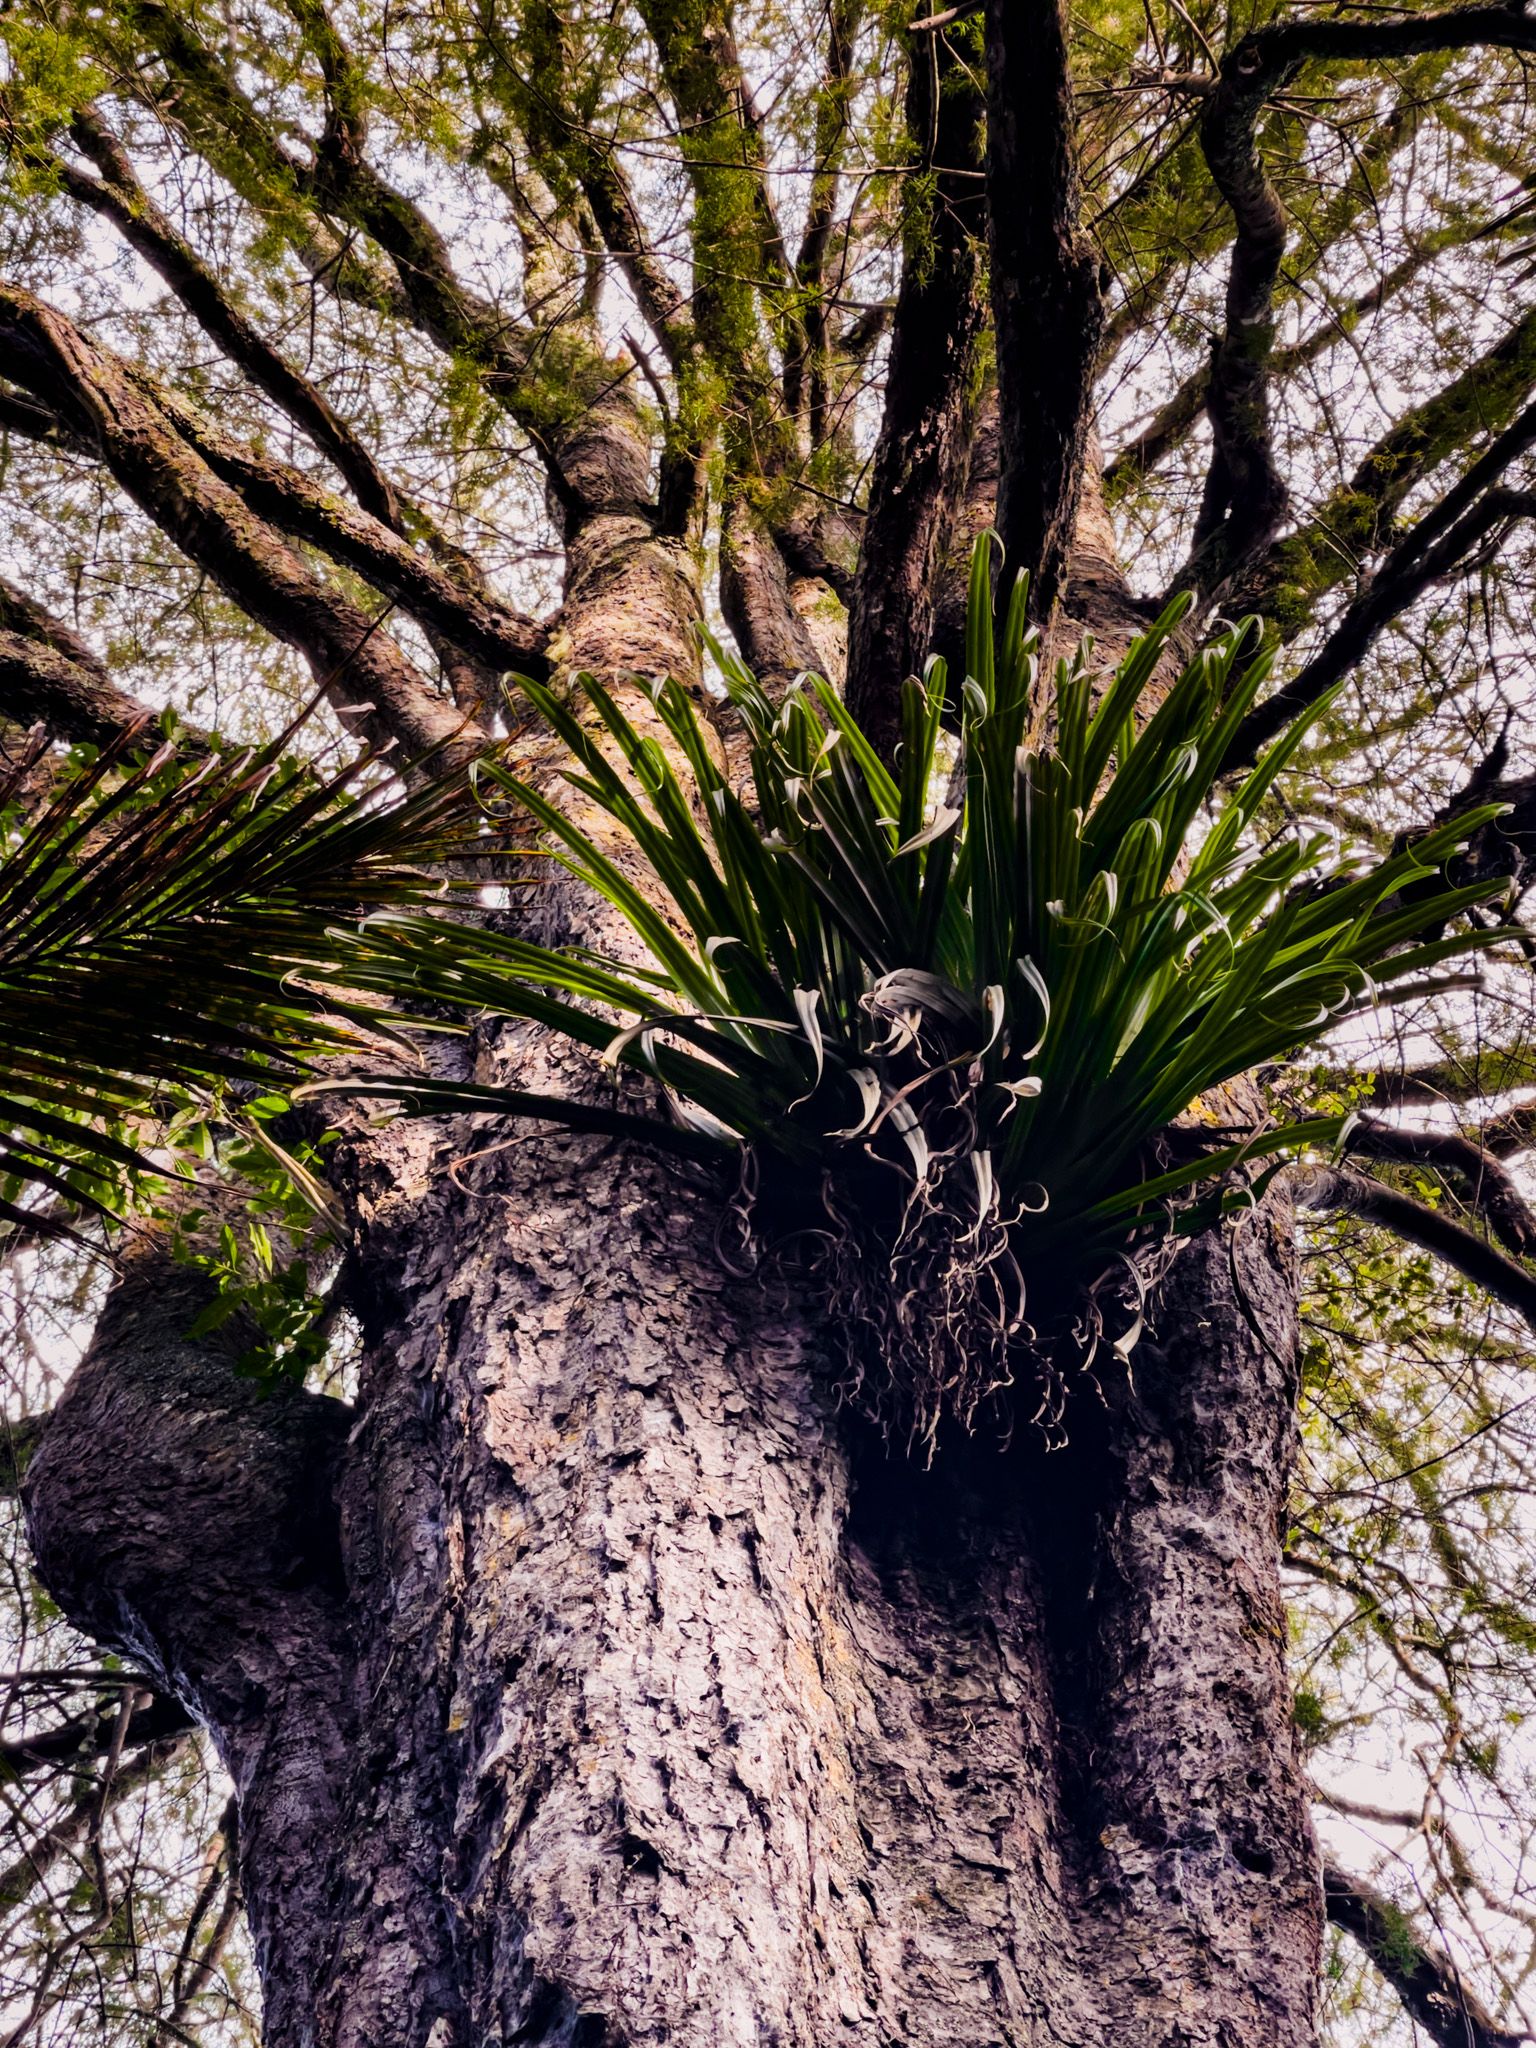
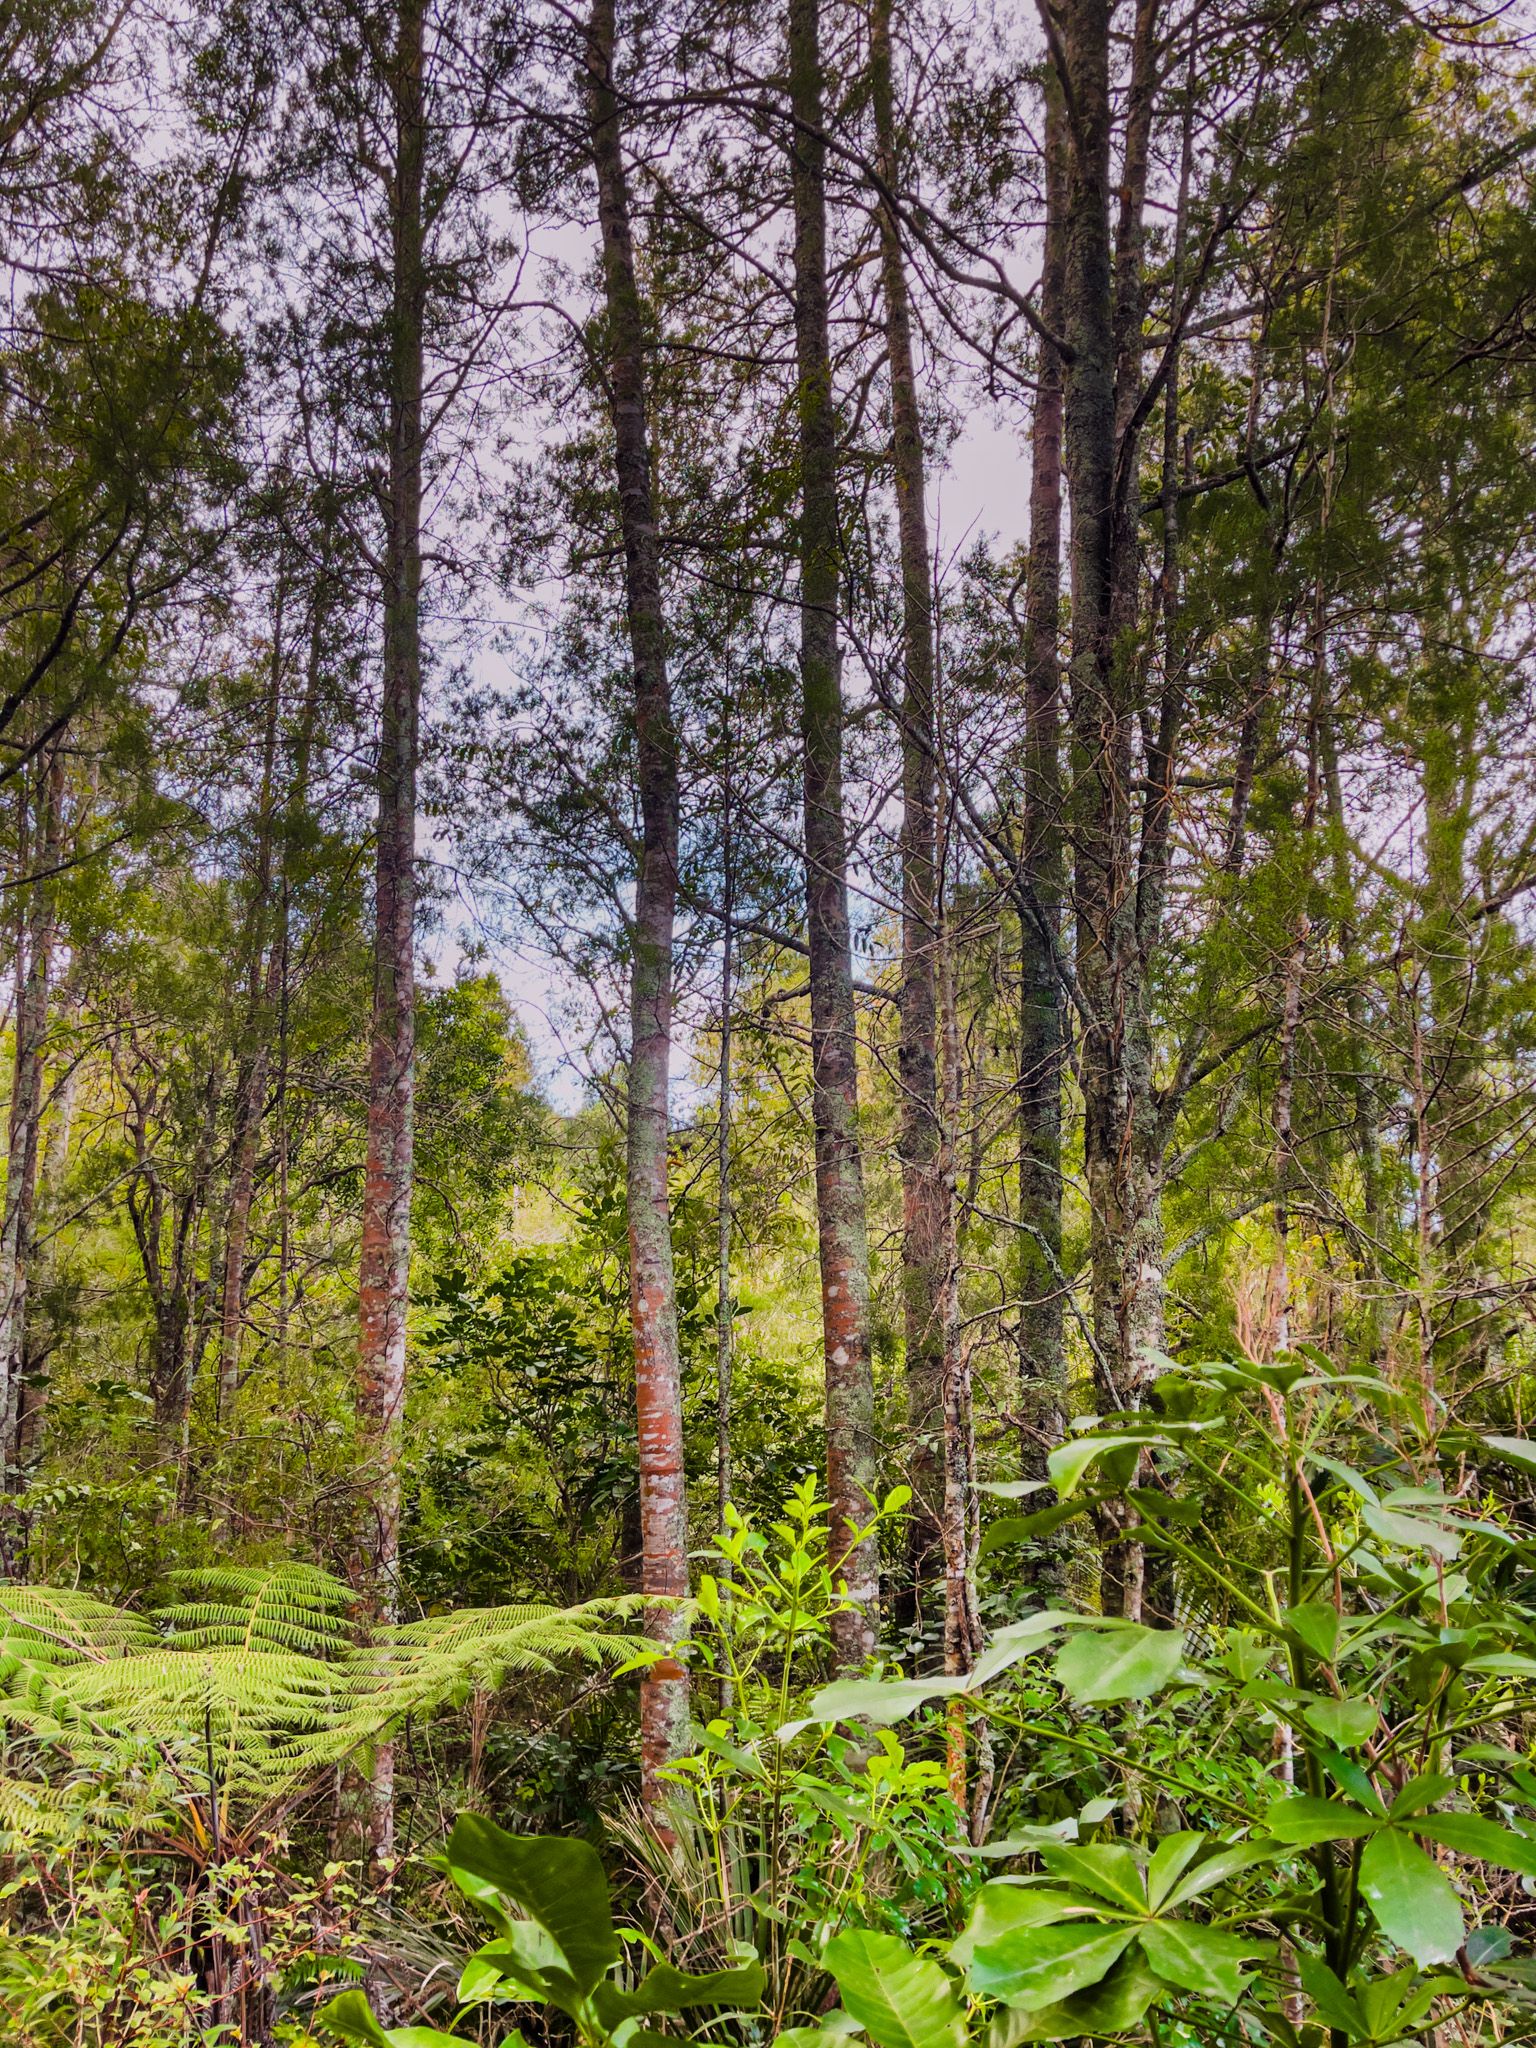
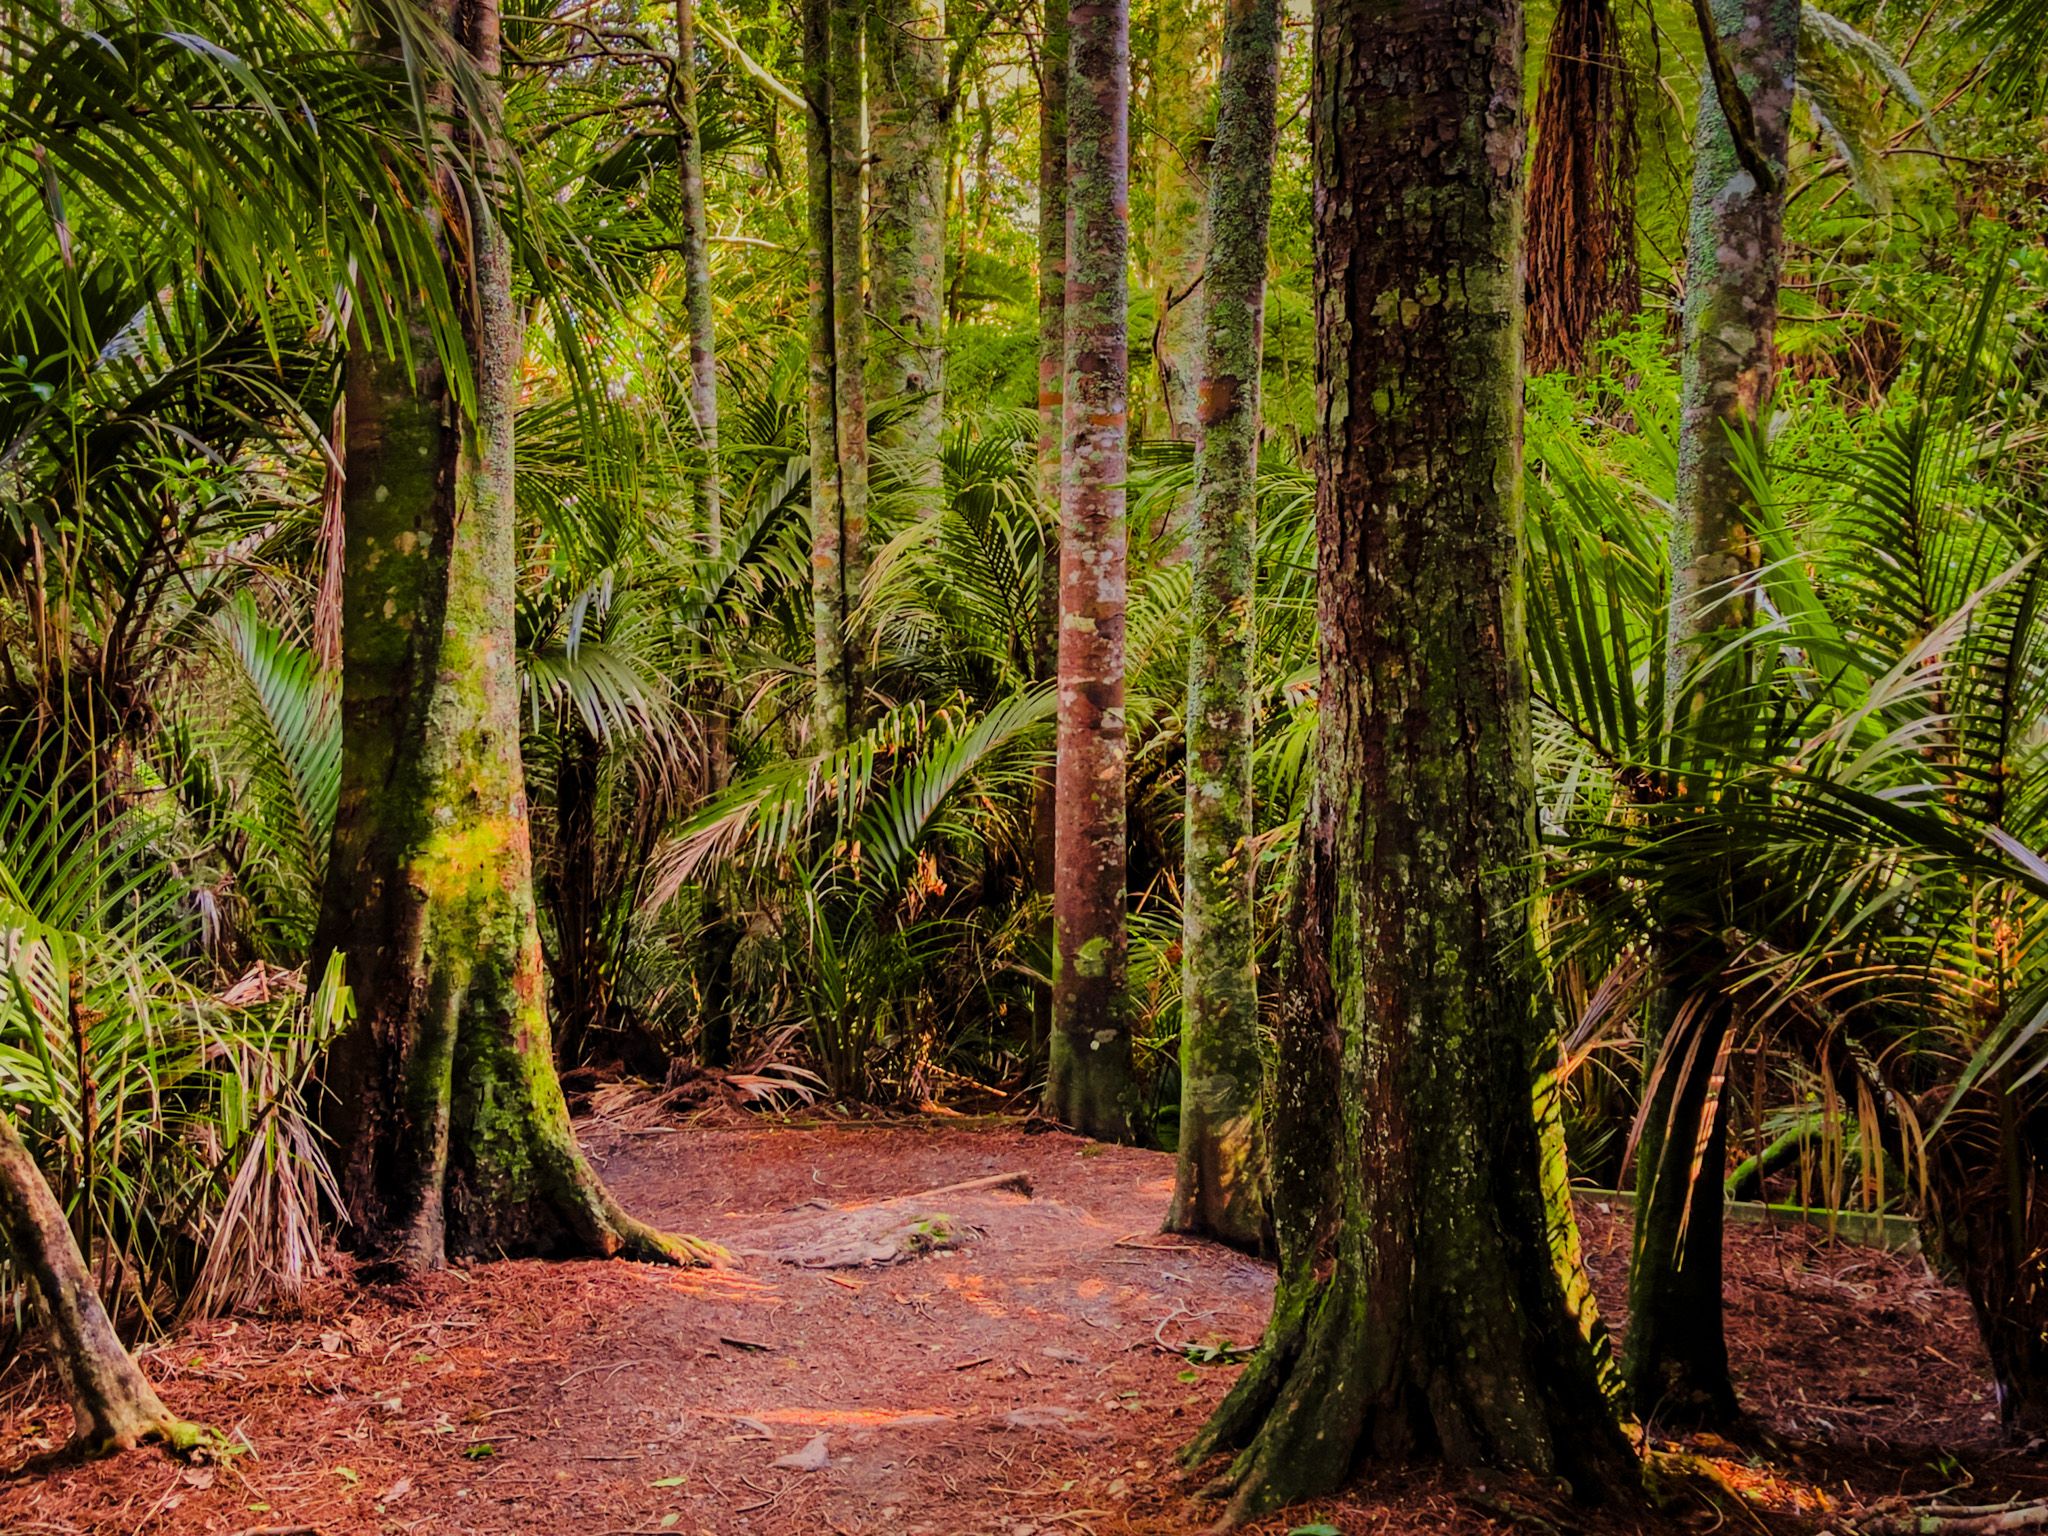
The reserve has several short, interconnected tracks that weave through native forest, with a stream running through the main gully. One of the highlights is the 20-metre, 600-year-old kahikatea tree, around which the rest of the forest is regenerating.
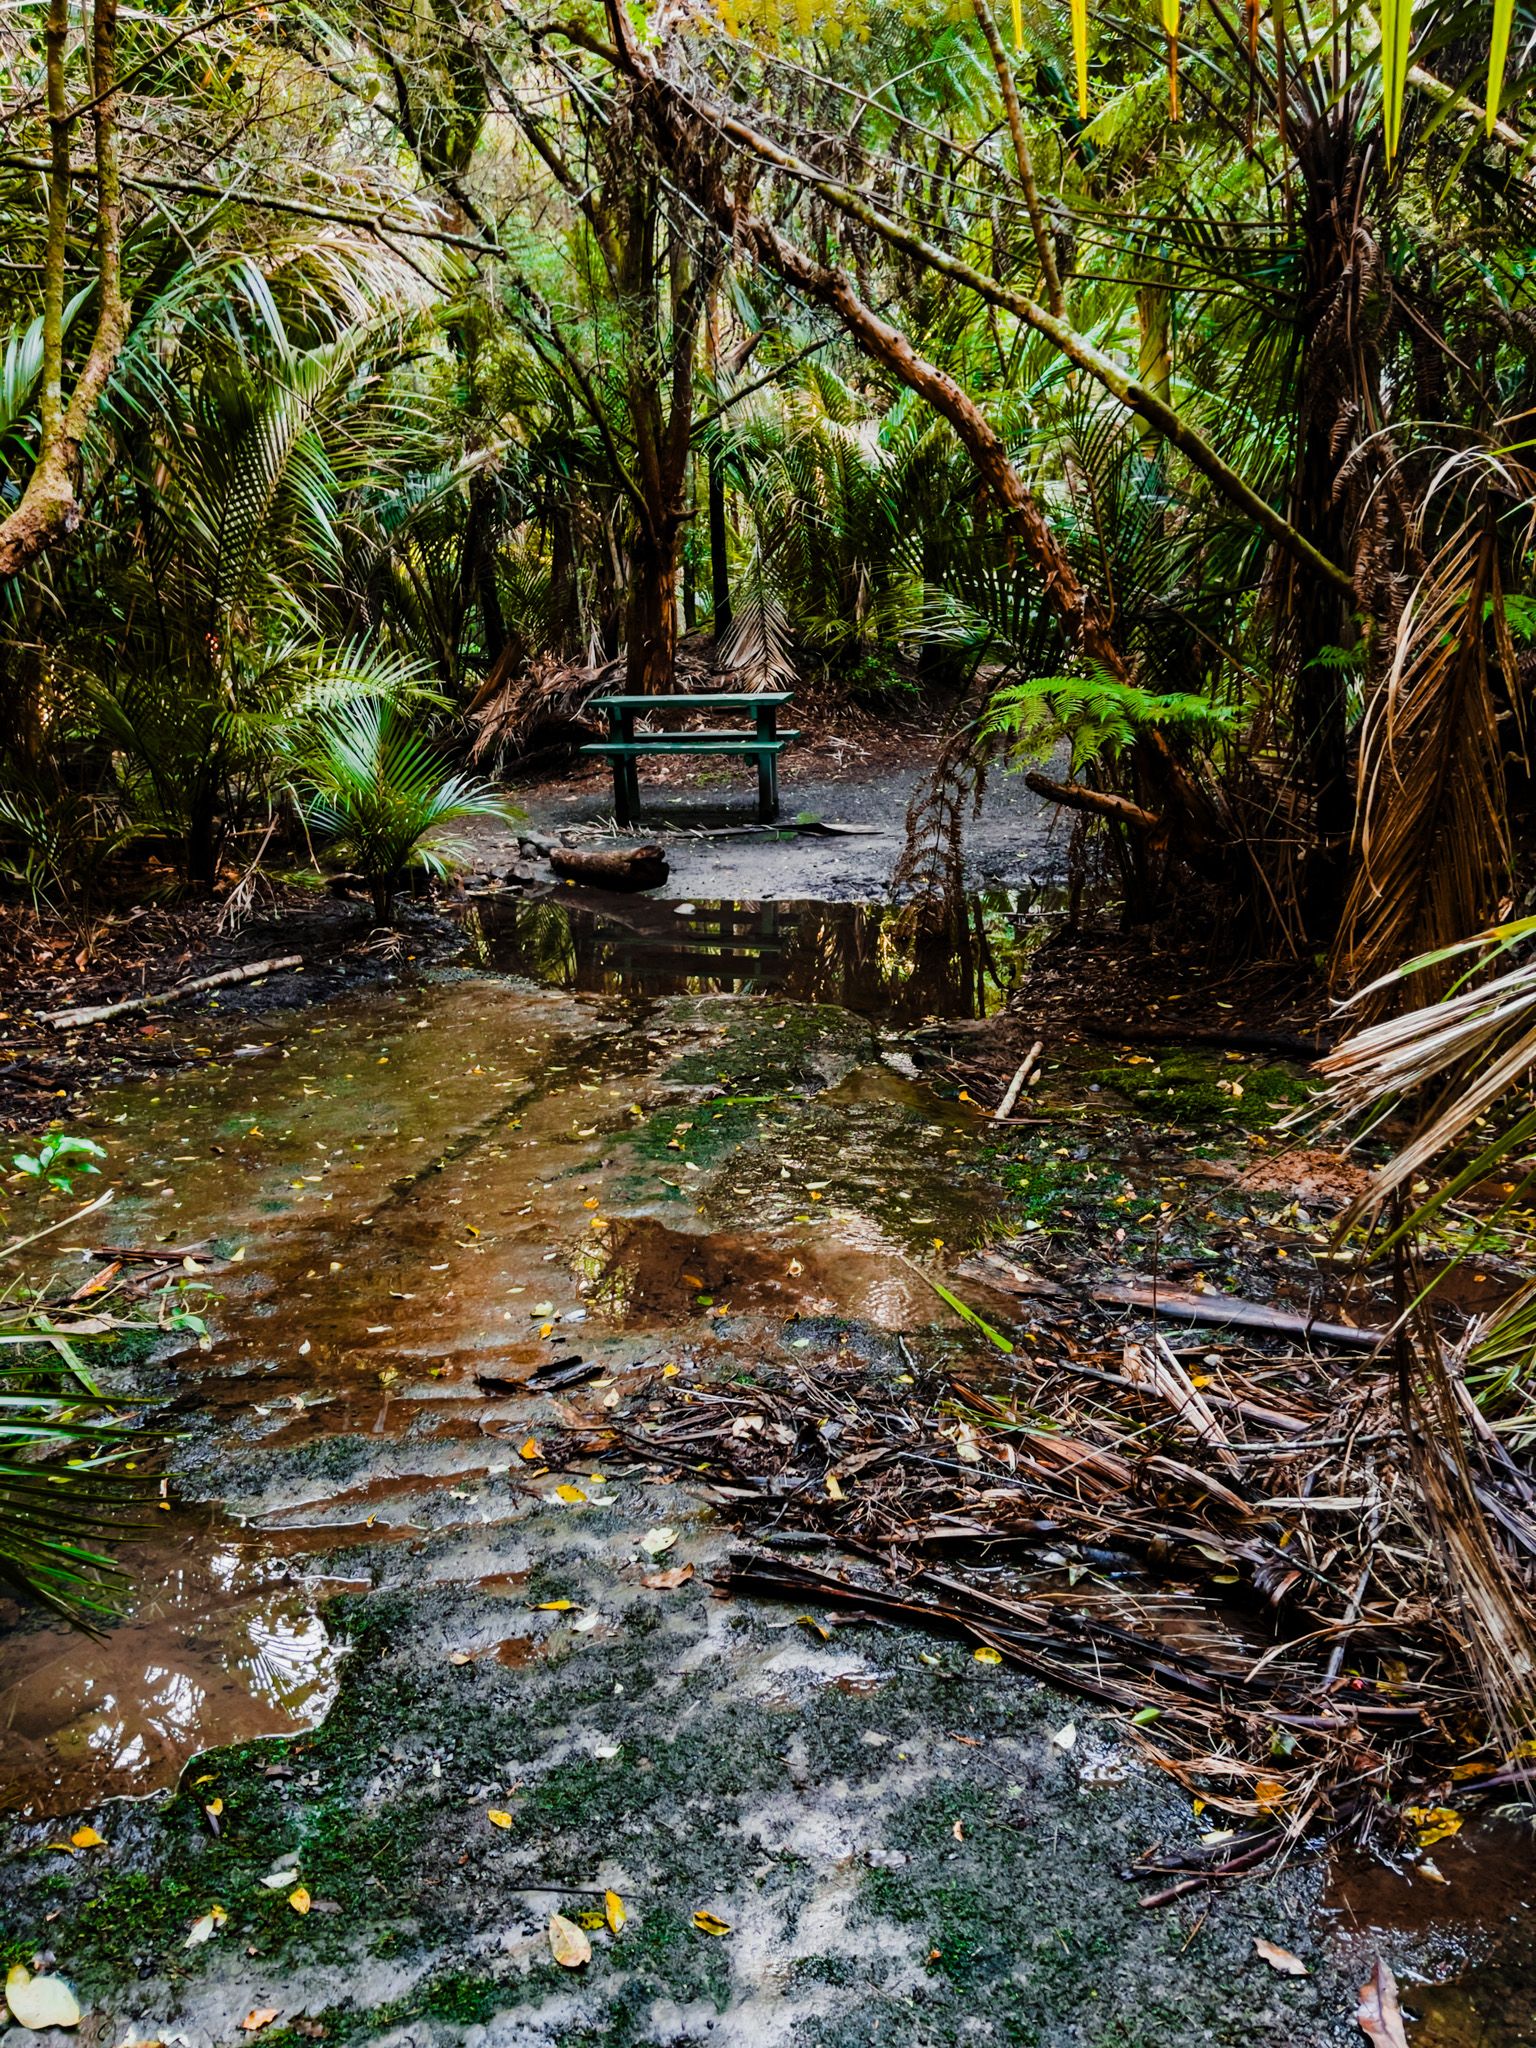
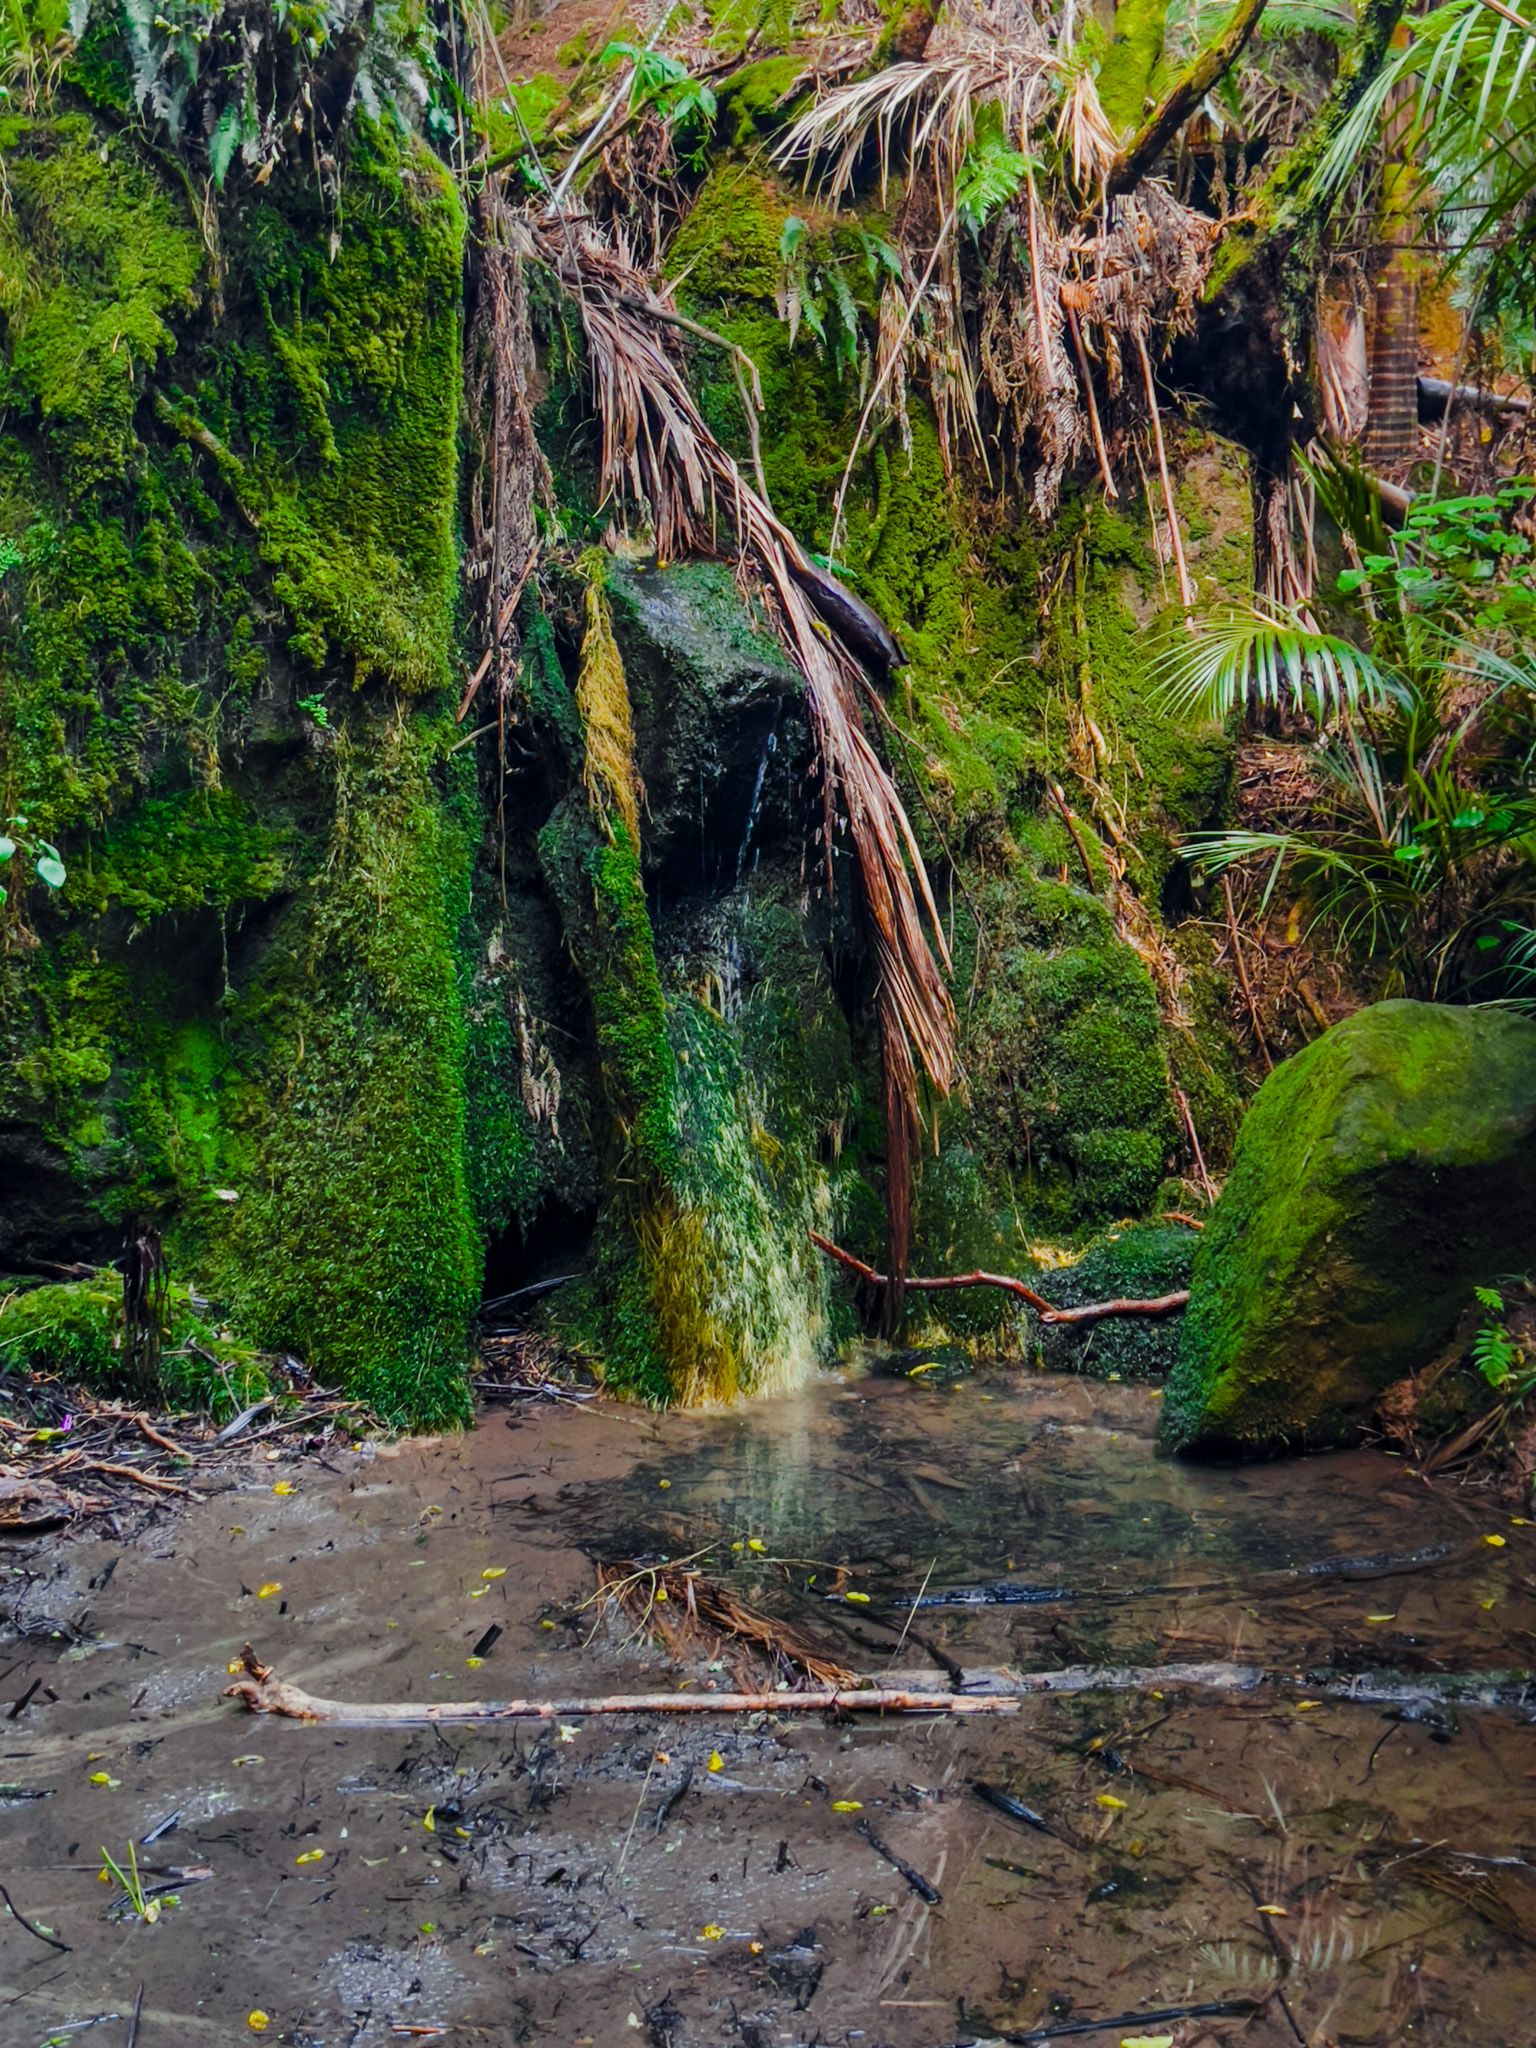
The reserve also features a picnic area set in the old quarry, dating back to the early 1900s. This quarry, now overgrown with forest ferns and lichens, creates a magical atmosphere, especially after rain when it glistens with water. At night, the quarry is an excellent spot to observe glow worms, as noted by Peter Janssen.
Walking the Main Track
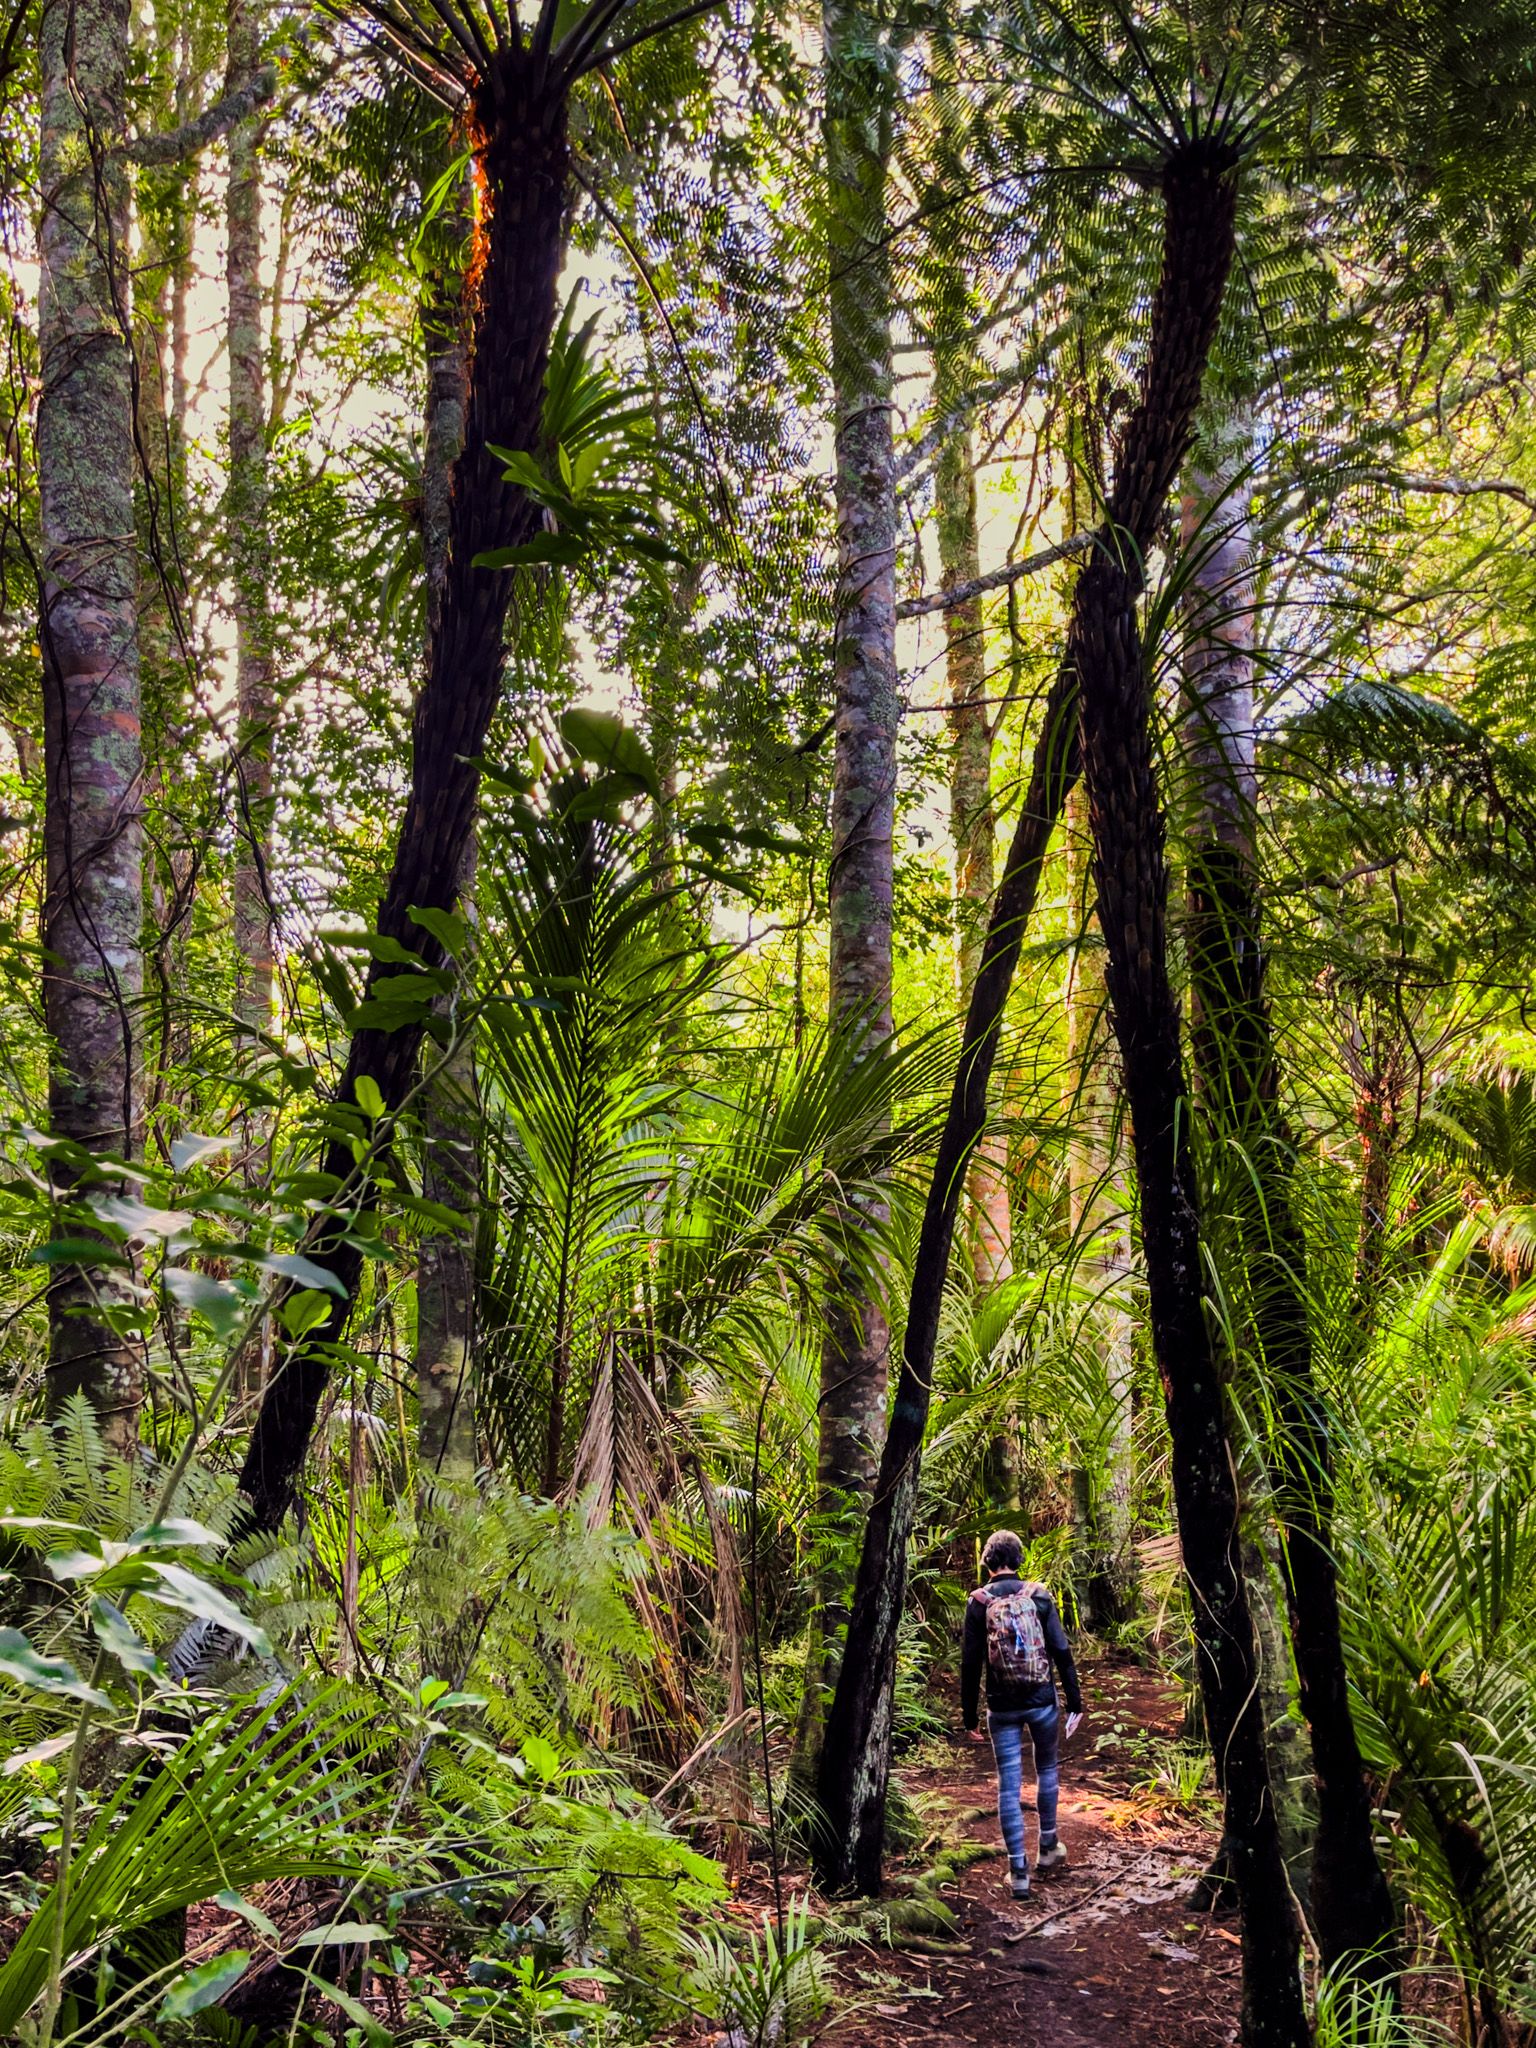
The main track in Awaruku Bush Reserve ascends approximately 40 metres towards the rear of the reserve. Along the way, you'll encounter steps leading to an area of forest regrowth. This path eventually leads to an exit at Moorgreen Heights.
How to Get There
To reach Awaruku Bush Reserve, take the northern motorway from Downtown Auckland to the Oteha Valley Road off-ramp. From there, take Oteha Valley Road northeast to East Coast Road. At Glenvar Road, turn right, then turn right again onto Fitzwilliam Drive. Continue till you see the turnoff onto Awaruku Road, with the track entrance about 180 metres on the left.
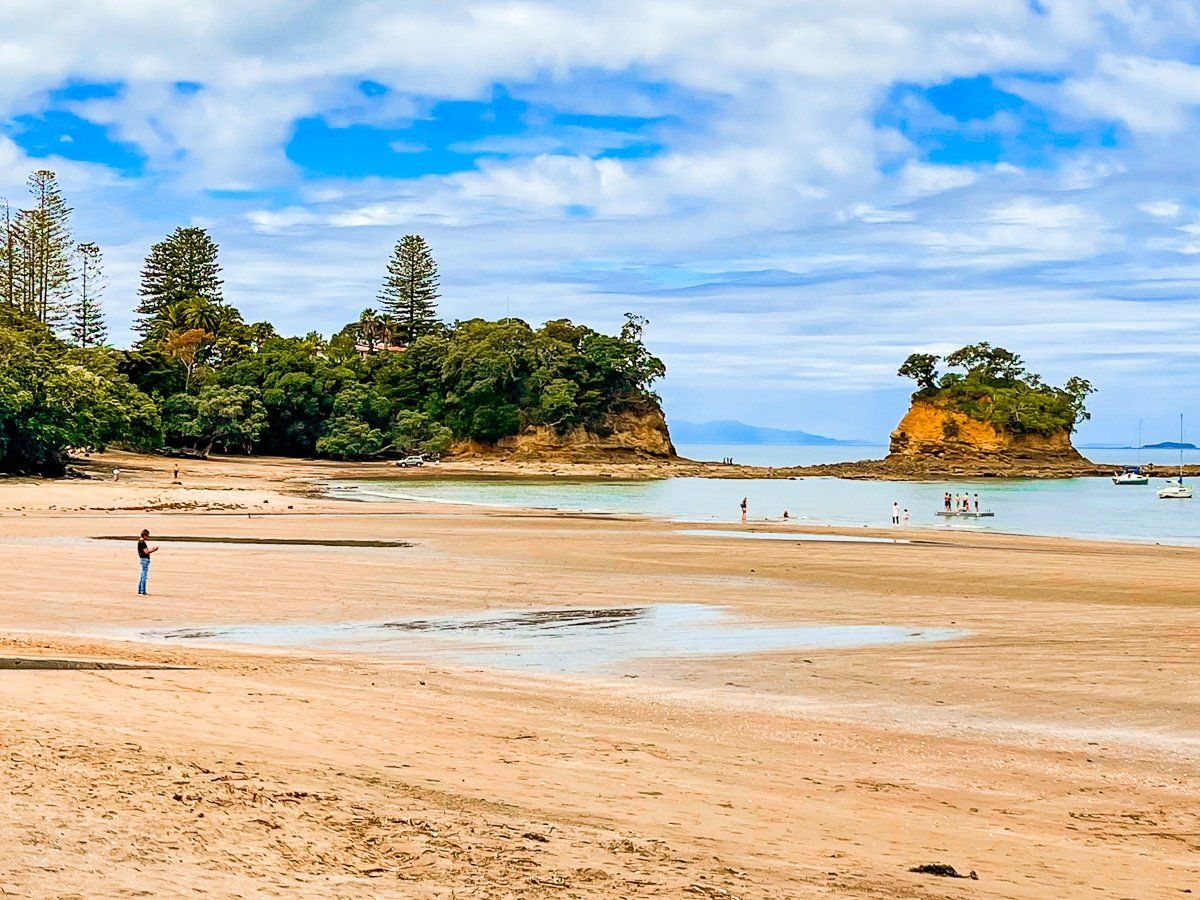
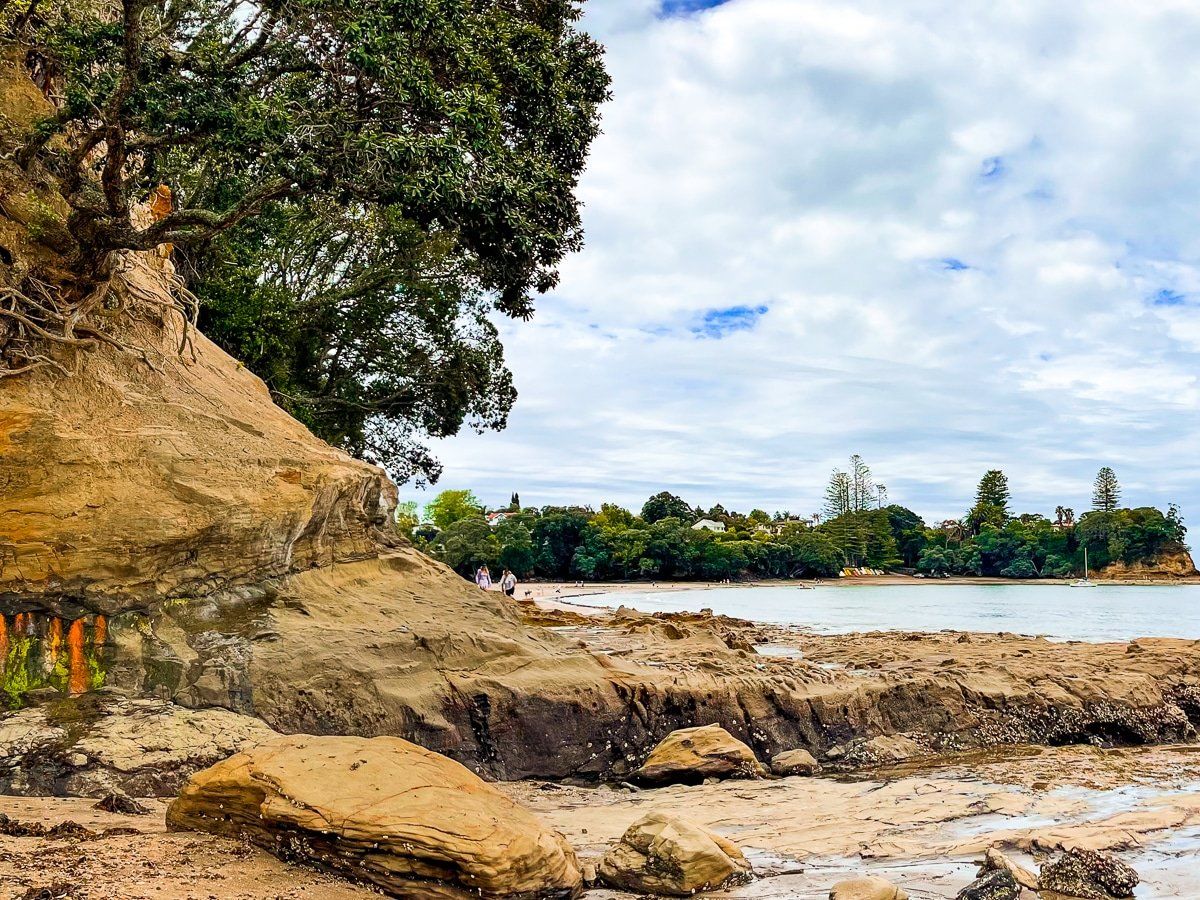
Another forest reserve in the northern part of the North Shore includes Gills Reserve. Torbay is also only a short drive from Long Bay Regional Park and Browns Bay.