Harataonga Loop Track on Aotea Great Barrier Island
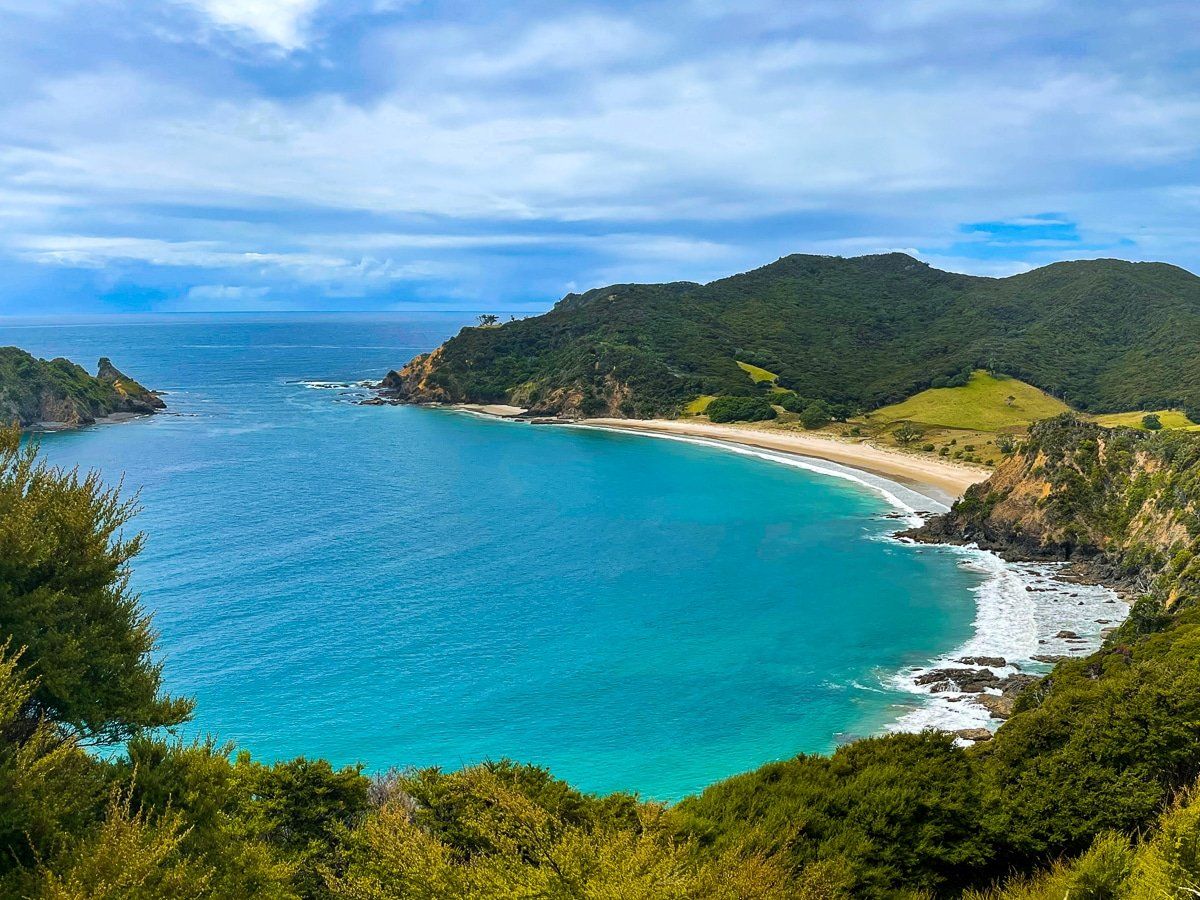
Located on Aotea Great Barrier Island, the Harataonga Loop Track is a wonderful short walk to high points on the north side of Harataonga Bay, overlooking Overtons Beach. Starting from the Harataonga Campsite, this track also provides access to the extended Harataonga Coastal Walkway.
Exploring the Harataonga Loop Track
From the campsite, you can choose between the one-hour Harataonga Loop Track or a more extended four to five-hour trek to the Whangapoua Campsite.
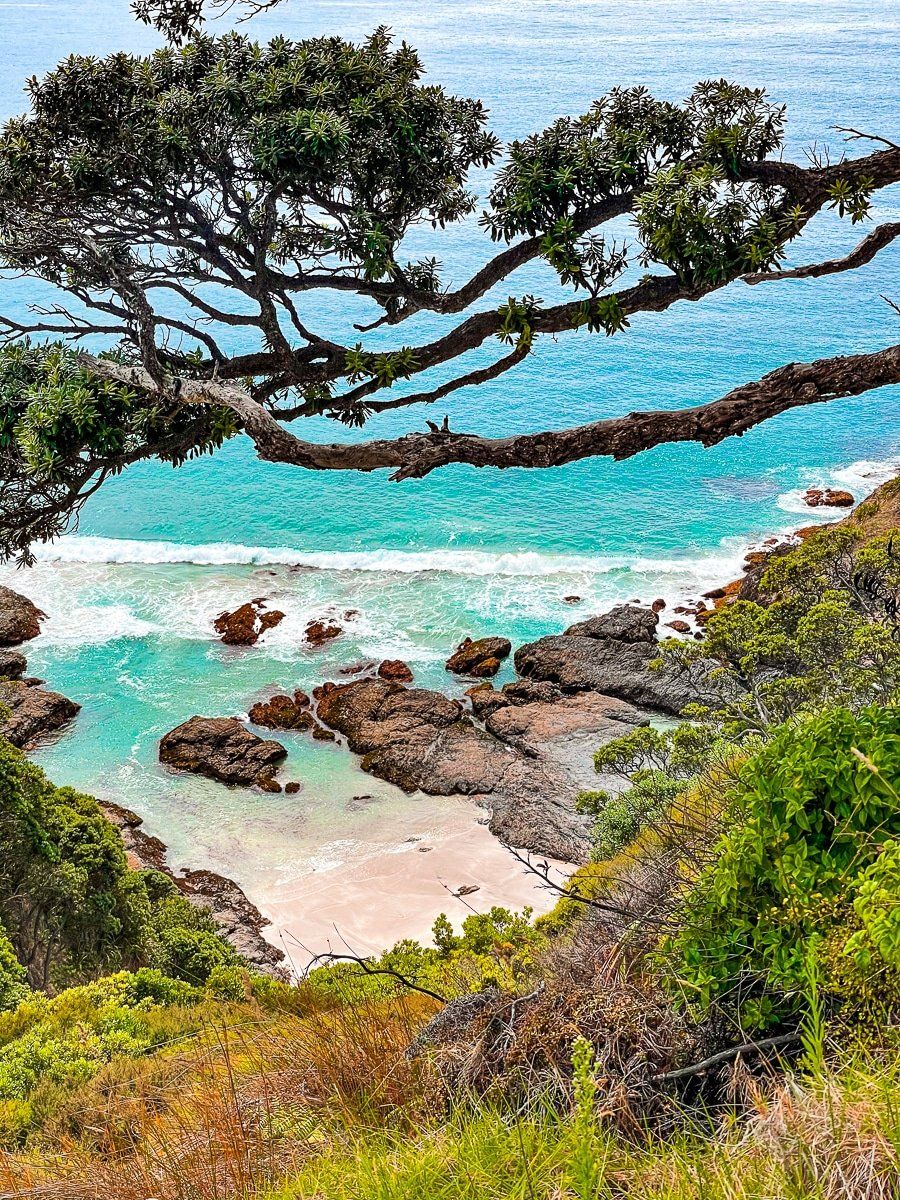
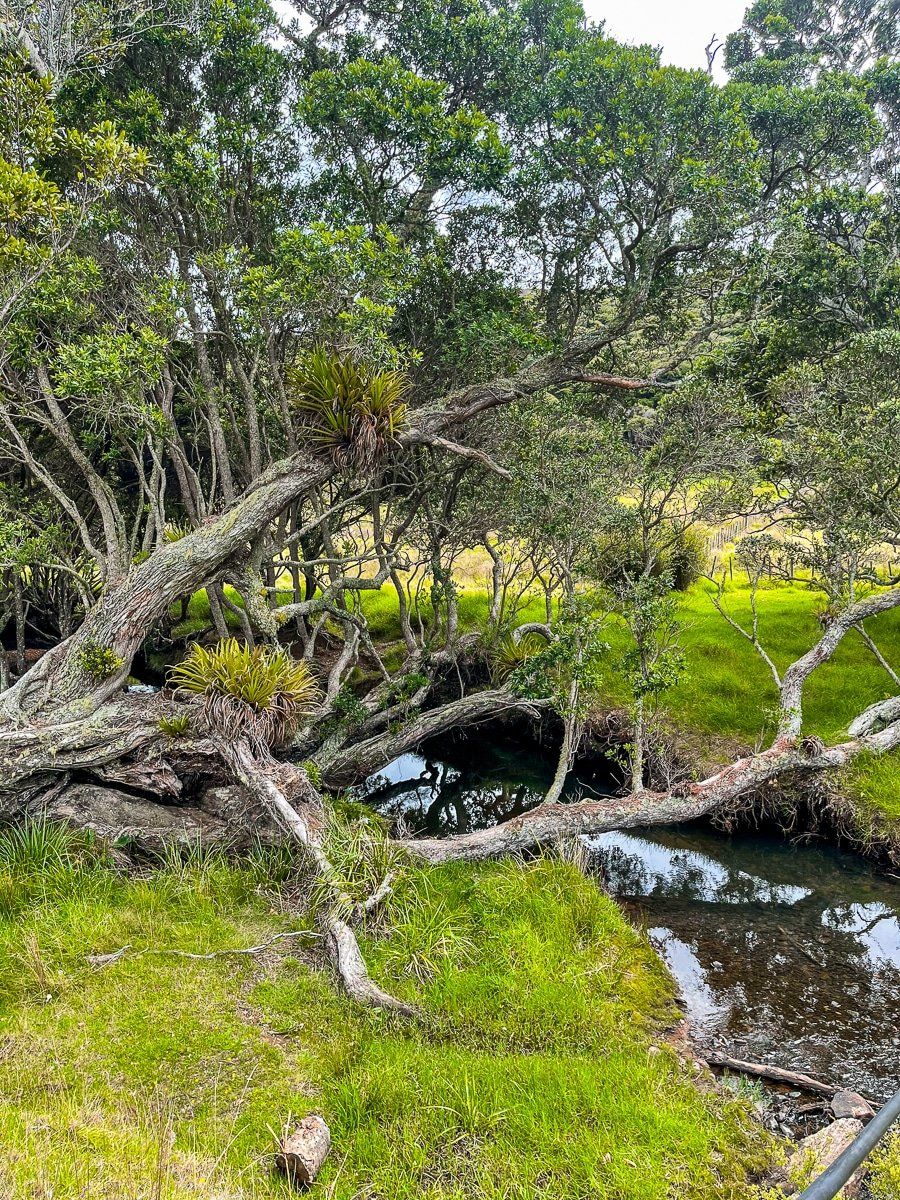
The shorter loop takes you through regenerating forest and along cliffs, eventually leading back to the campground or beach. This route is mostly straightforward, climbing around 100 metres with some undulations.
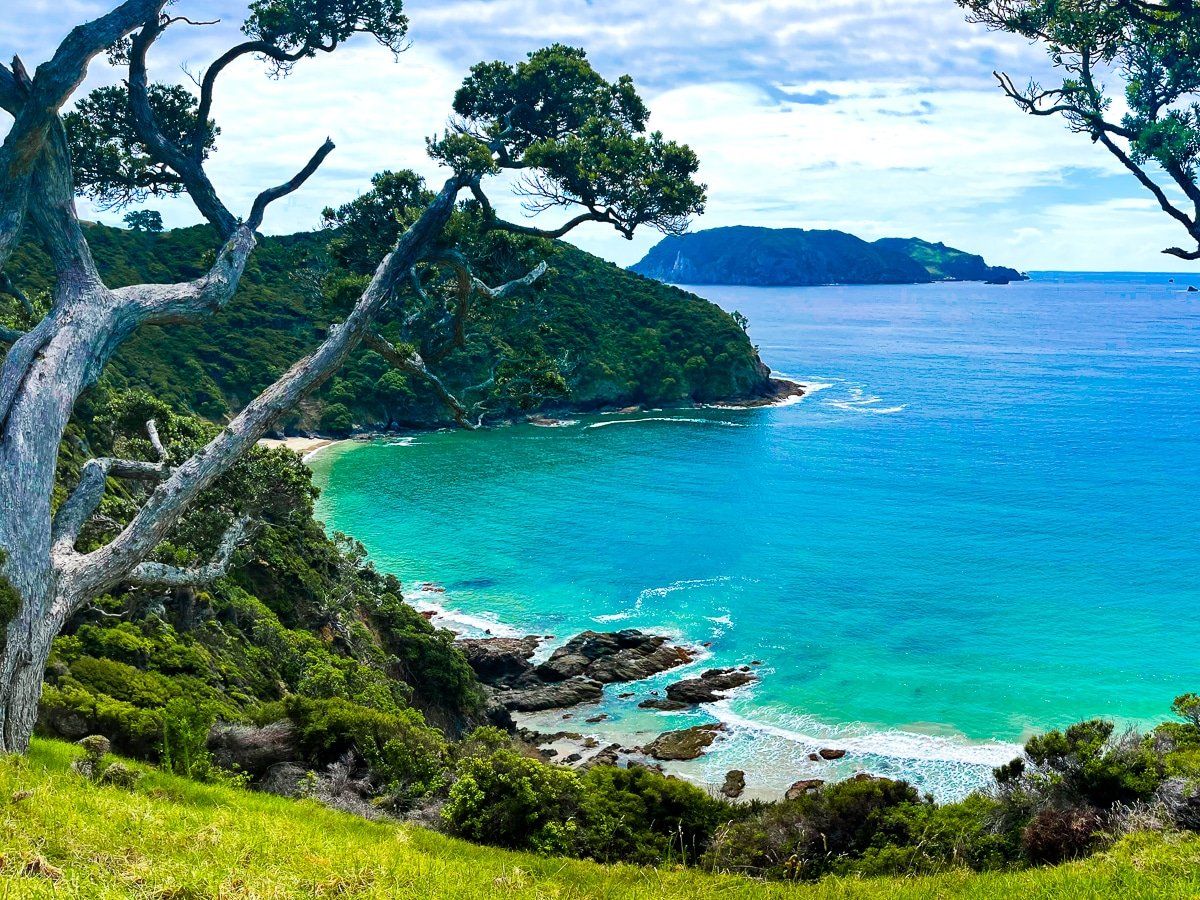
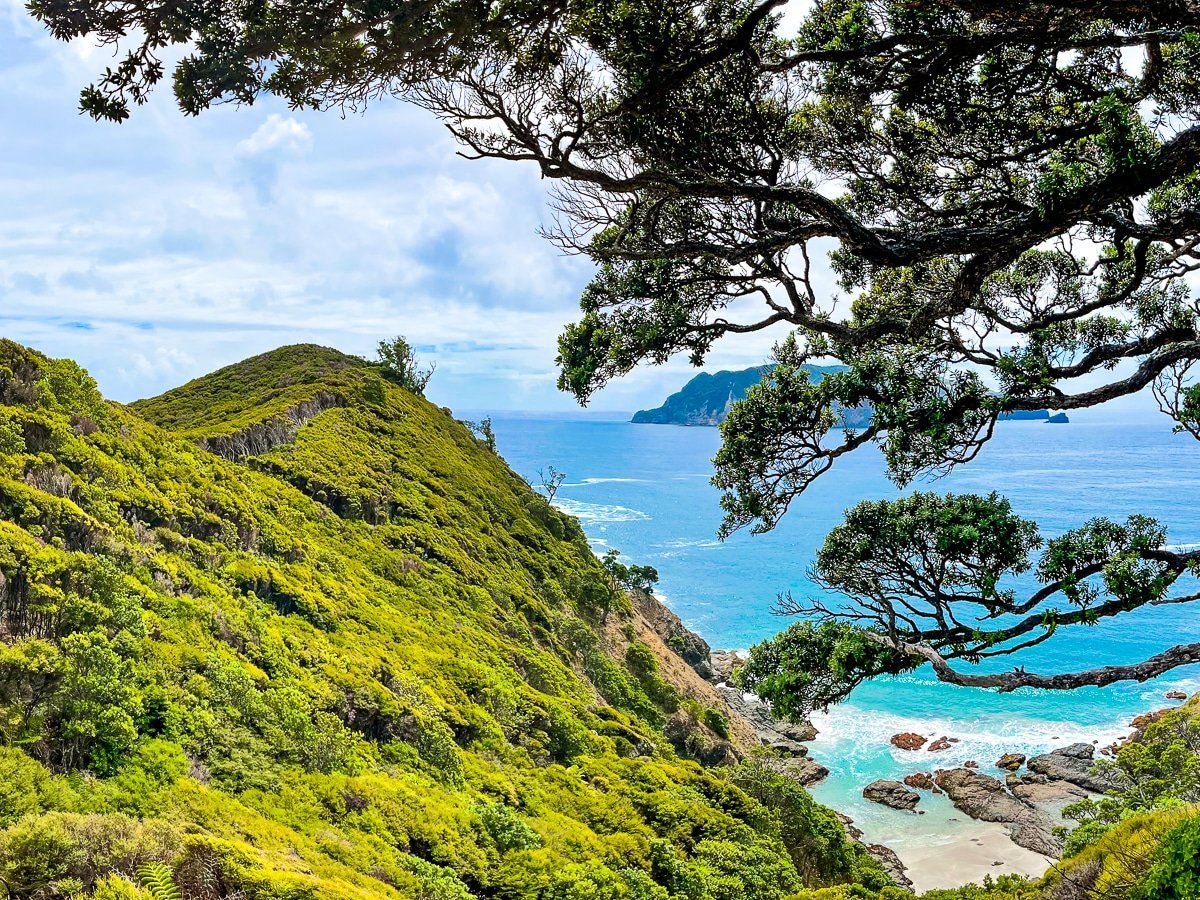
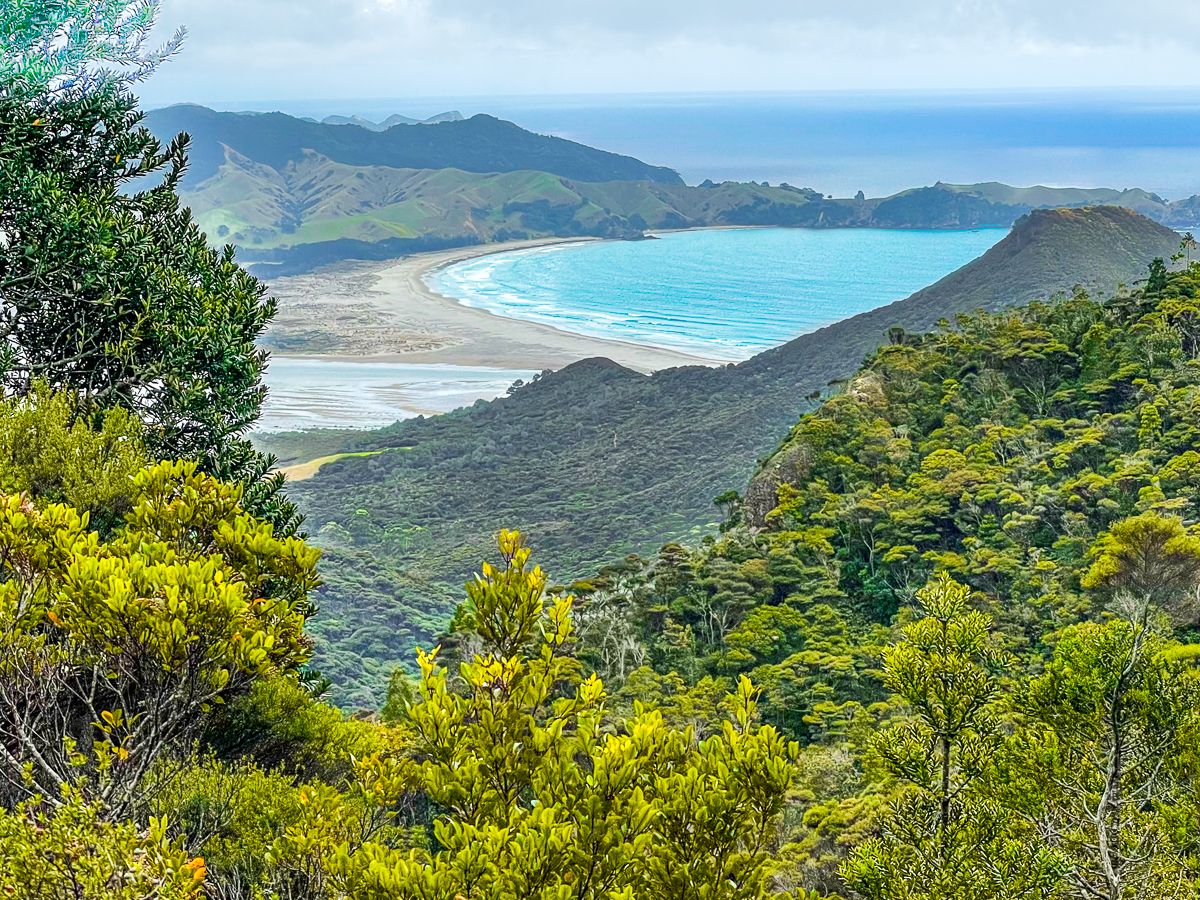
The loop walk goes through a mixture of regrowth forest, shrubs, and open views along he rugged coast. As you approach the end, there is a grassy hillock with several interesting weather-shaped pōhutukawa trees, and fabulous views across the Harataonga Bay and Overtons Beach. From there, it is a steep, short walk to the track between the campsite and the beach.
Taking the Harataonga Coastal Walkway
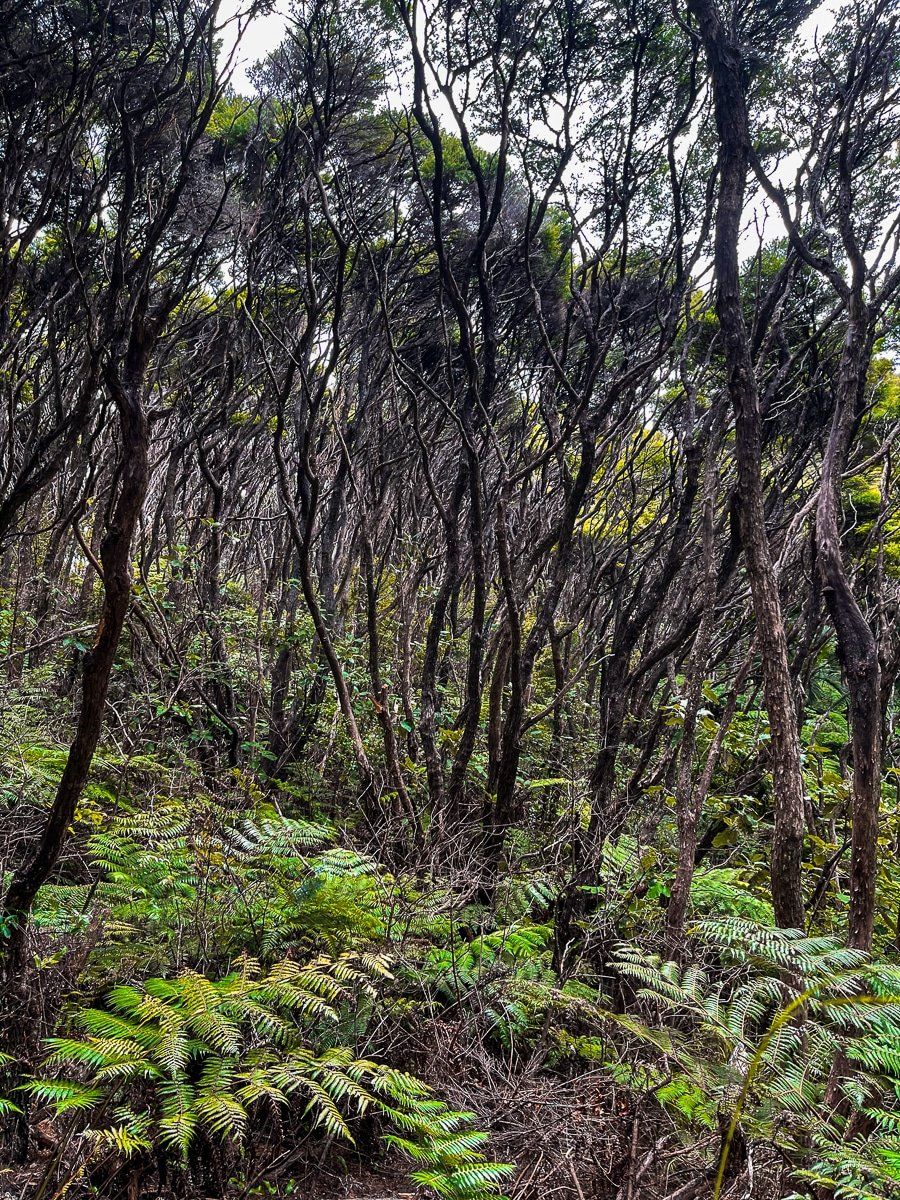
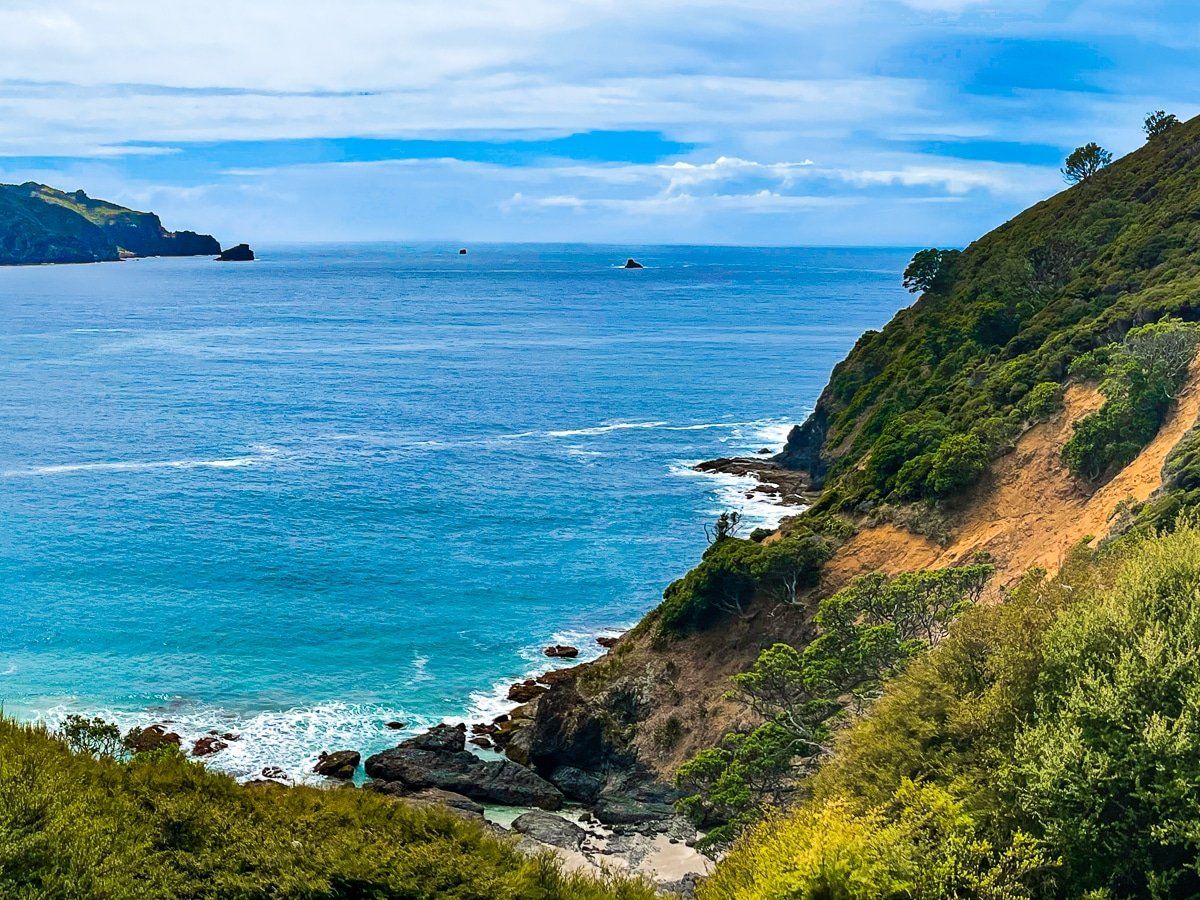
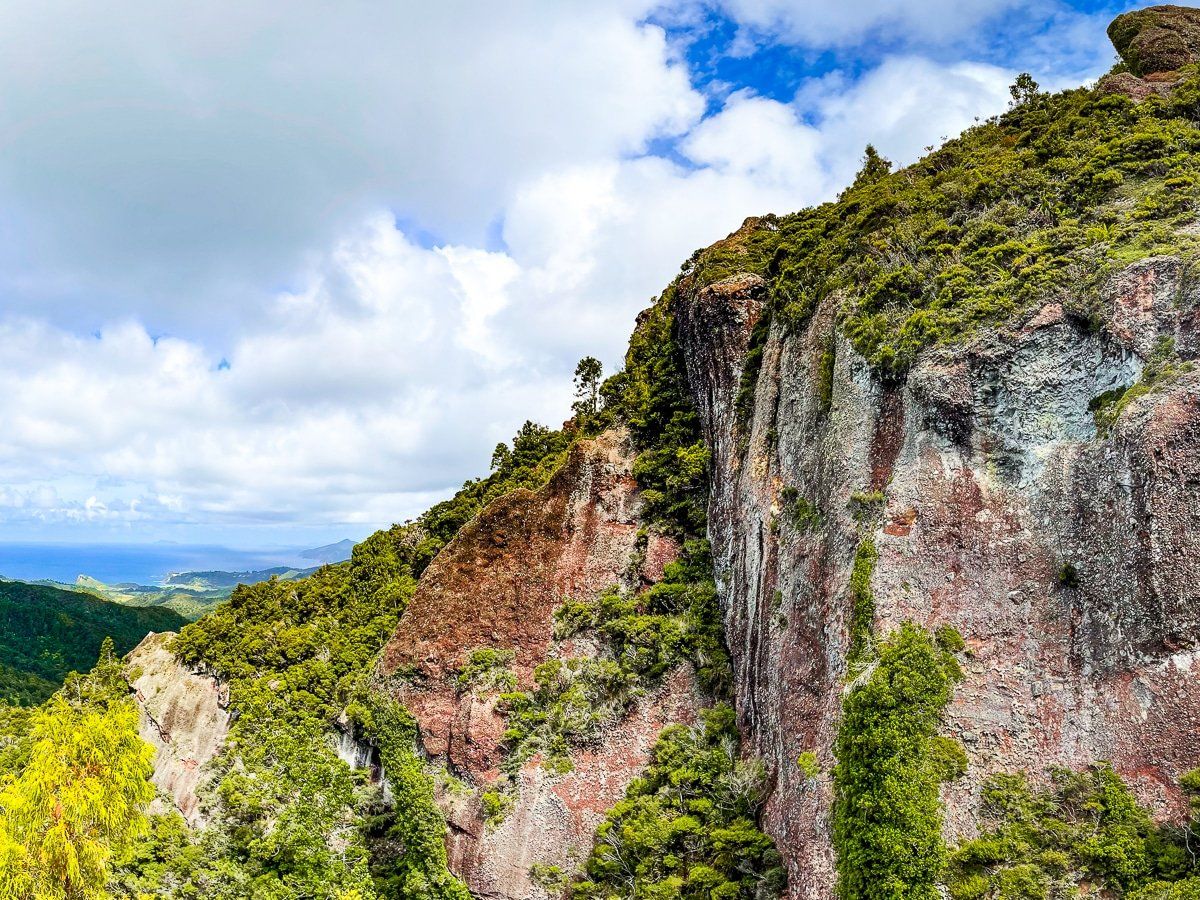
If you have more time and a sense of adventure, the longer walk requires additional planning. This path is steep in places, with many undulations and a highest point of around 140 metres. The hike is mostly regenerating forest, and there are excellent coastal views from several places along the coastline. As you walk, you'll encounter ancient pōhutukawa trees, adding to the scenic charm of the trip.
How to get there
To reach Harataonga Bay from Claris, take Hector Sanderson Road northwest and connect with Gray Road, heading east. Gray Road becomes Aotea road as it veers north. Continue north until you see the turnoff to Harataonga Road, which takes you to the campsite and parking area.
Other places to explore on the northeast side of the island include Awana Bay and Whangapoua Beach, including the SS Wararapa Graves.