Discovering the Piha Blowhole
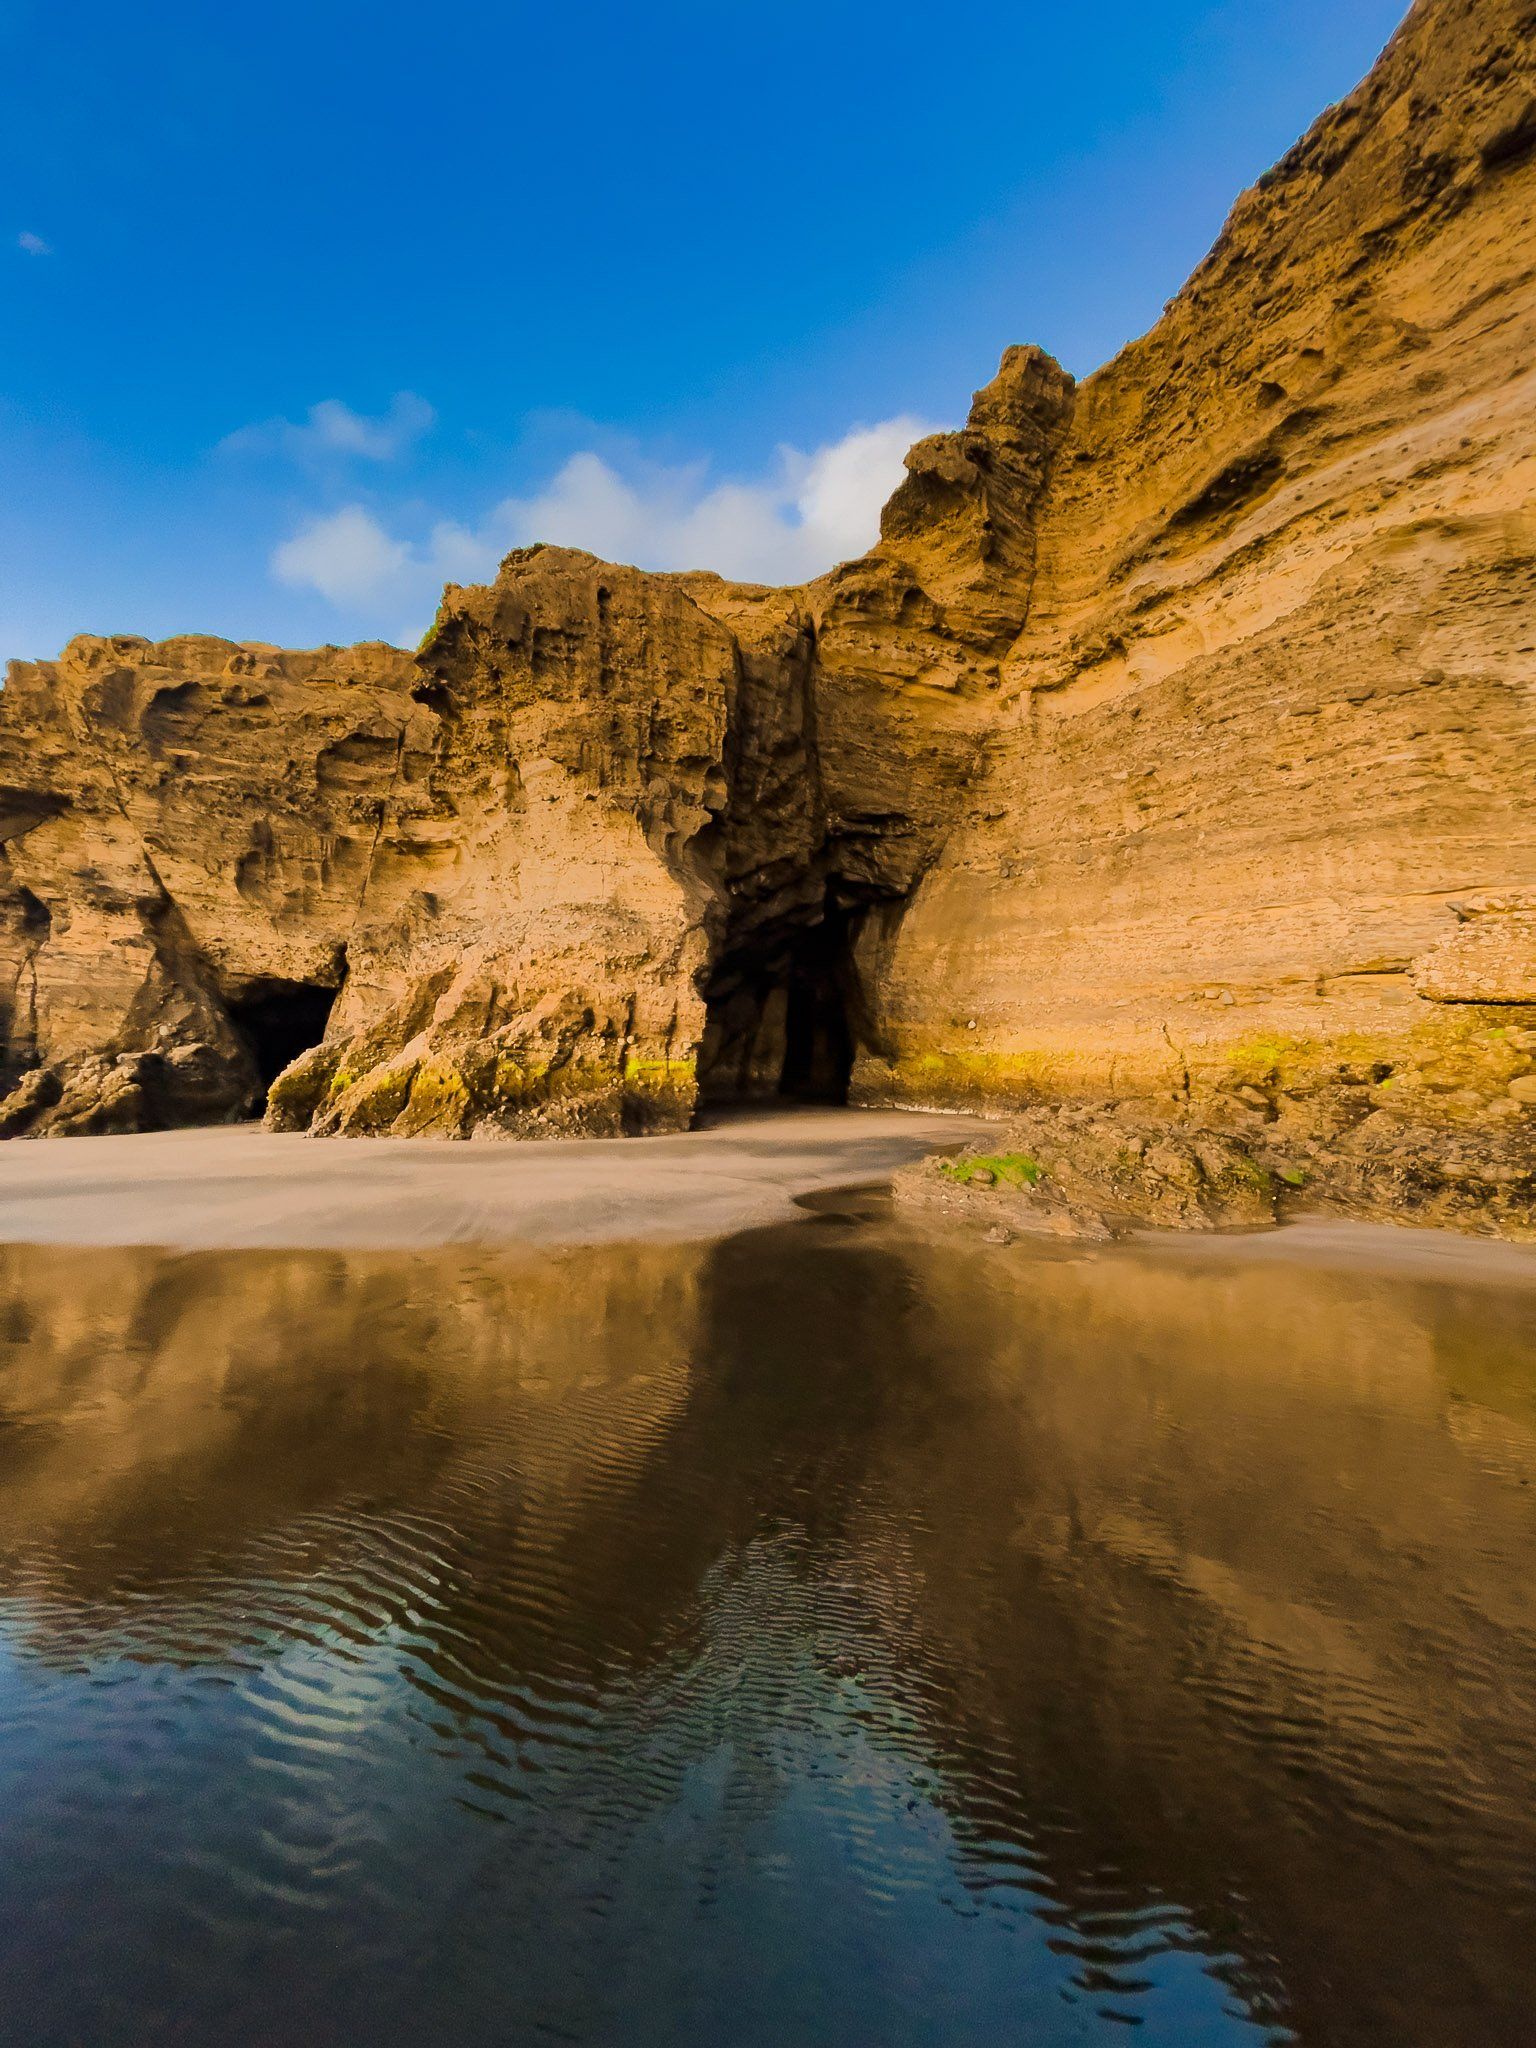
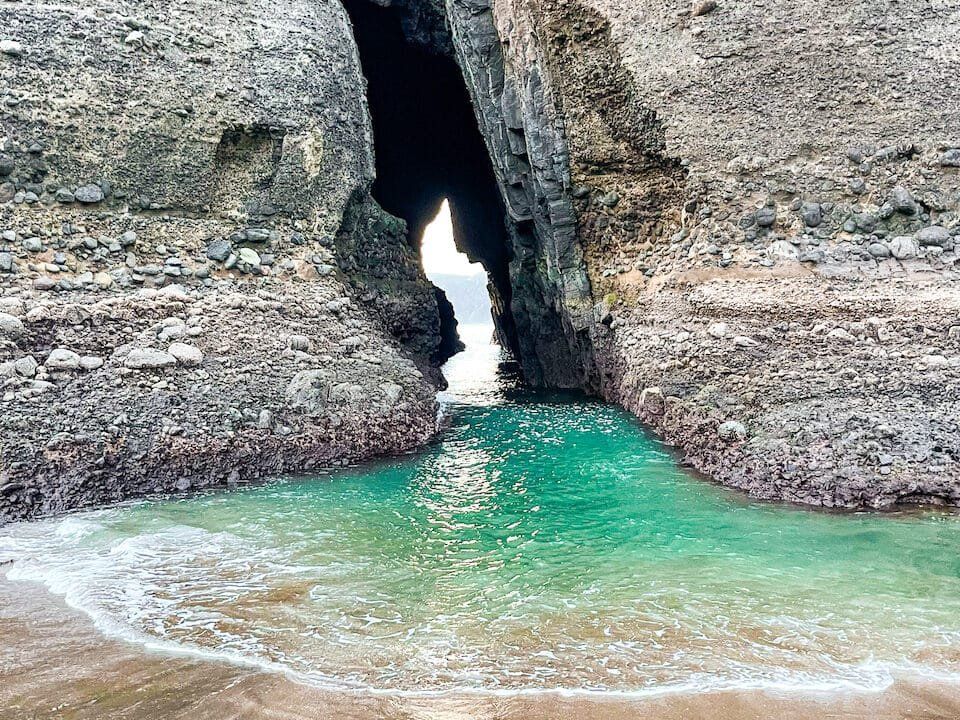
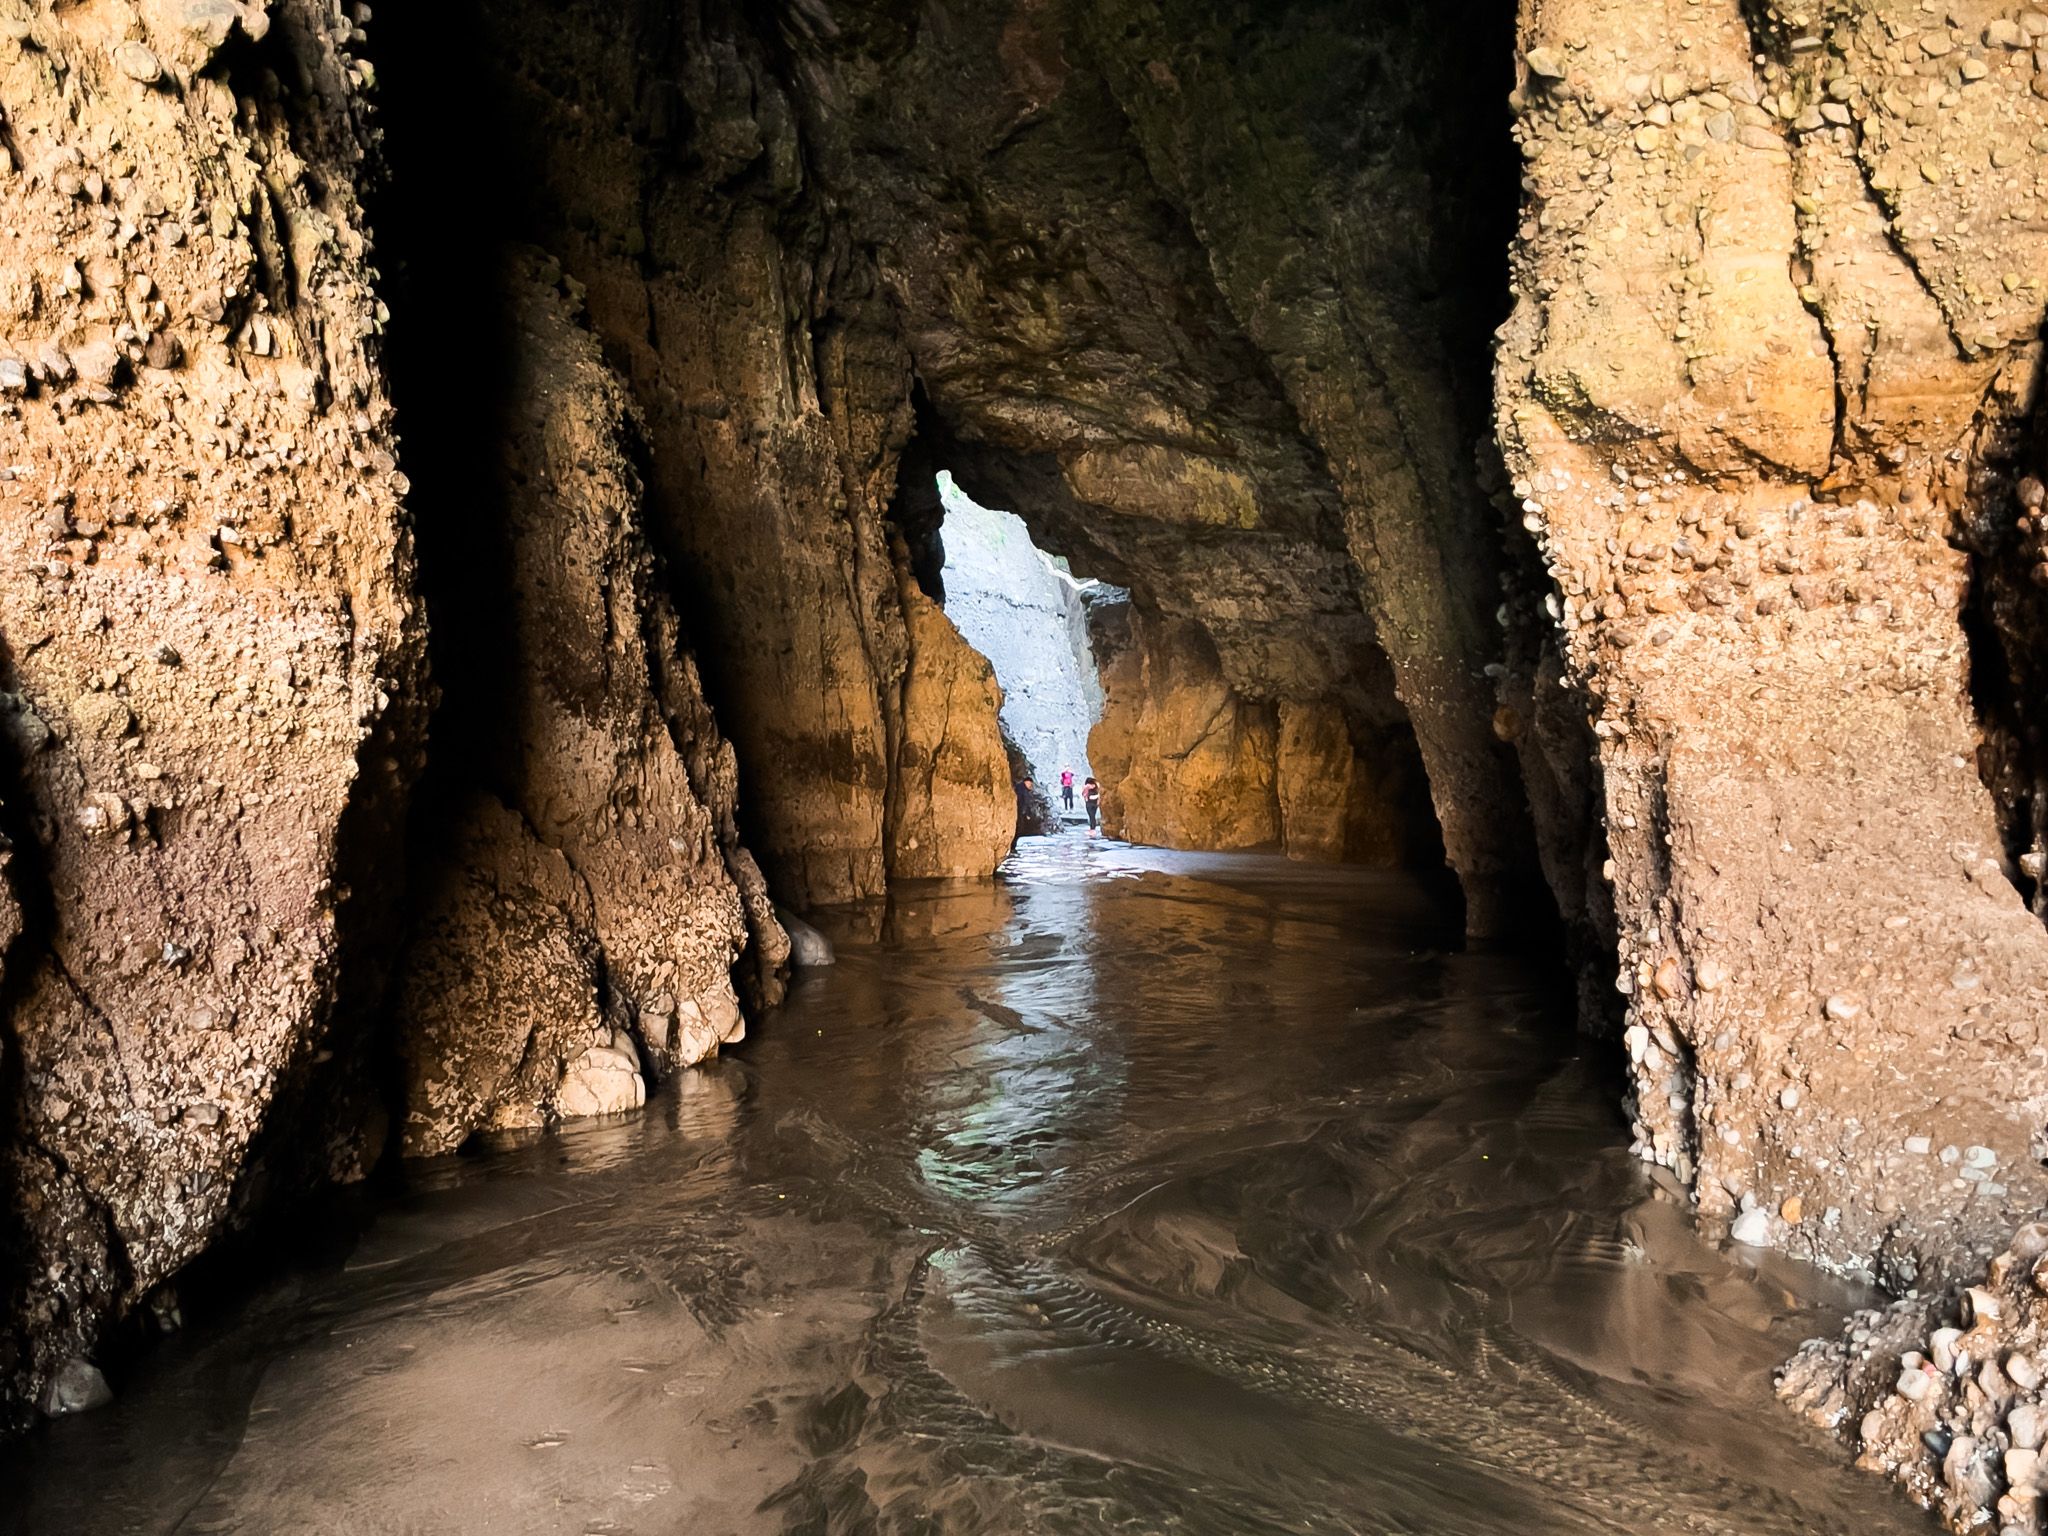
Located on the west coast of the Waitākere Ranges in Auckland, Piha is known for its rugged beauty and surf culture. Among its many features is the Piha Blowhole, a natural formation that was once a popular attraction. It no longer functions as a blowhole. Instead, there is a large natural tunnel you can walk through at low tide to a surf beach, with several large sea caves. A true hidden gem!
Finding Your Way
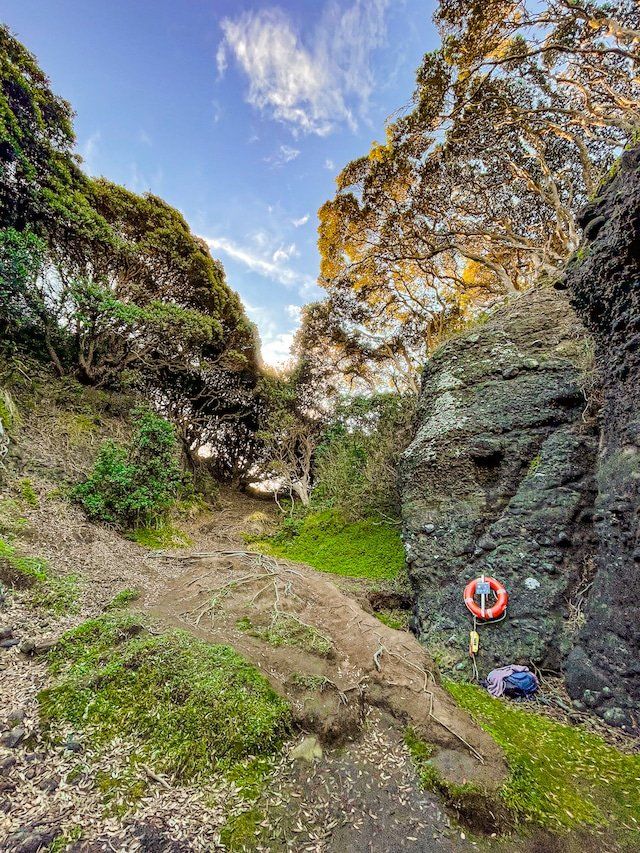
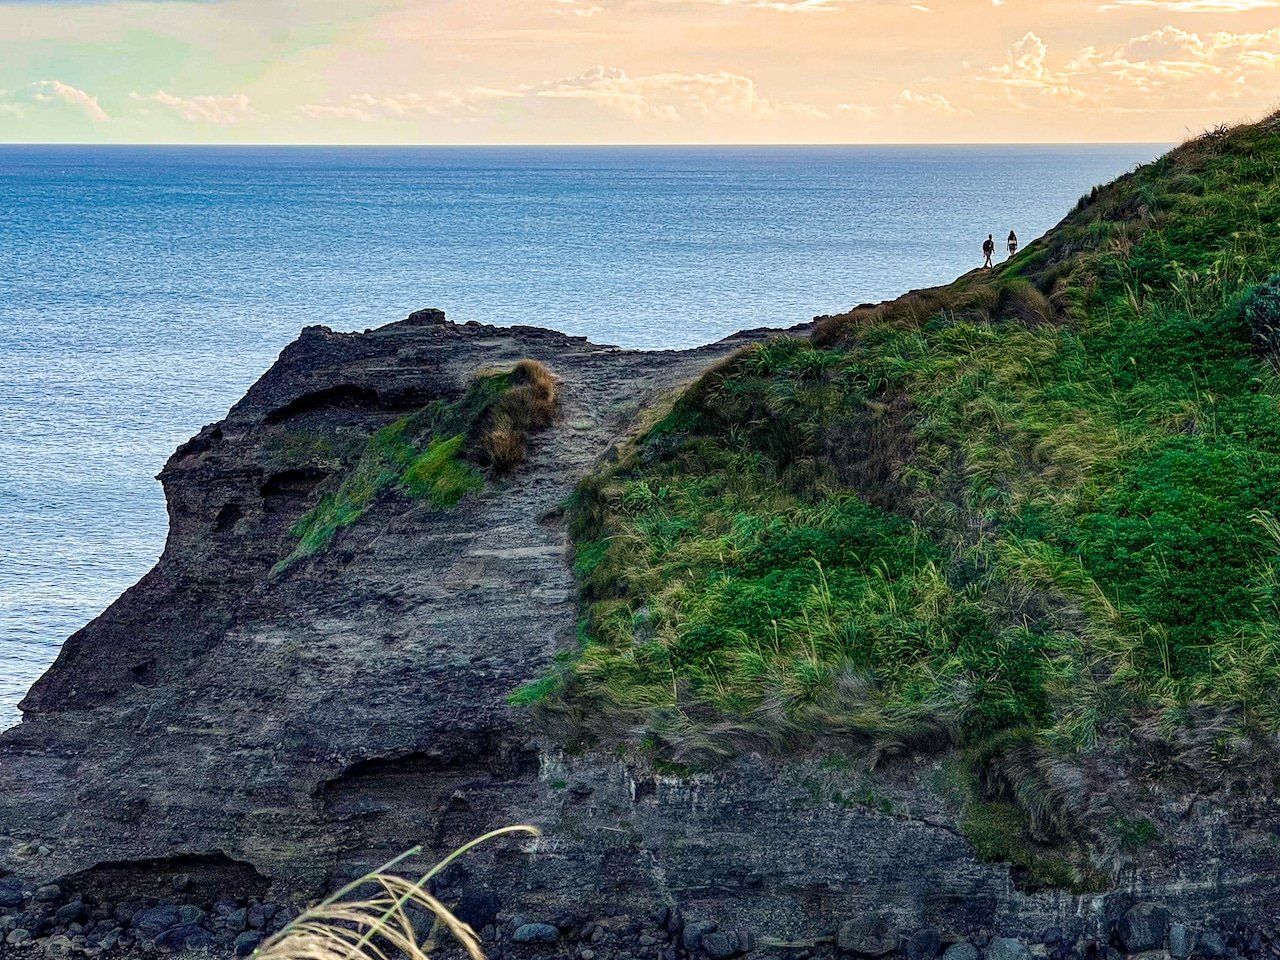
Over the years, the Piha Blowhole has been obscured by the growth of shrubs and pōhutukawa trees. On the south side of The Gap, follow a strip of sand behind the cliffs that leads to an unmarked track through grass, then into the scrub and pōhutukawa regrowth. There is an Auckland City sign amongst the regrowth, noting the nearby blowhole.
If it takes more than a few minutes to find the sign and amphitheatre where the Blowhold terminated and the tunnel access, you may need to adjust your path. Once you locate it, you should also spot the faint track leading to the top of the cliffs above the tunnel.
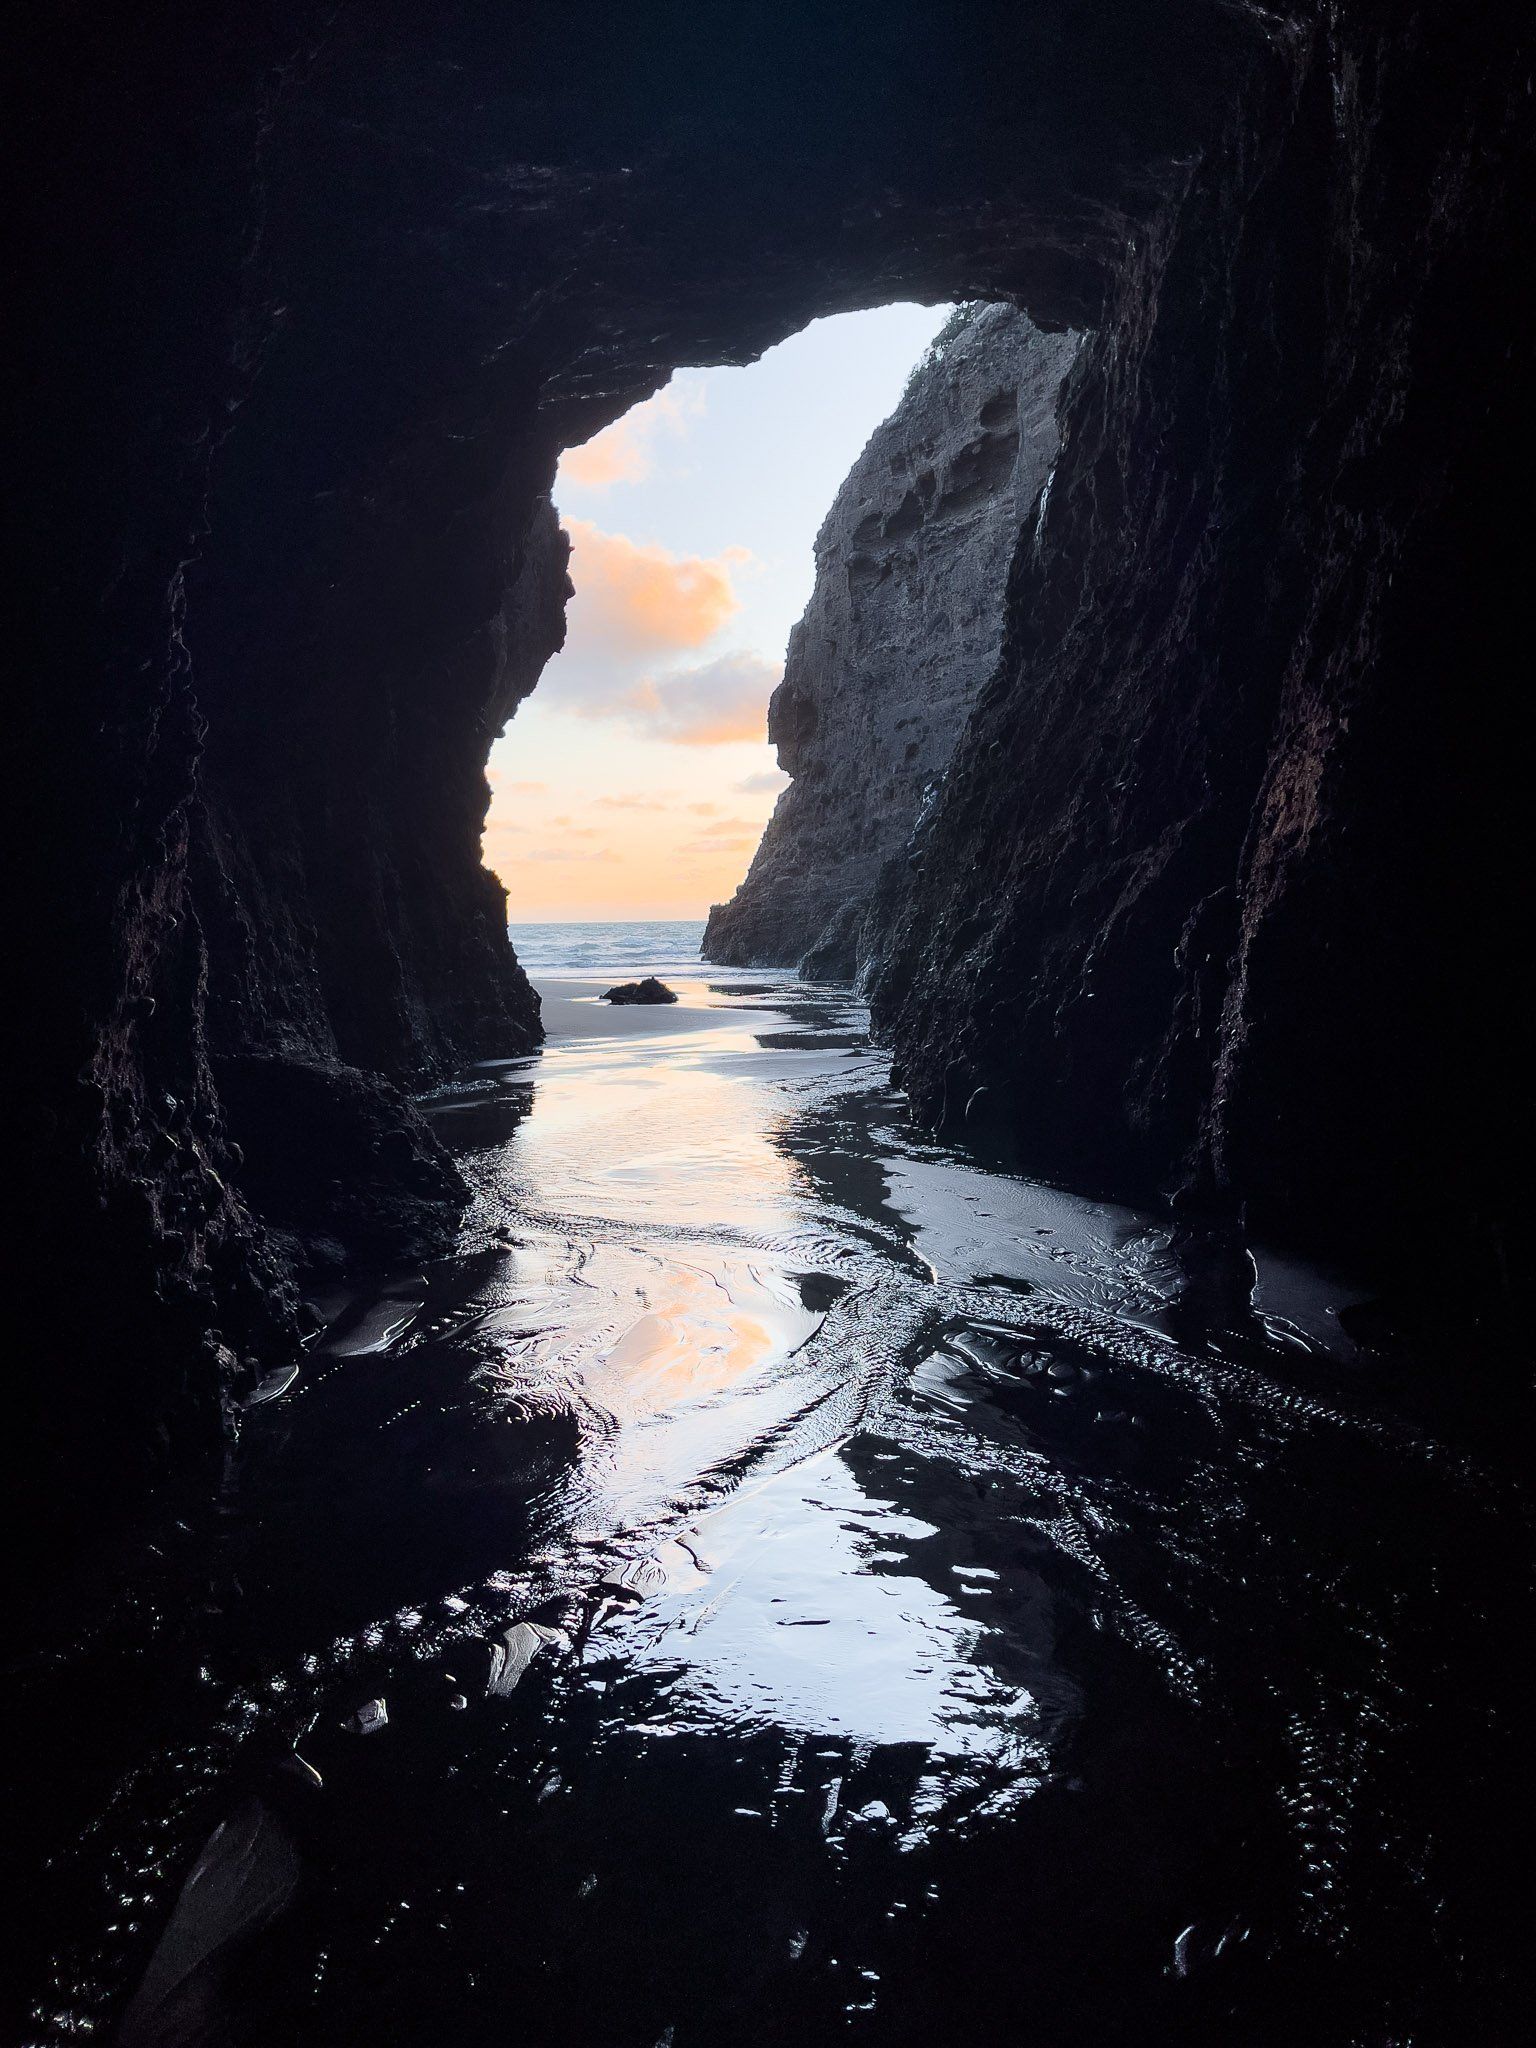
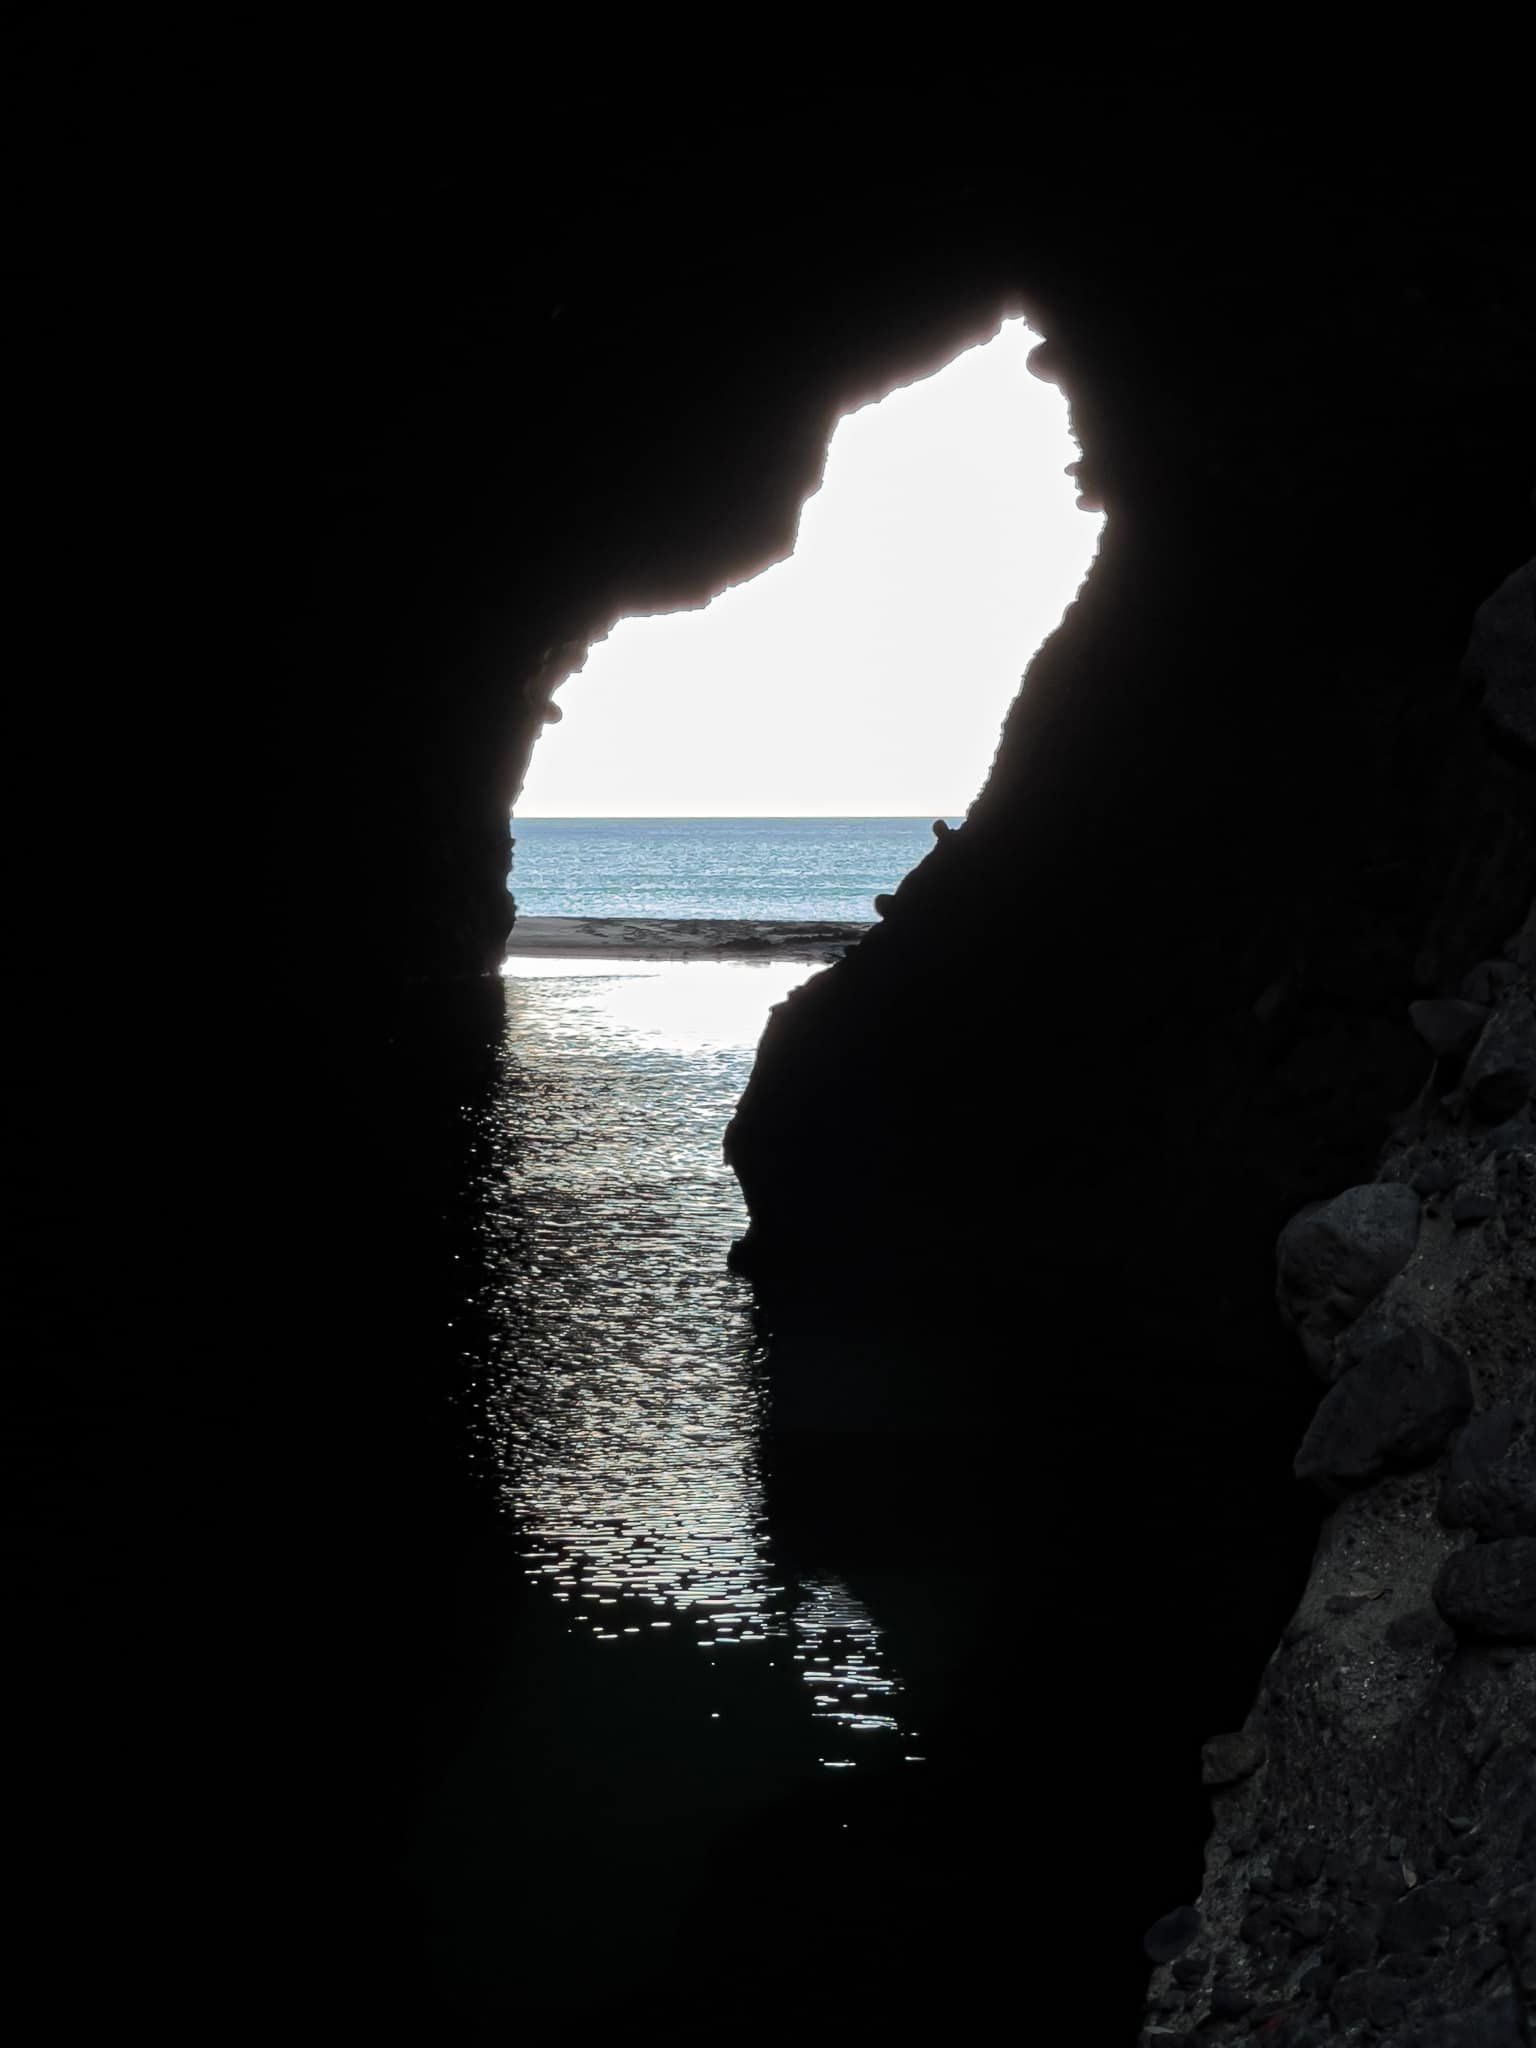
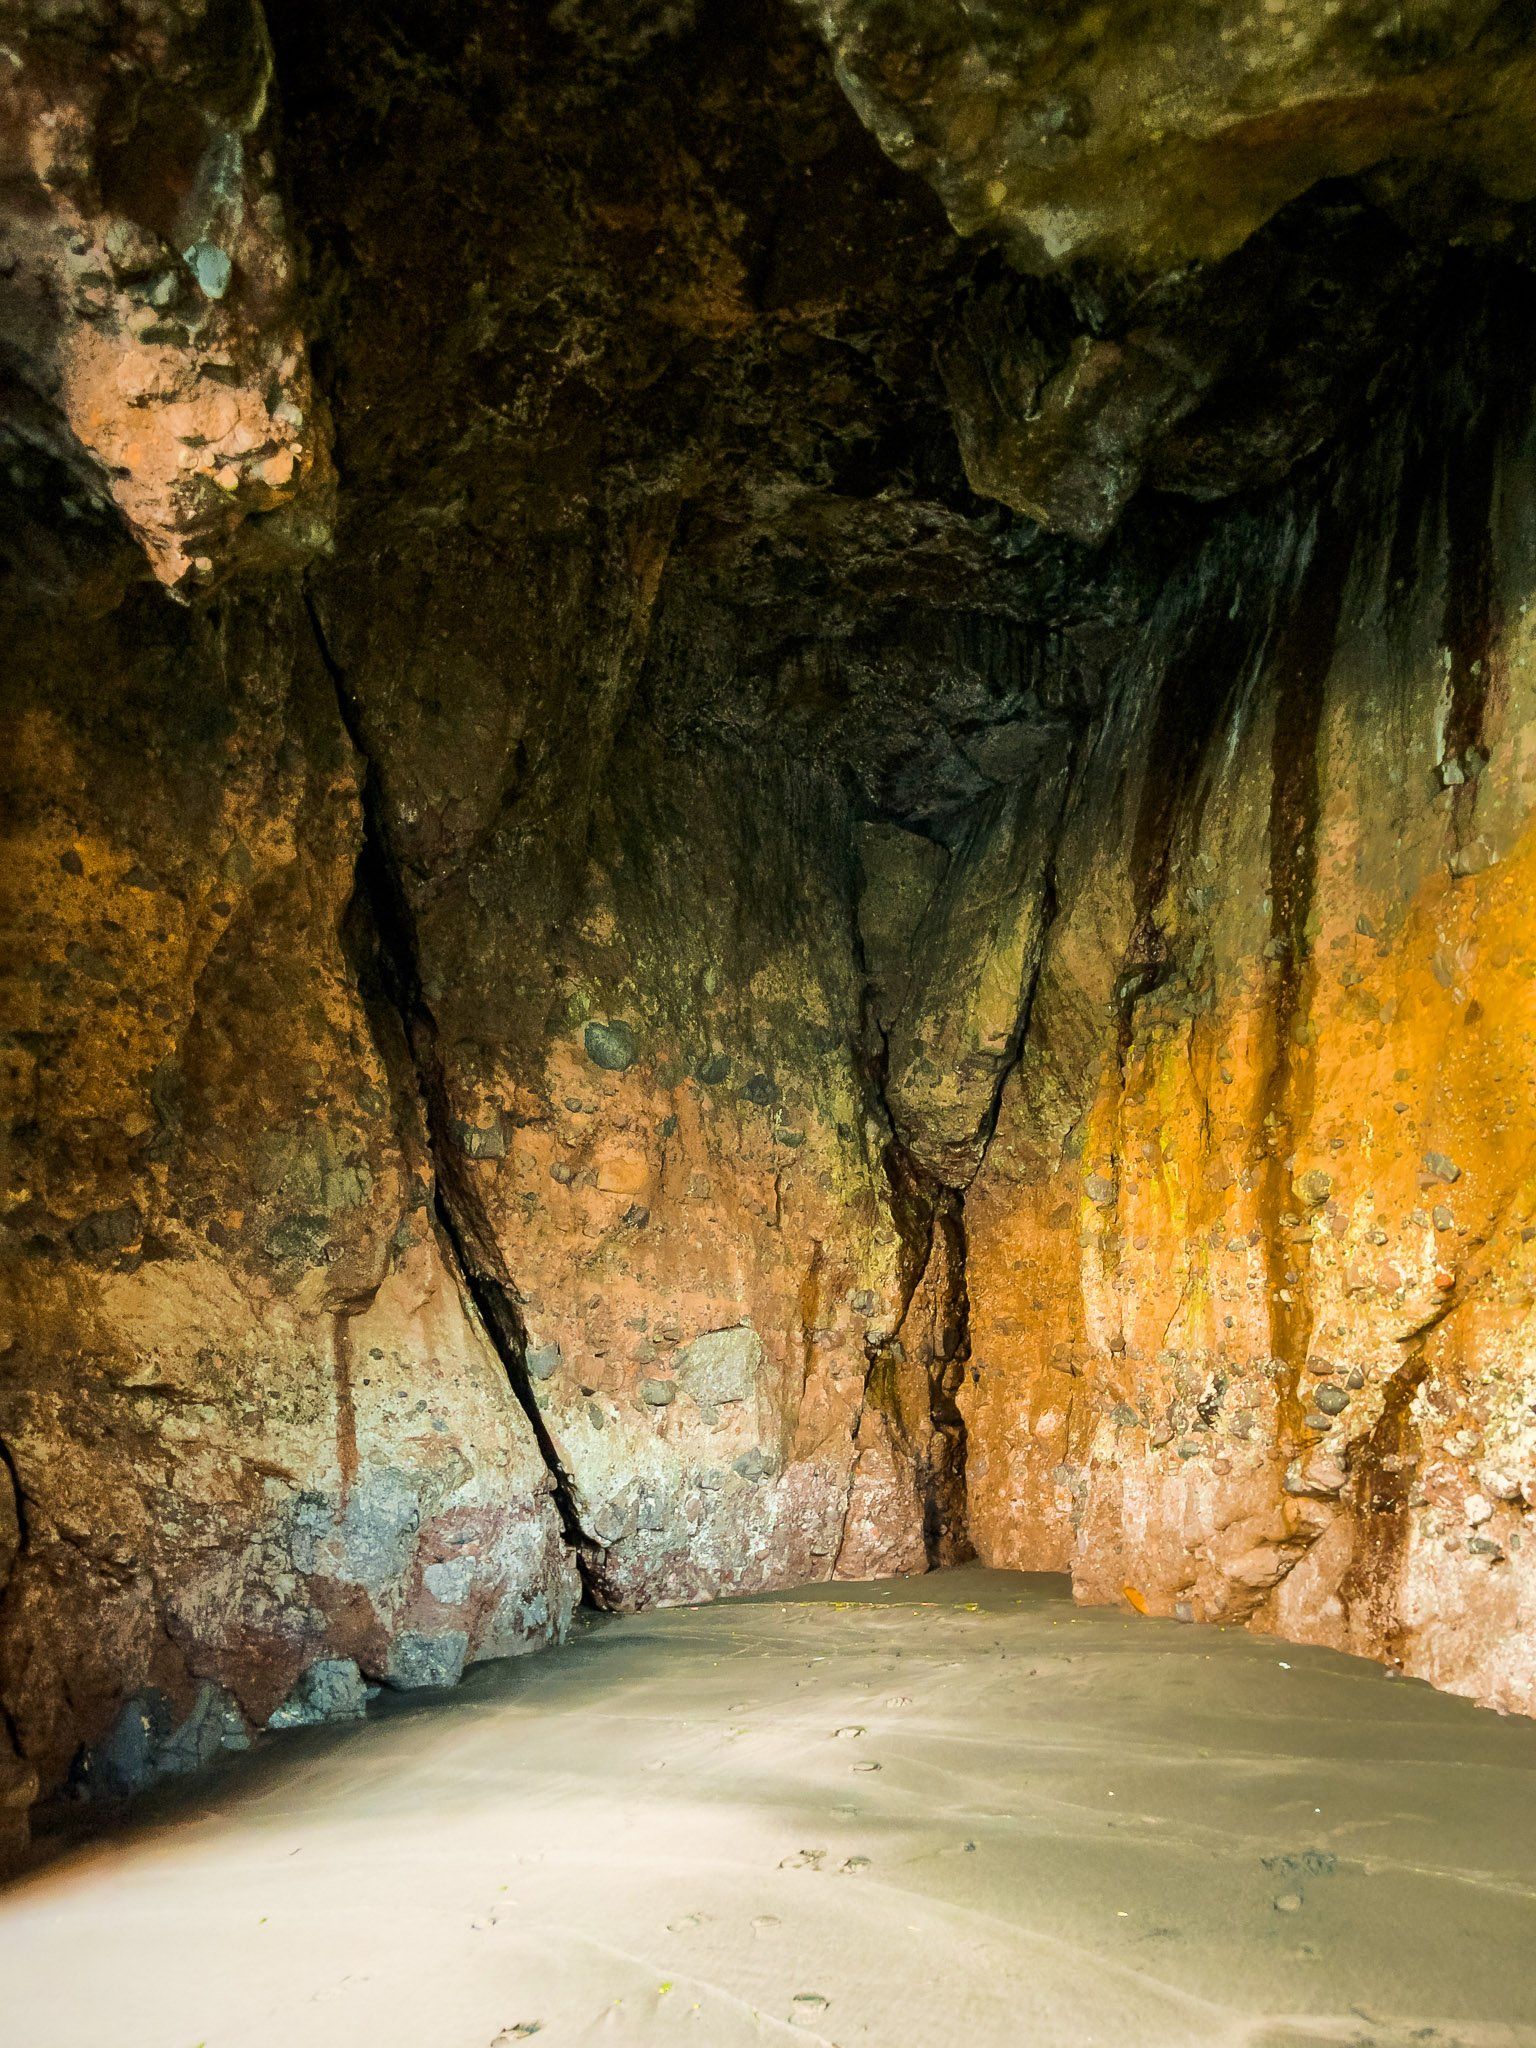
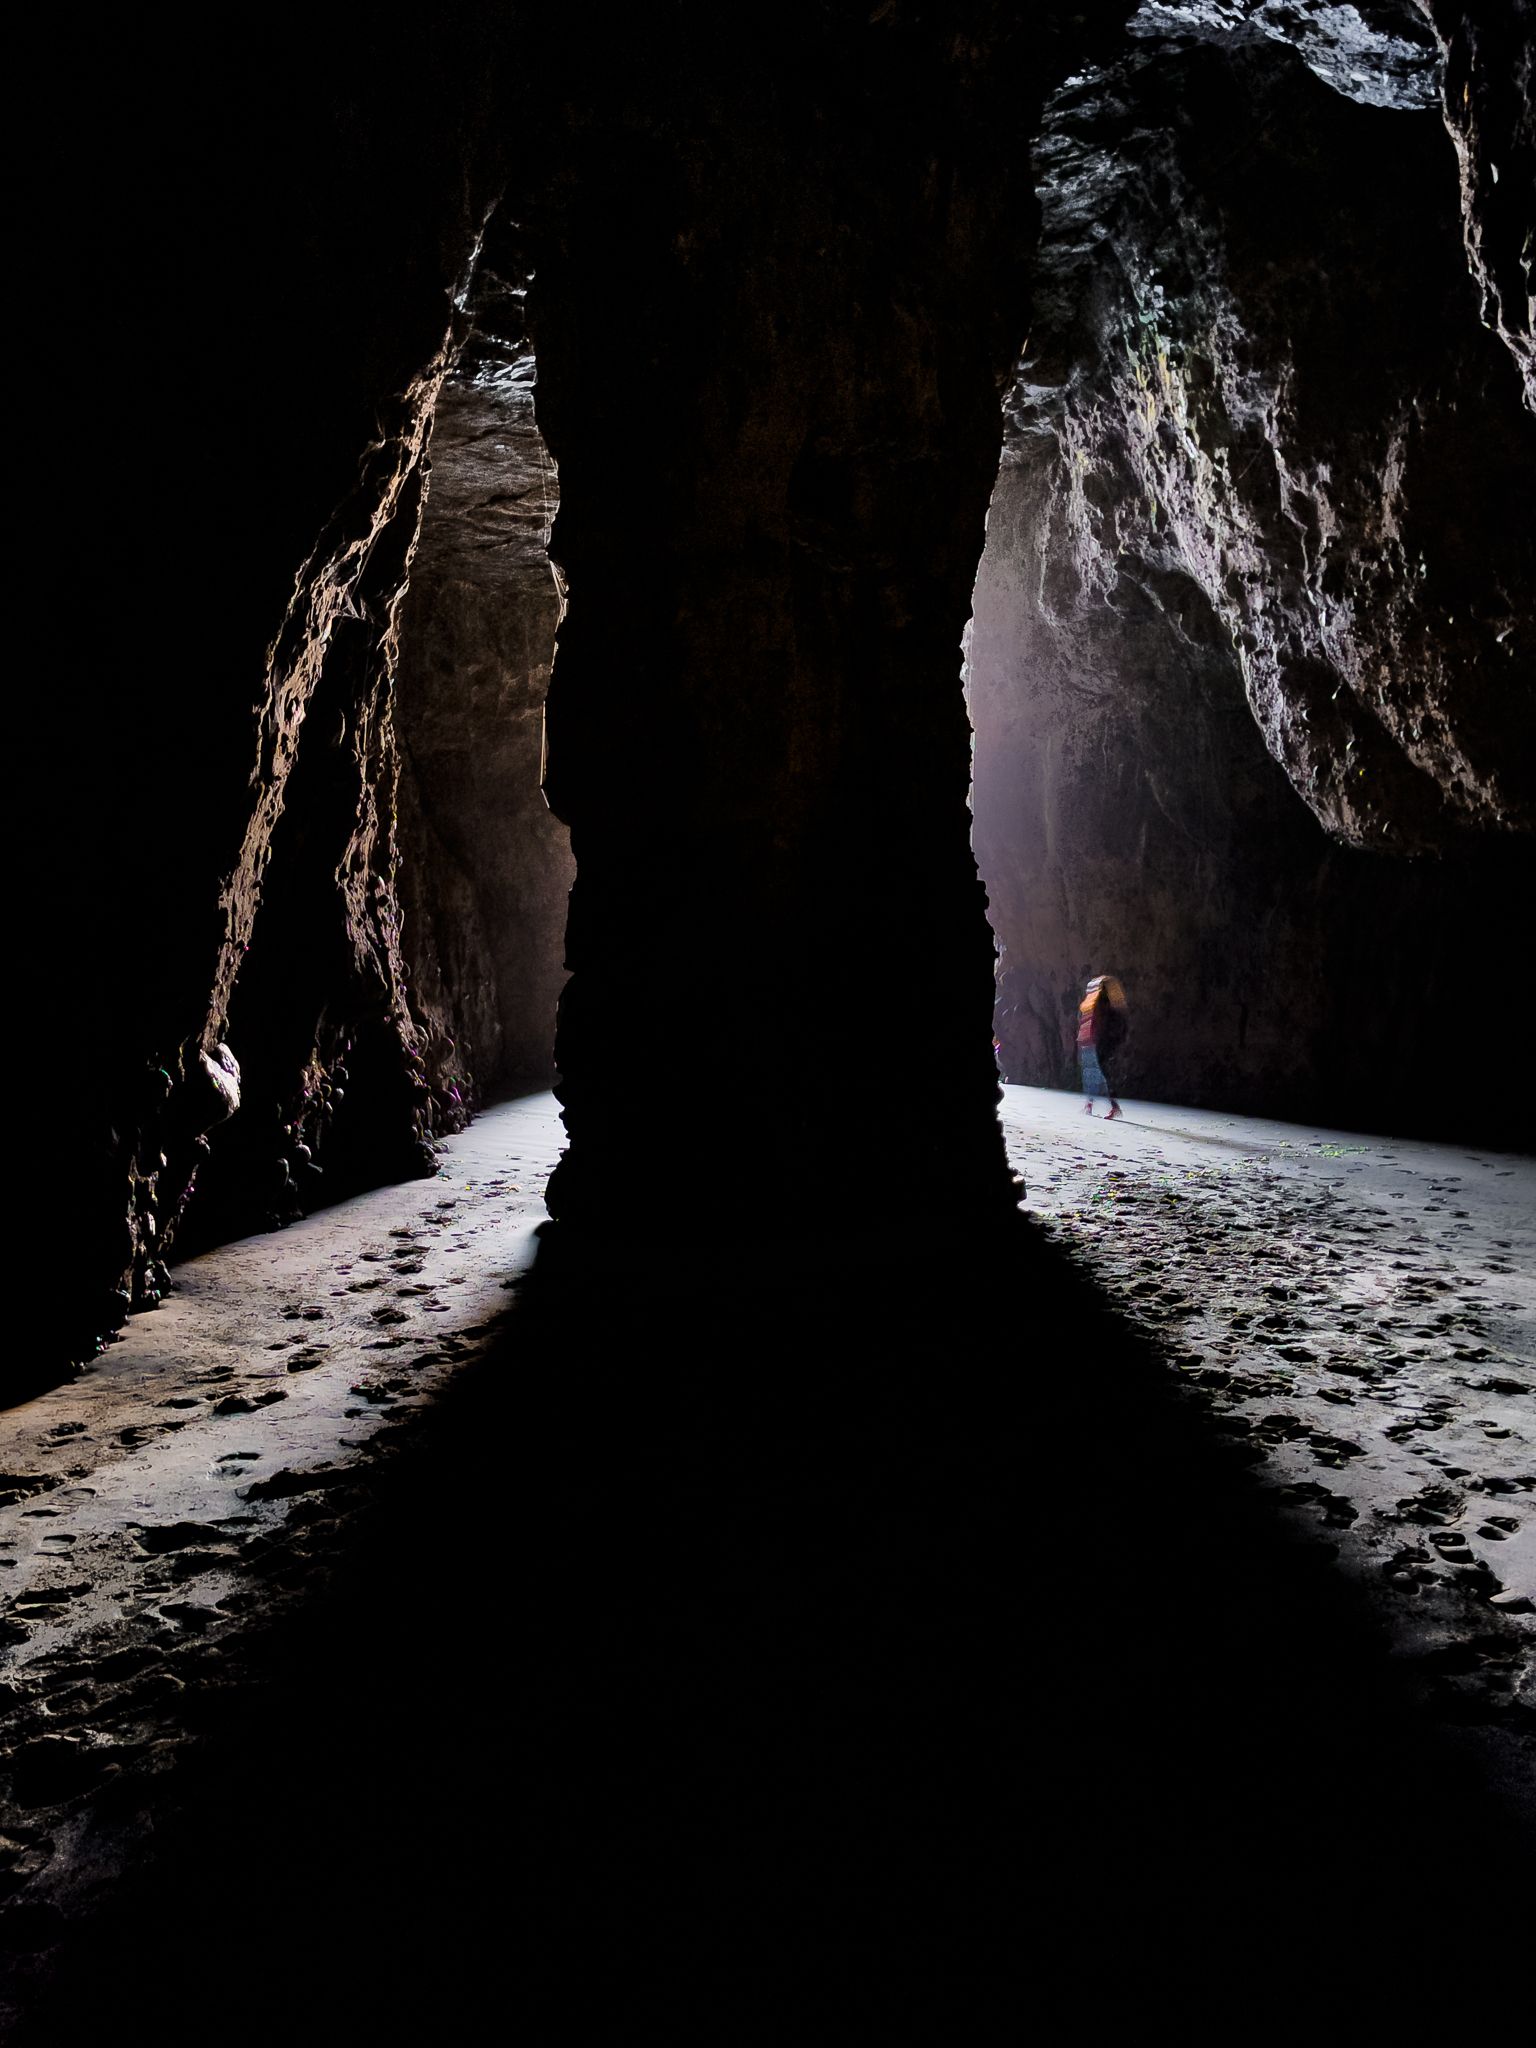
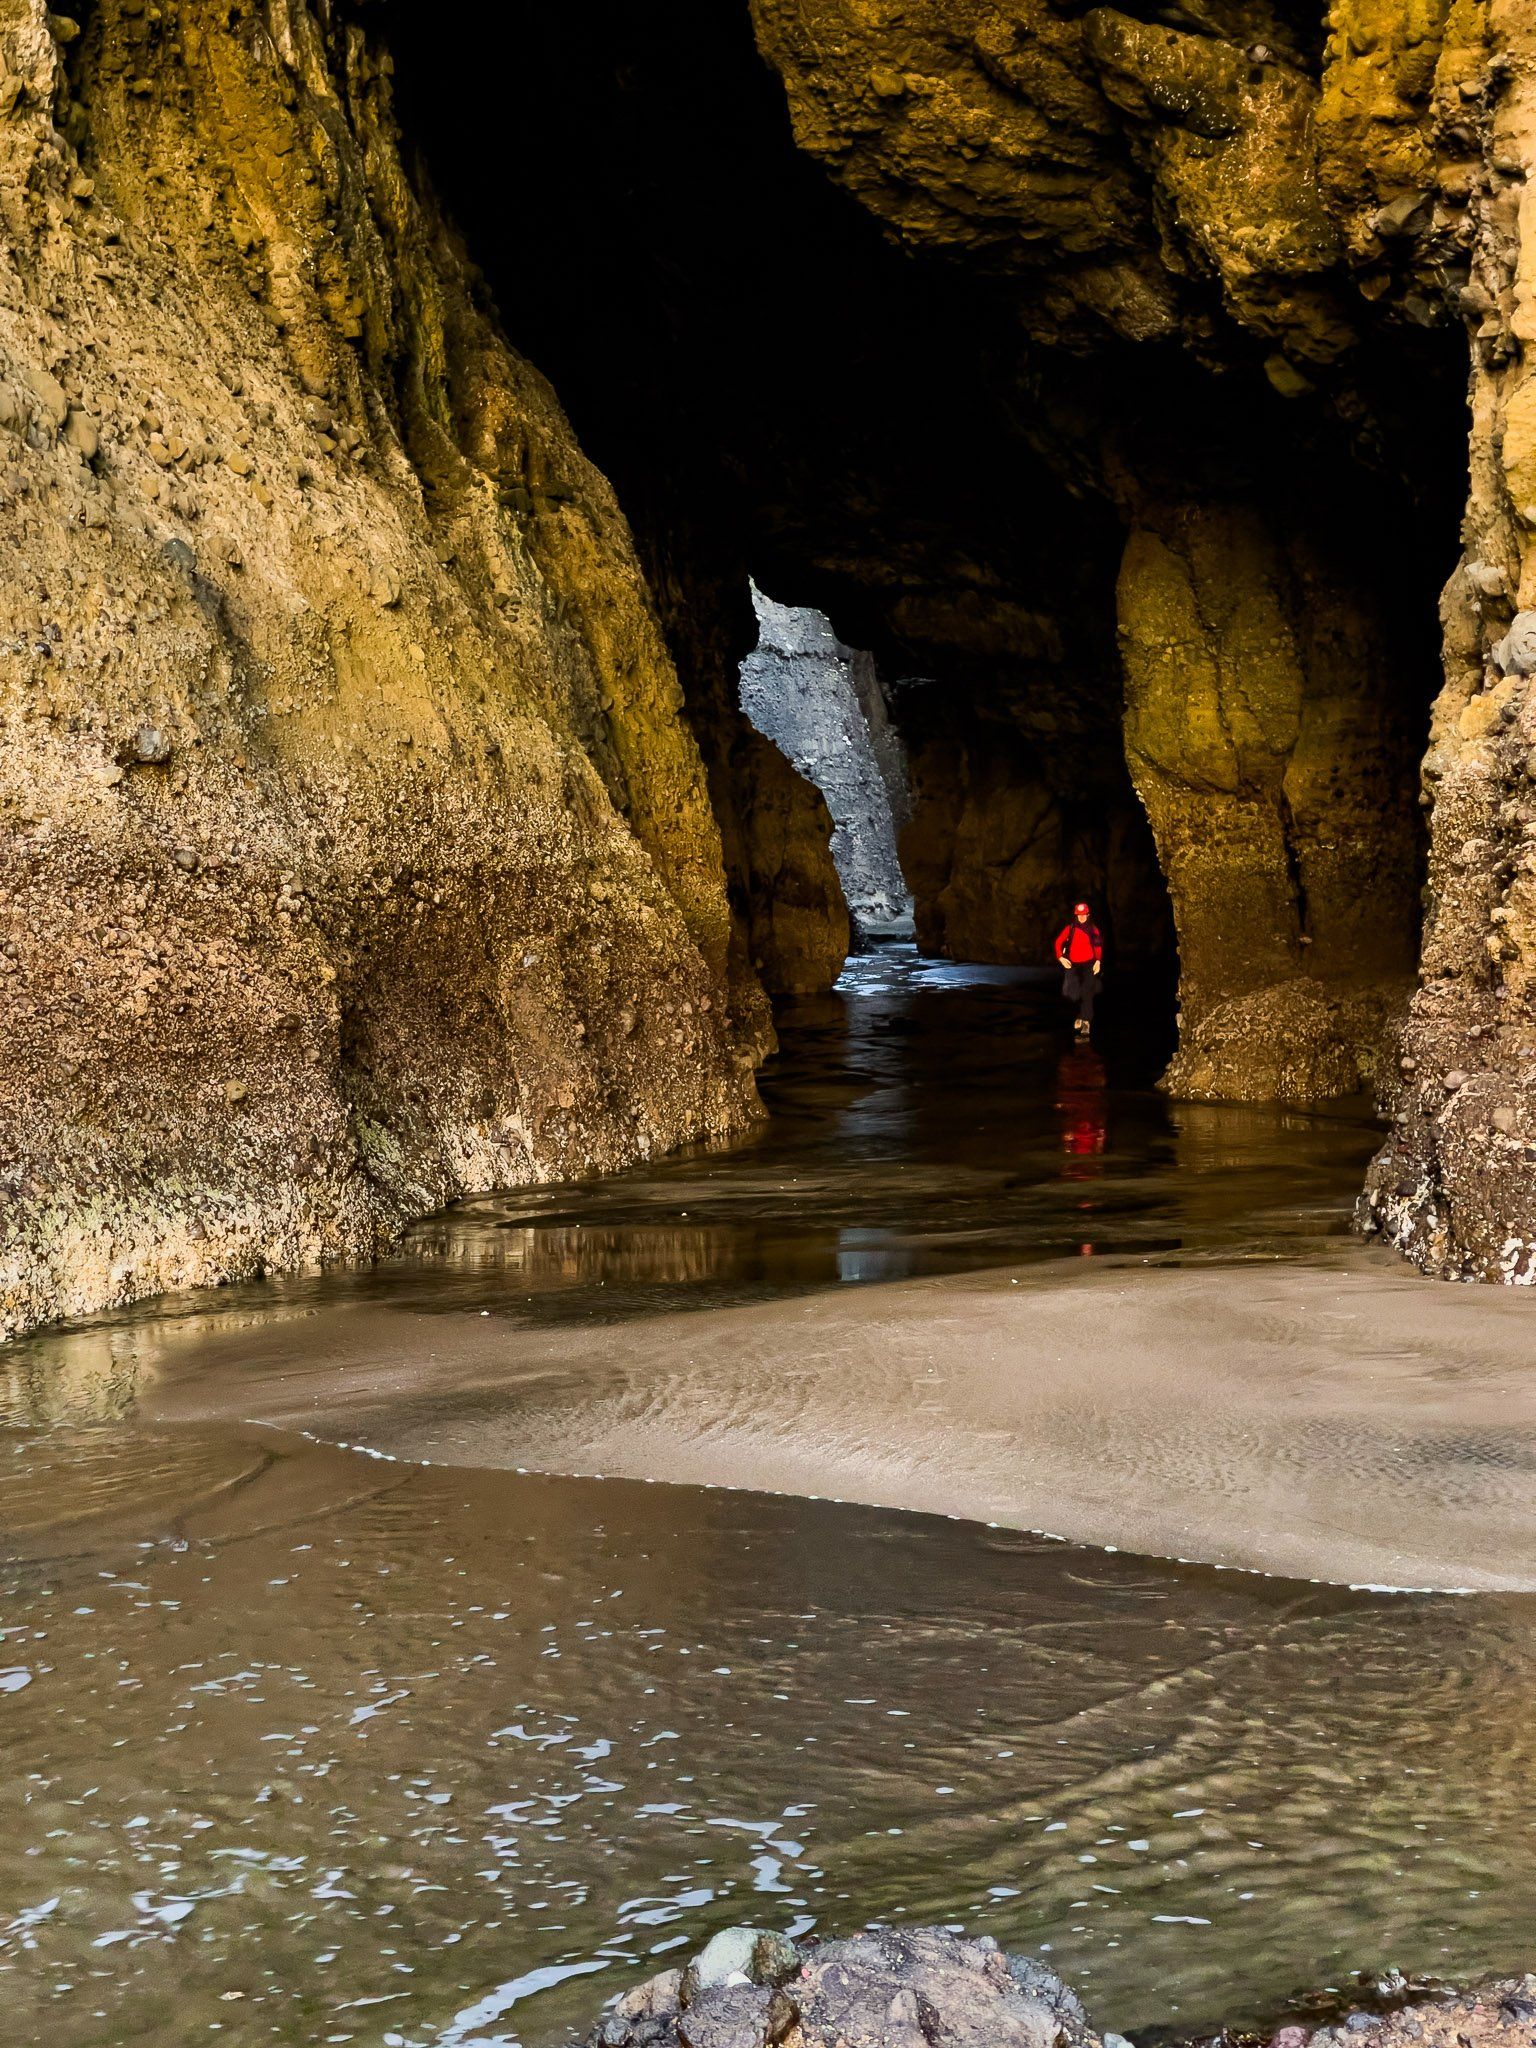
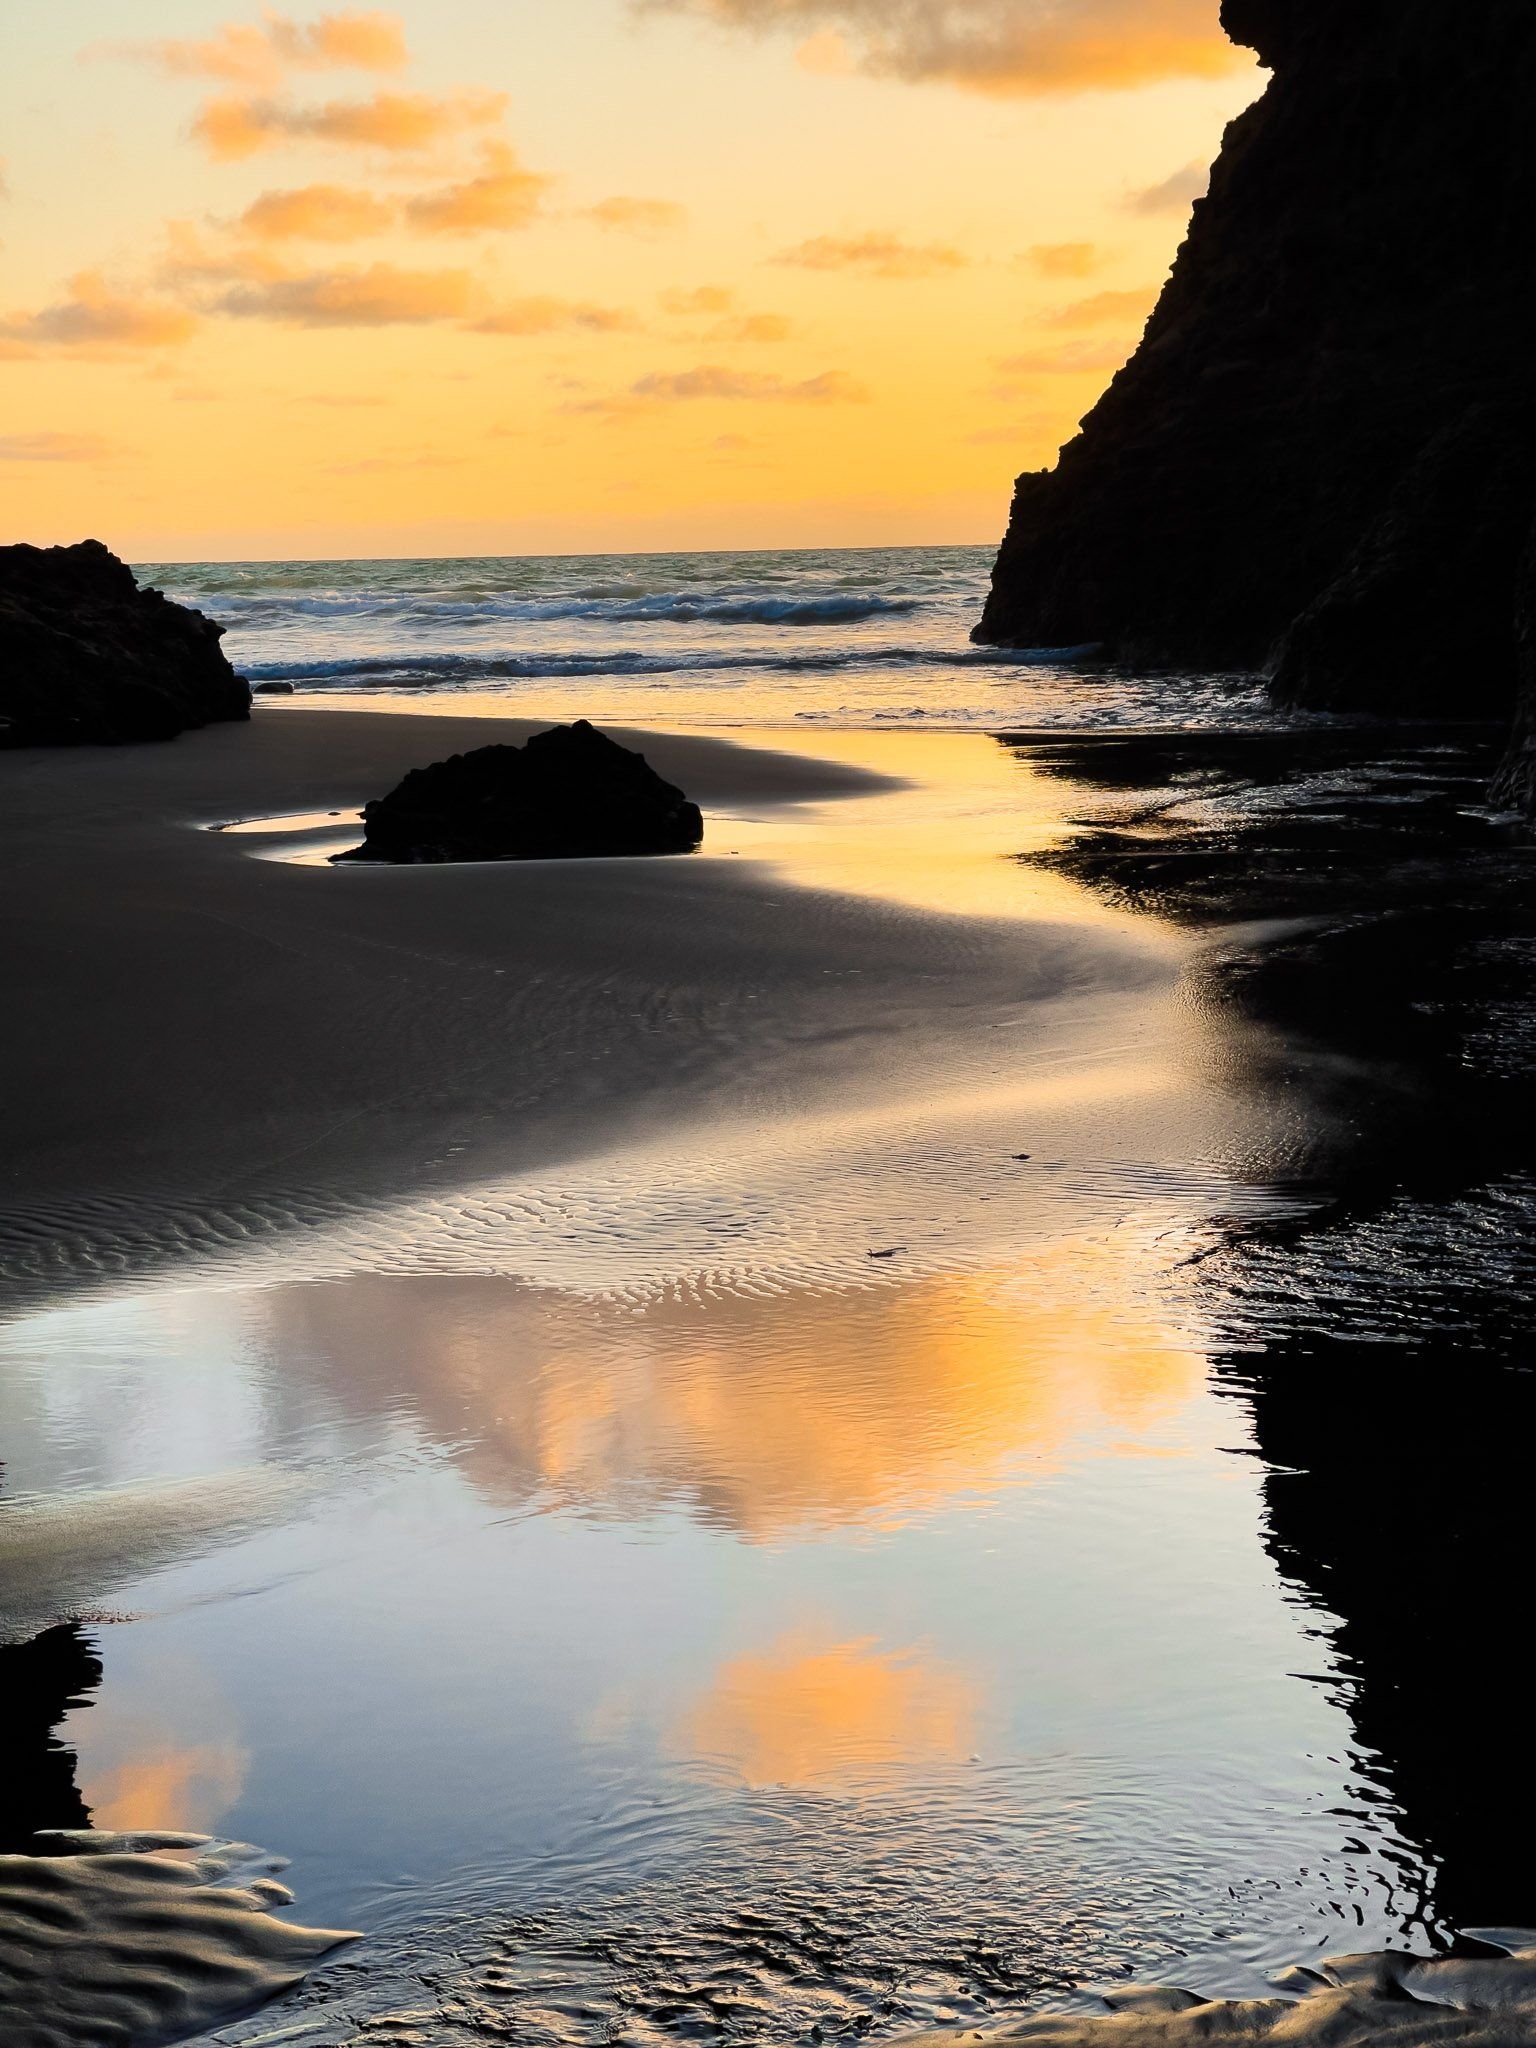
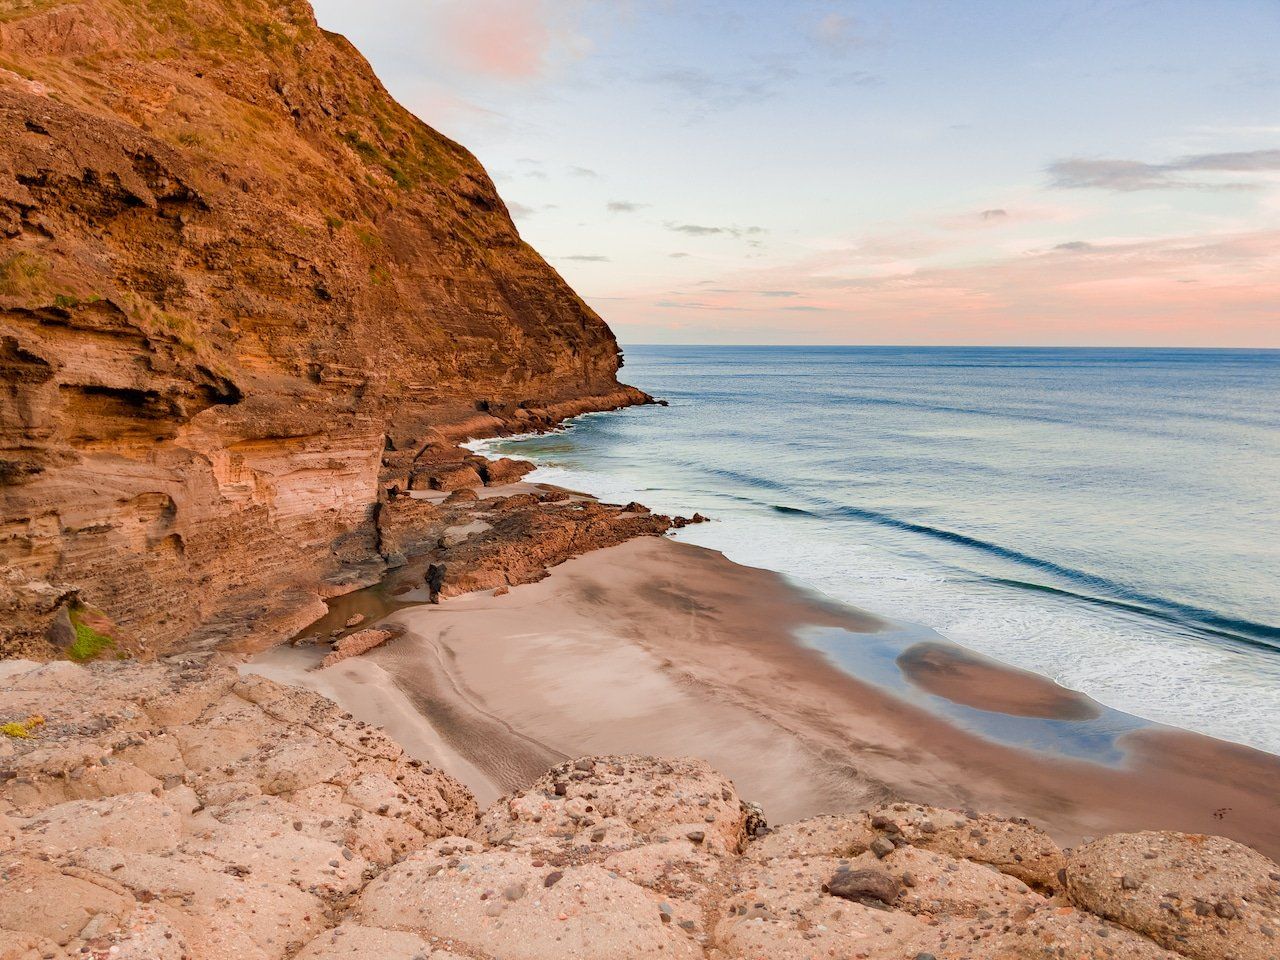
Depending on the tide and sea conditions, you should be able to walk through the tunnel to reach the beach on the other side. We have also seen it full of water, and the only way through was to wade and swim. Once on the beach, there are several other spectacular sea caves to explore, including one further past the rocks at the northern end of the beach. Check out the amazingly eroded shaped rocks as well, especially at the south end of the beach.
How to Get There
To reach Piha, drive west from Auckland, following the signs to Piha Beach. Once there, walk below the cliffs and Tasman Lookout to The Gap, about 500 metres, from the south end of Piha Beach to begin your search for the blowhole.
Other places to explore around Piha include Lion Rock, North Piha, Kitekite Falls, Maungaroa Track, Marawhara Track to White Track and Whites Beach.