Exploring the Alps 2 Ocean Cycle Trail
The Alps 2 Ocean Cycle Trail in the South Island is an exhilarating journey through stunning landscapes, starting from either Mount Cook Aoraki or Lake Tekapo in the Southern Alps and ending in Ōamaru on the Pacific Coast. This trail leads you to Lake Pukaki and then on to Twizel.
If you're looking for a less challenging ride, beginning at Lake Tekapo is the better option.
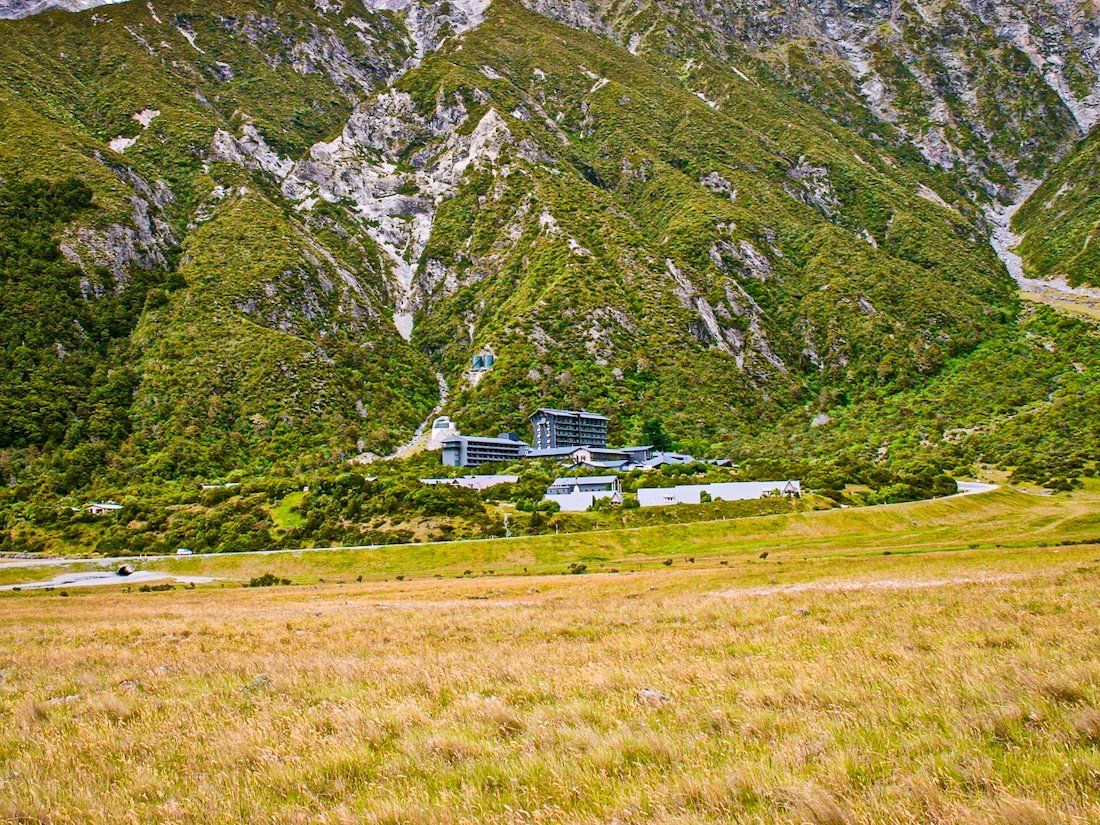
Starting from Mount Cook Aoraki
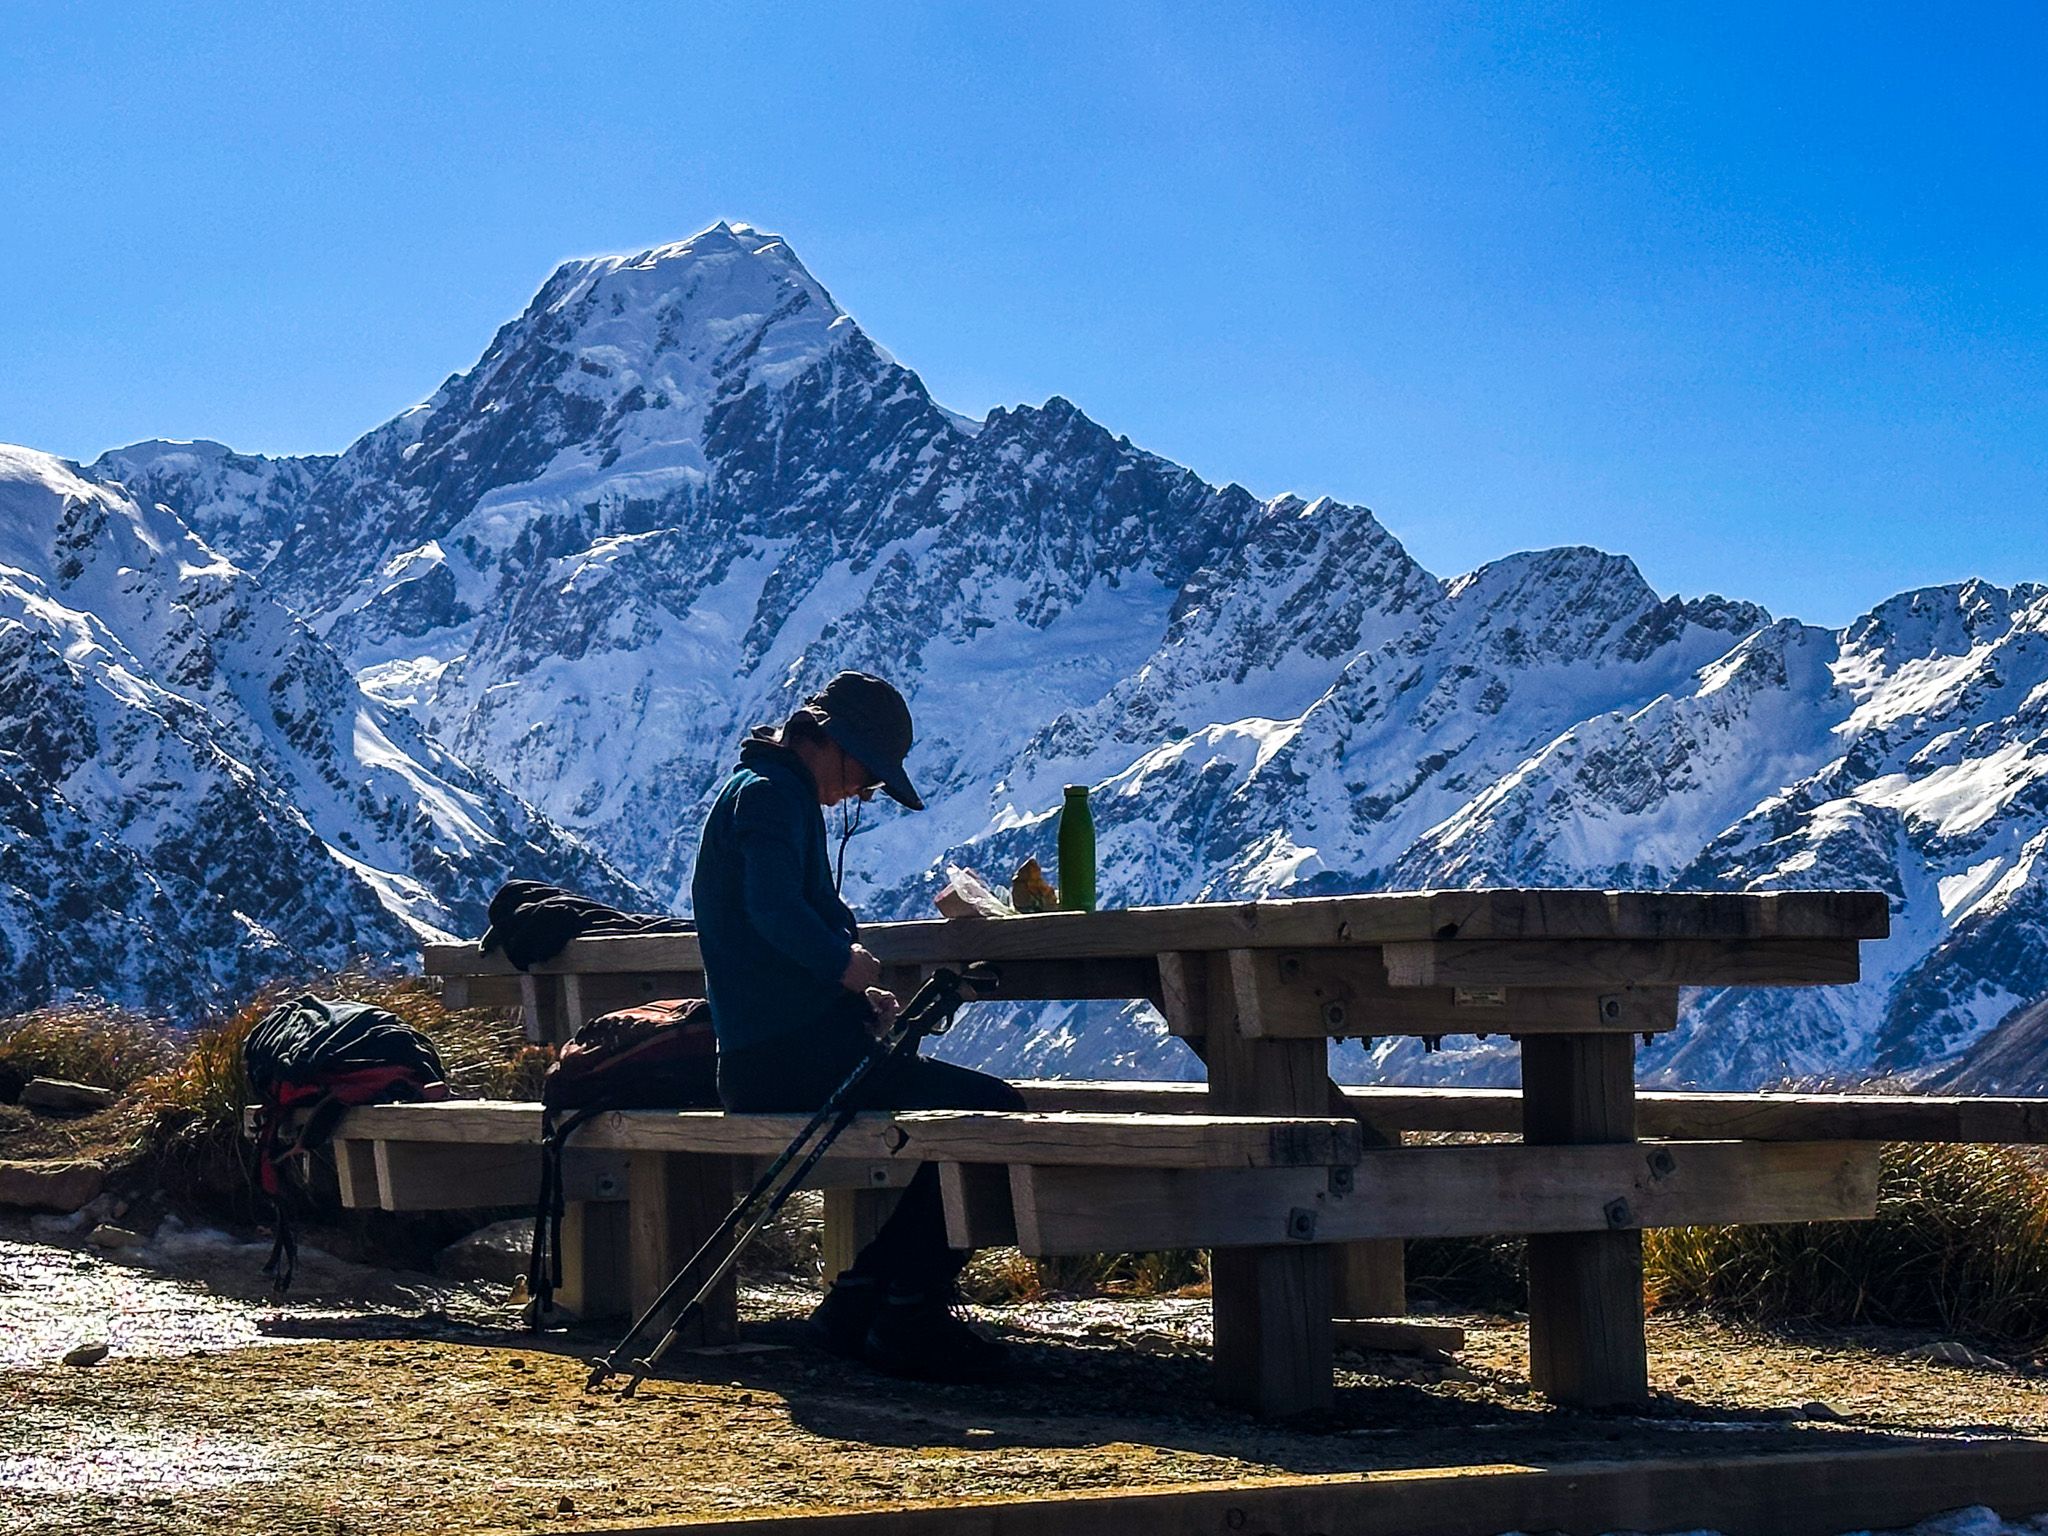
If you choose to start from Mount Cook Aoraki, your ride begins at the White Horse Hill Campground. From here, a 7.2 km trail takes you to Mount Cook Airport. At this point, you'll need to take a short helicopter flight across the Tasman River to reach Tasman Point. The helicopter can accommodate up to six passengers and requires pre-booking.
Cycling from Tasman Point
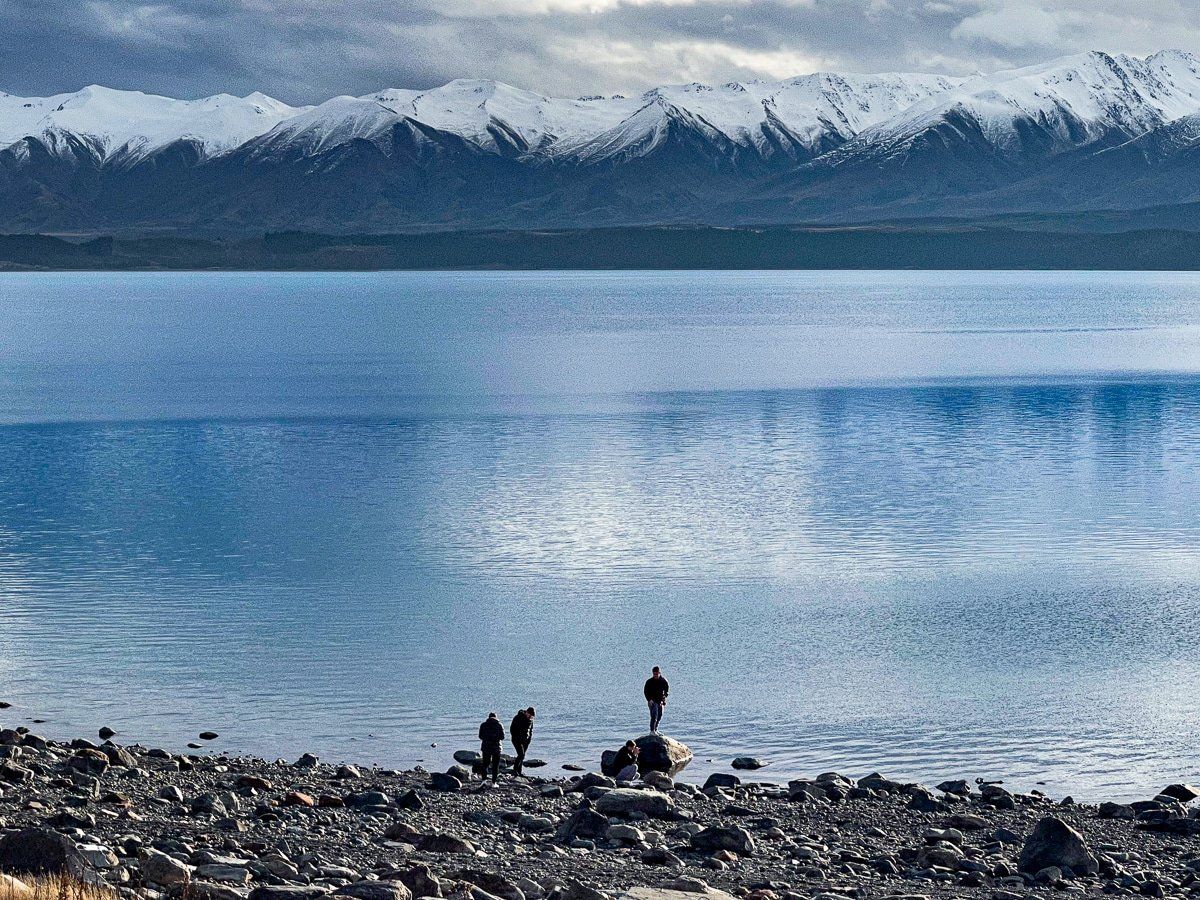
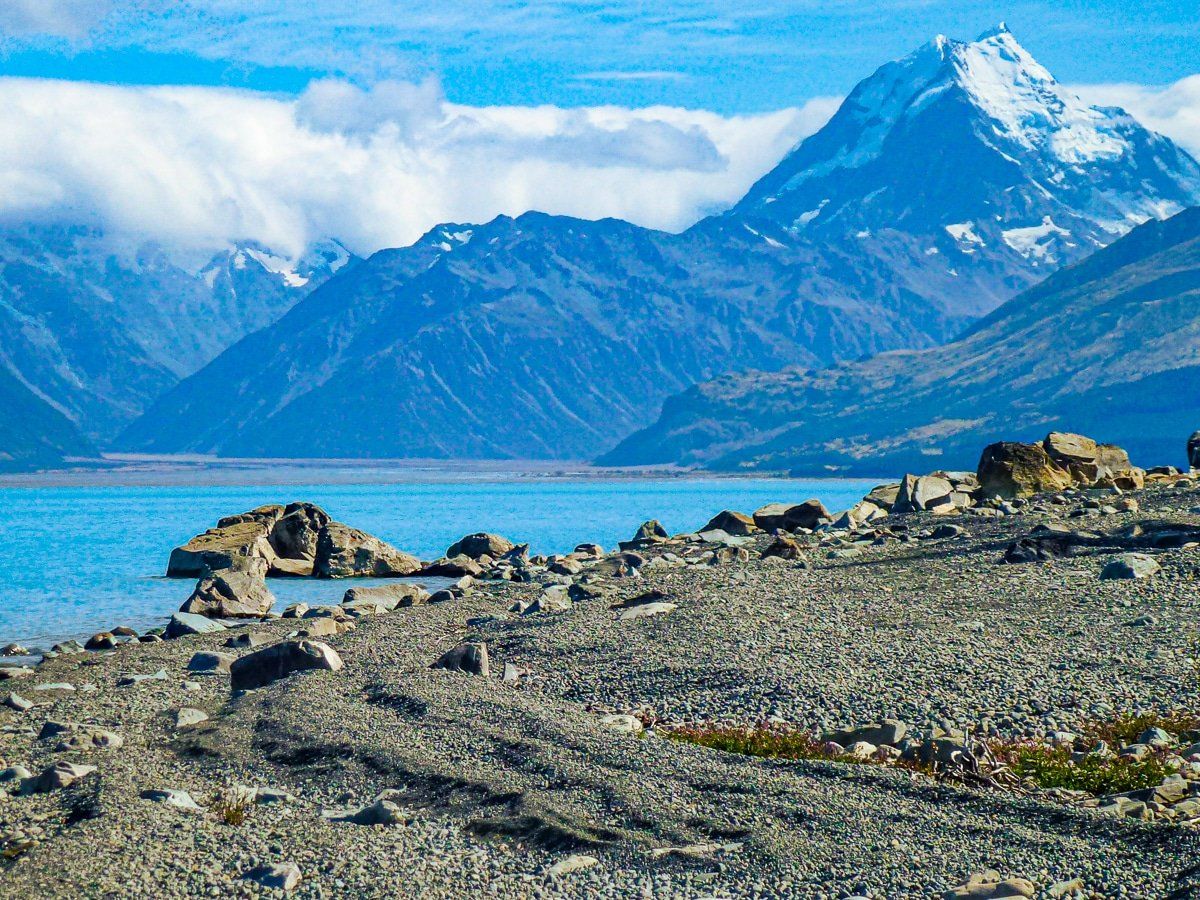
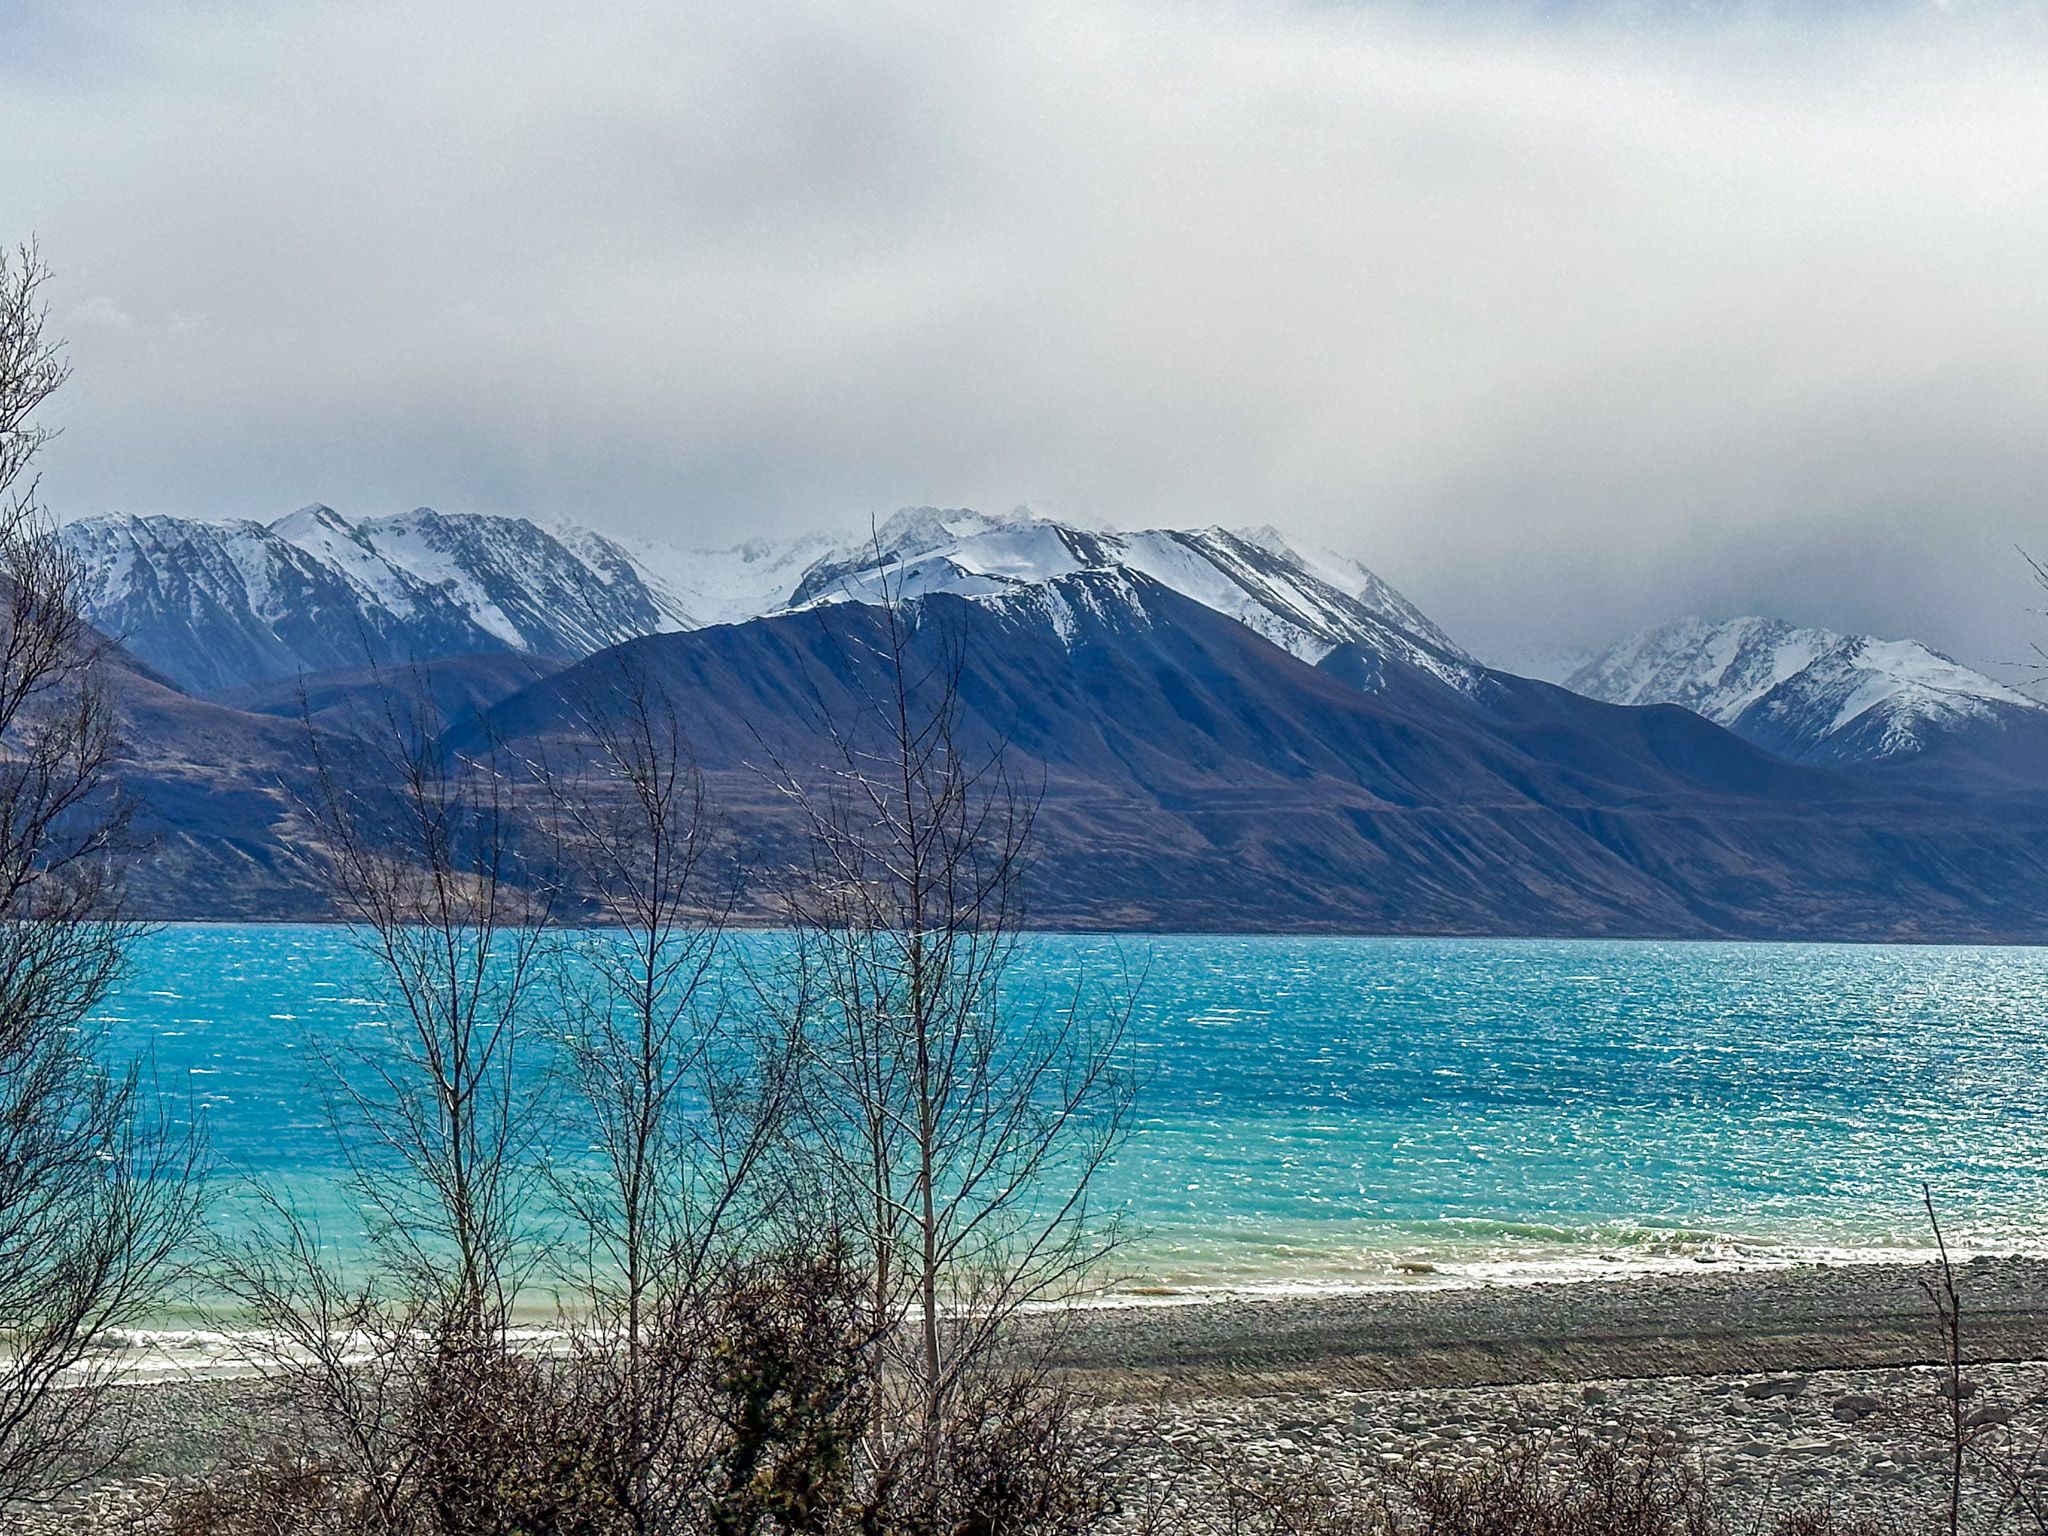
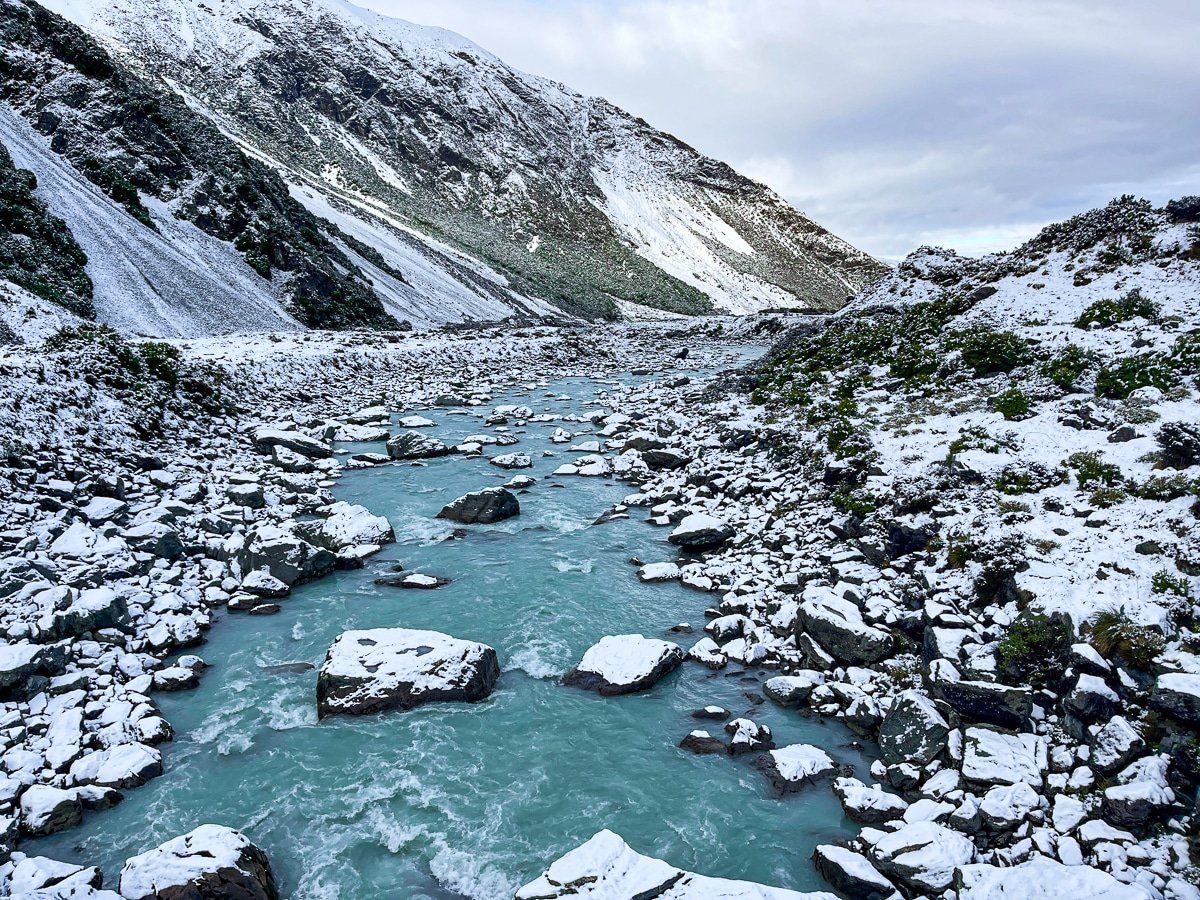
Once at Tasman Point, the trail continues for 10.6 km along a rugged track on the east side of the Tasman River, leading you to Lake Pukaki. This section includes several creek crossings and ends at the Jollie Car Park.
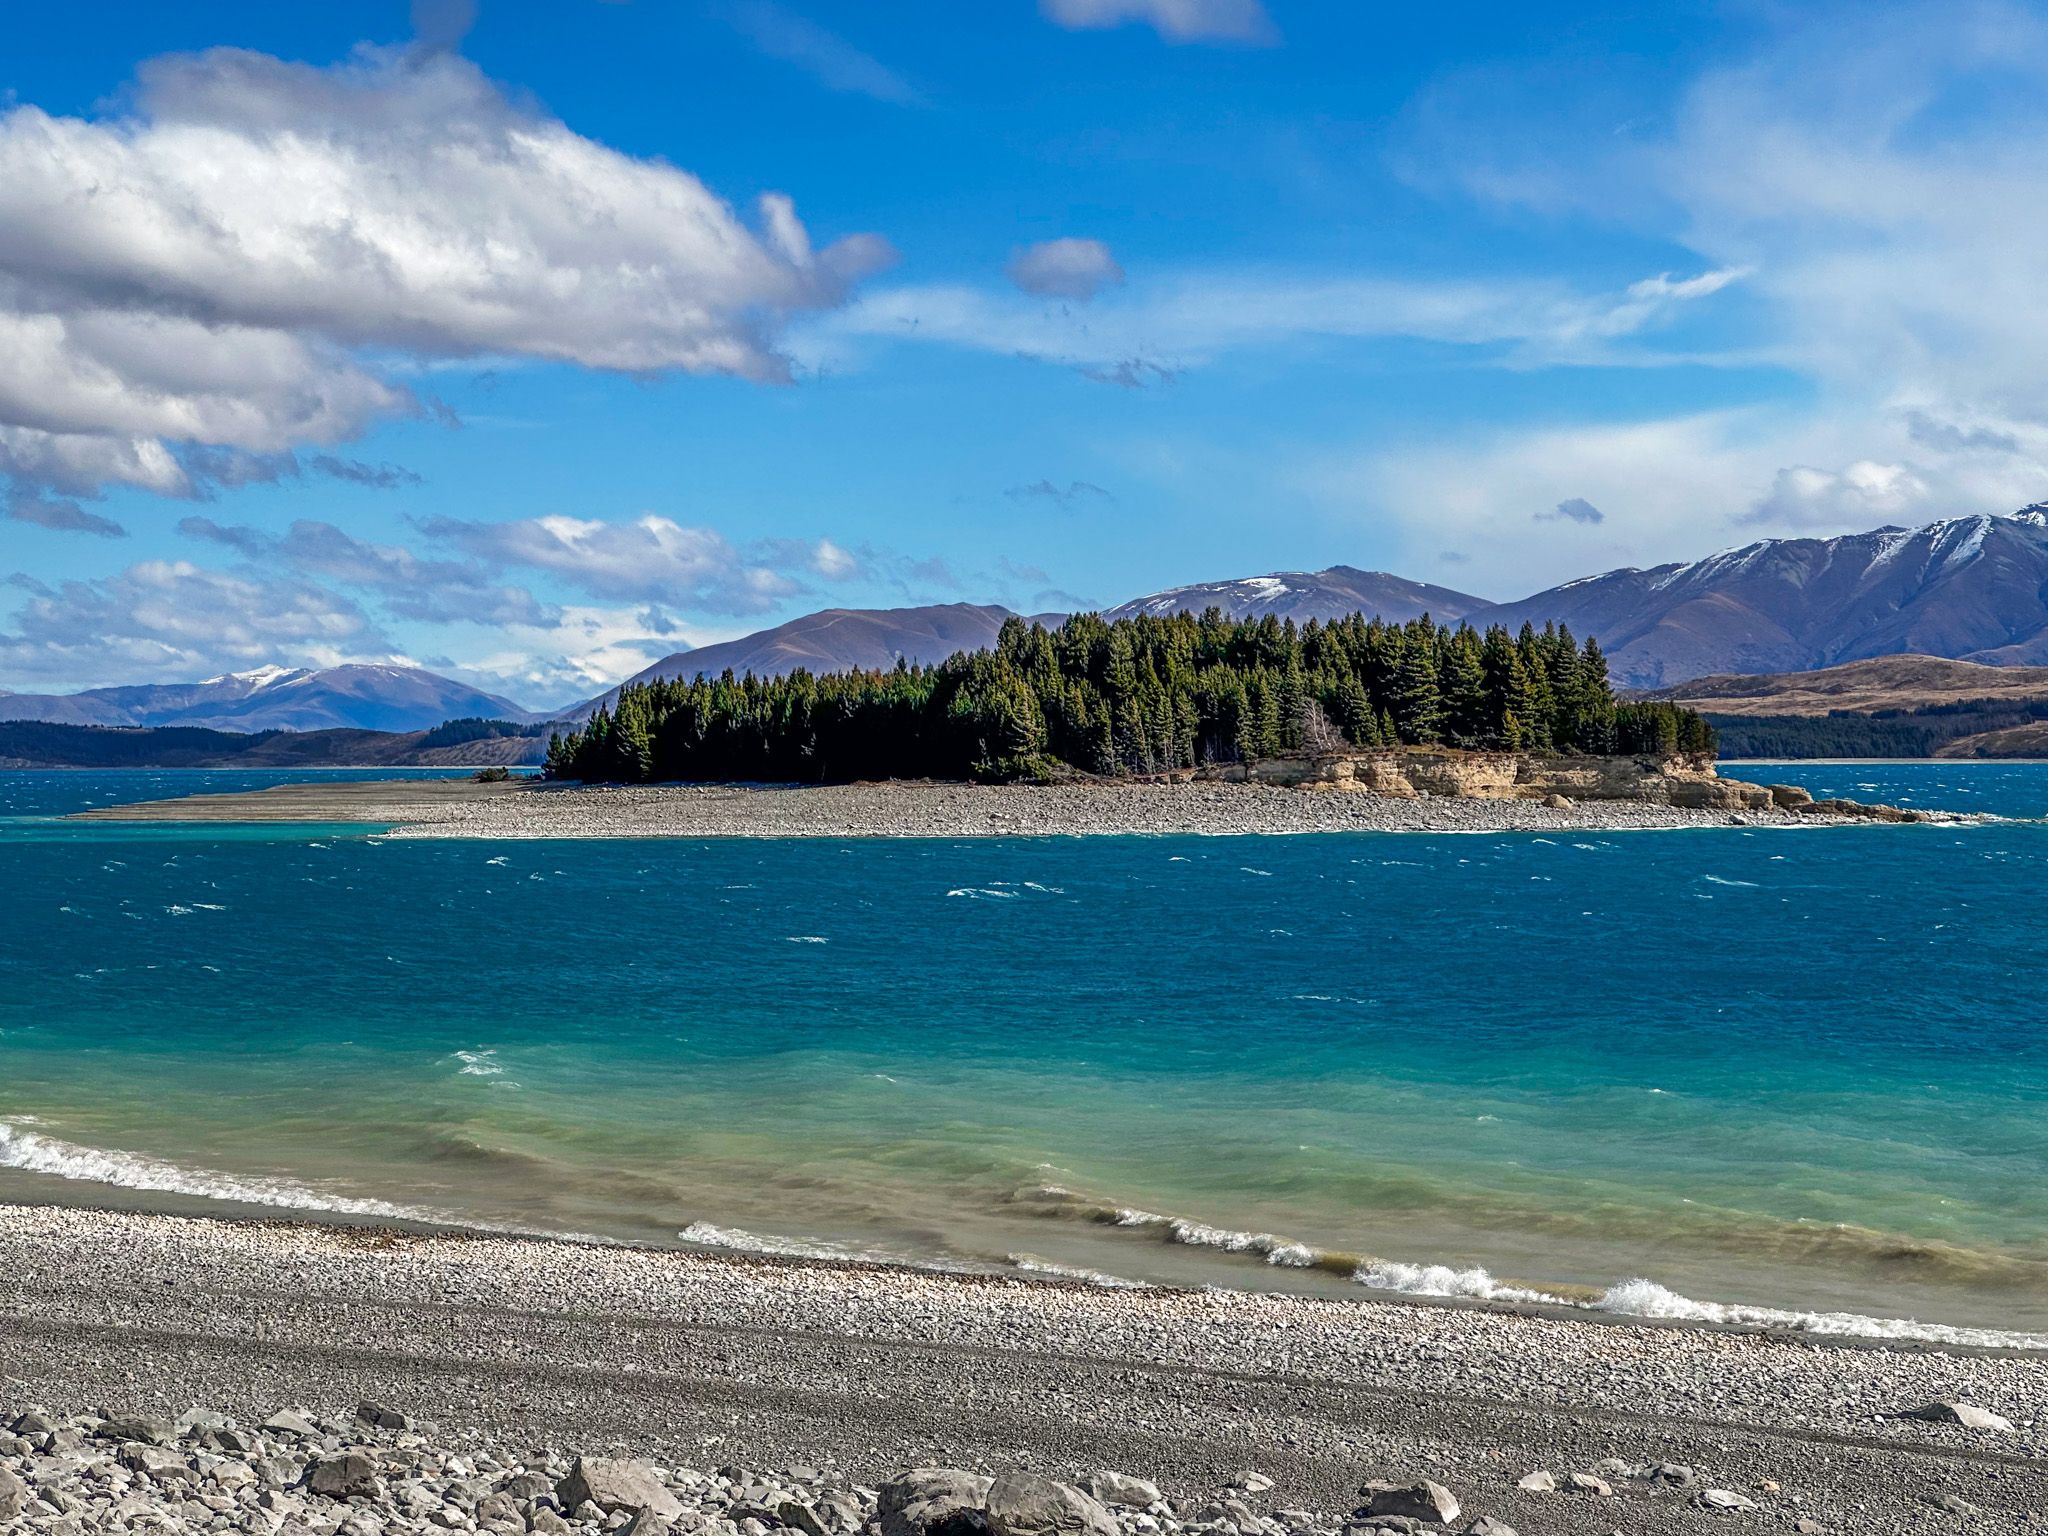
From there, you will cycle 17 km along Braemar Station Road to Hayman Road. This part of the trail is unsealed until you reach the Tekapo B Power Station. From the power station, you will follow a purpose-built cycle track along the east side of Lake Pukaki, circling the lake's southern edge to the Visitor Centre.
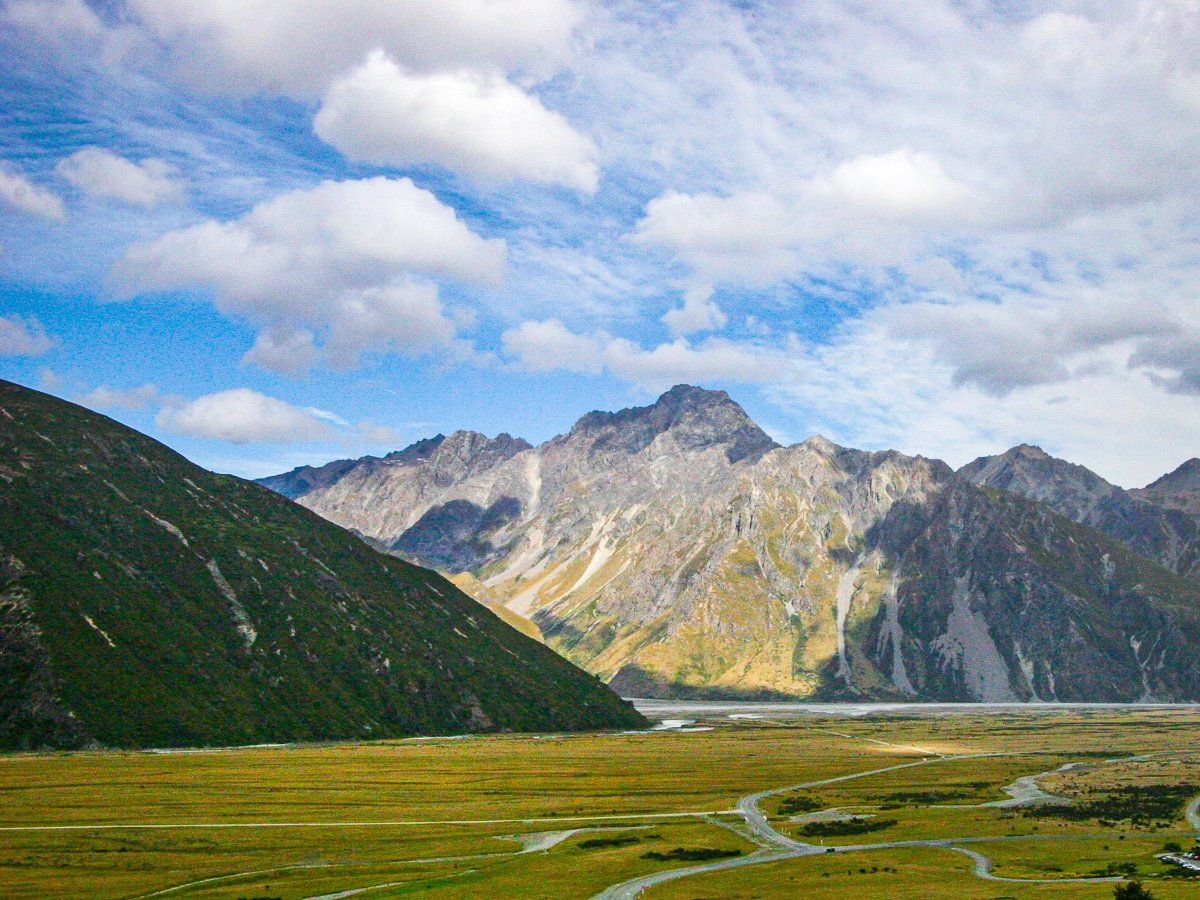
The final stretch from Lake Pukaki to Twizel across the golden grasslands of the Pukaki Flats is relatively easy, providing a pleasant end to your day's ride.
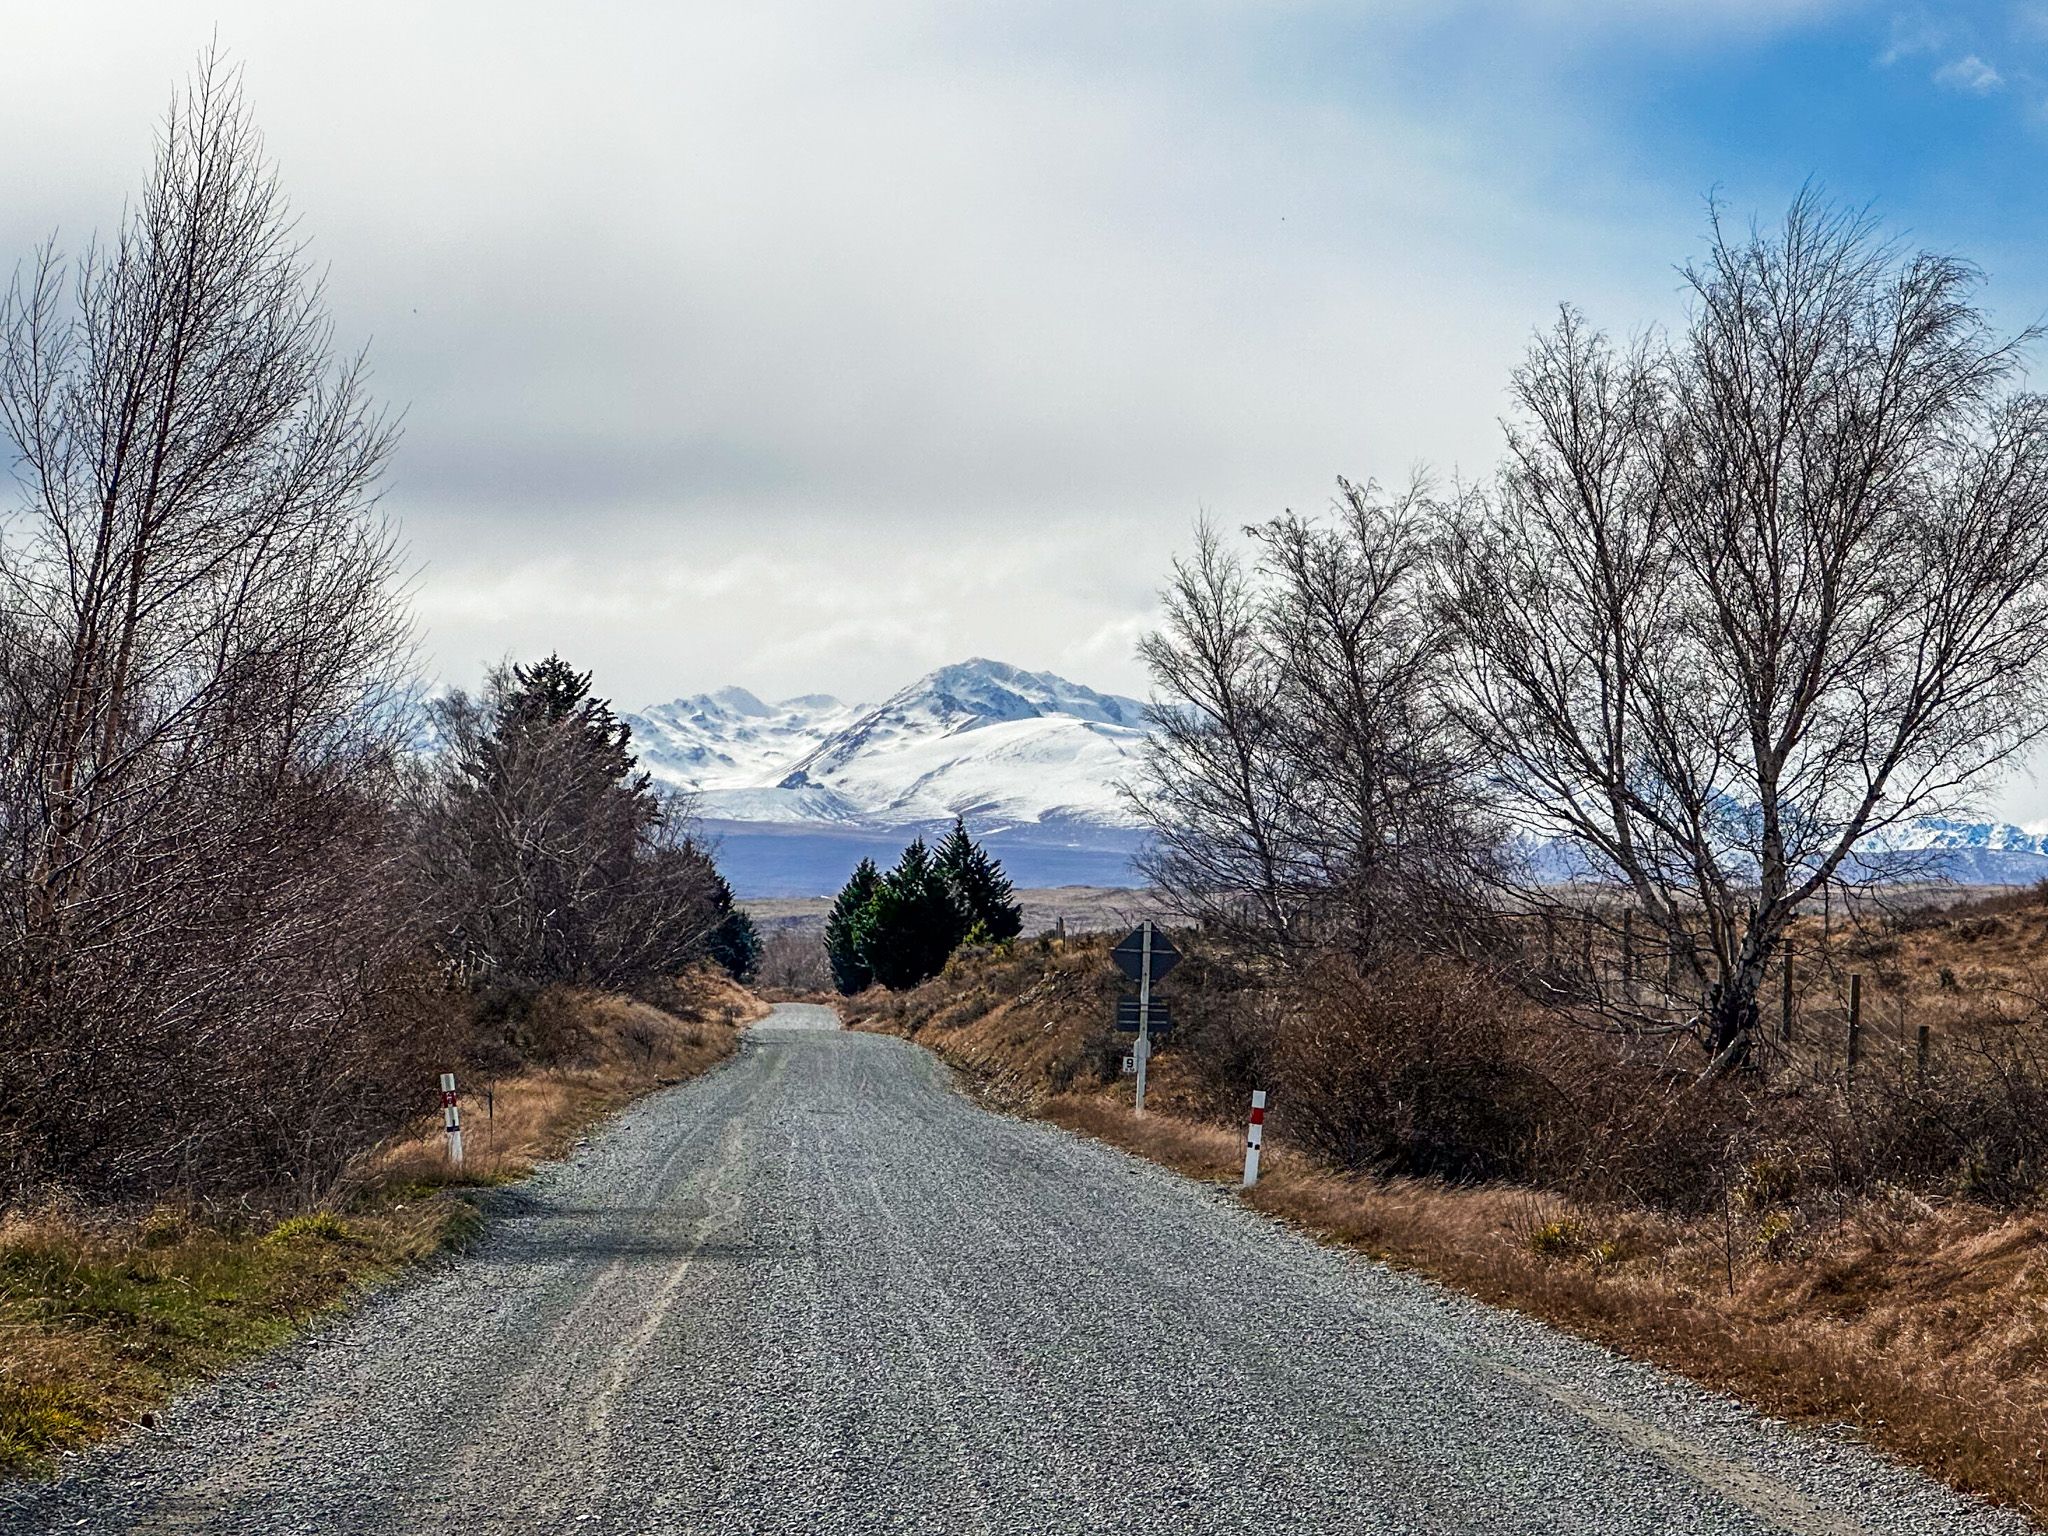
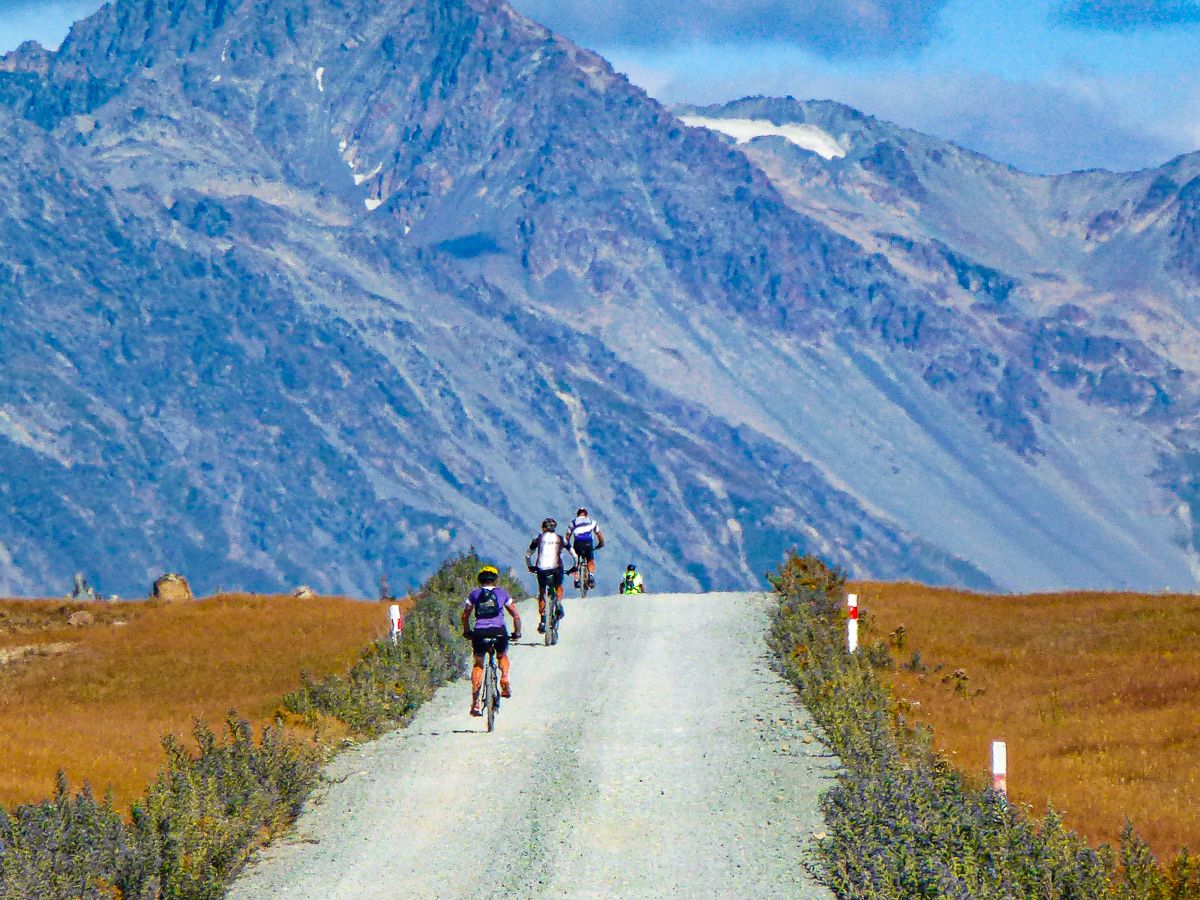
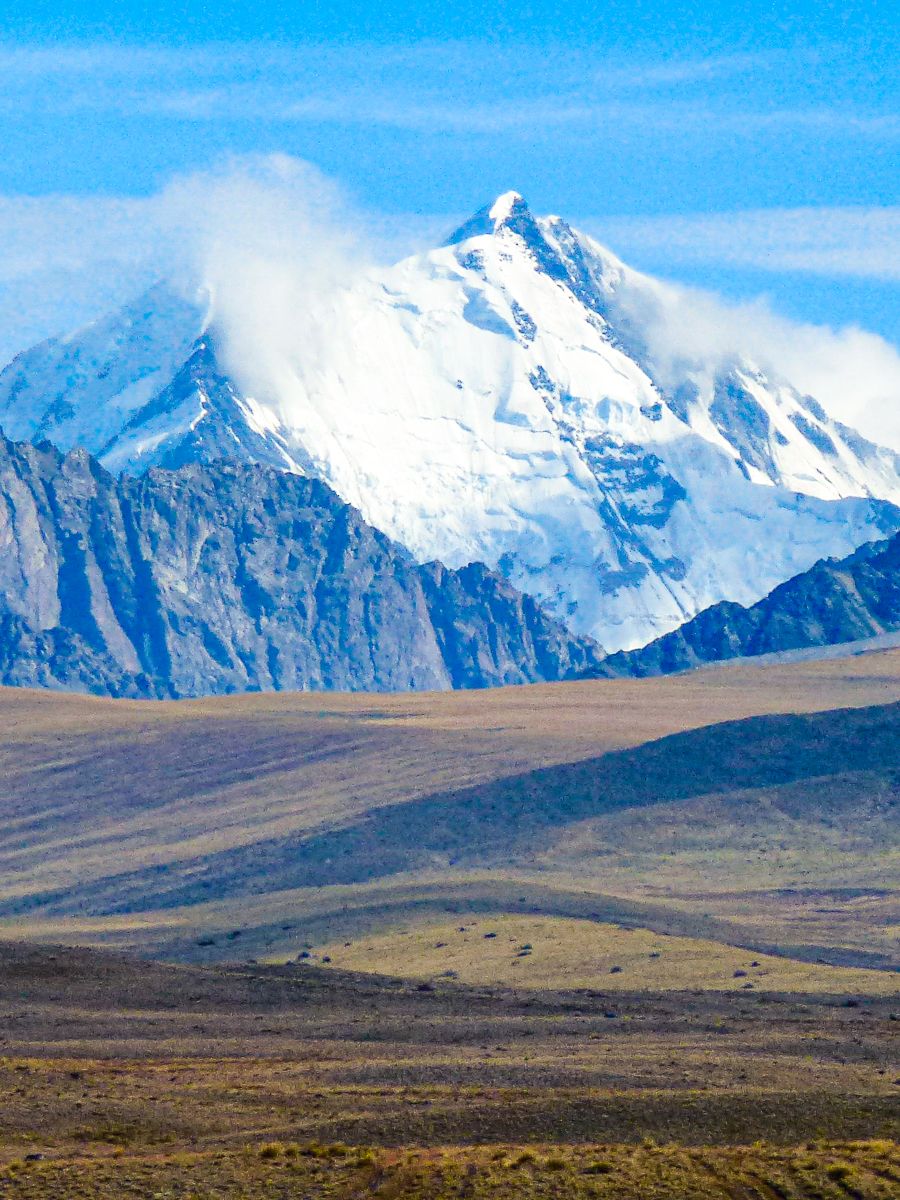
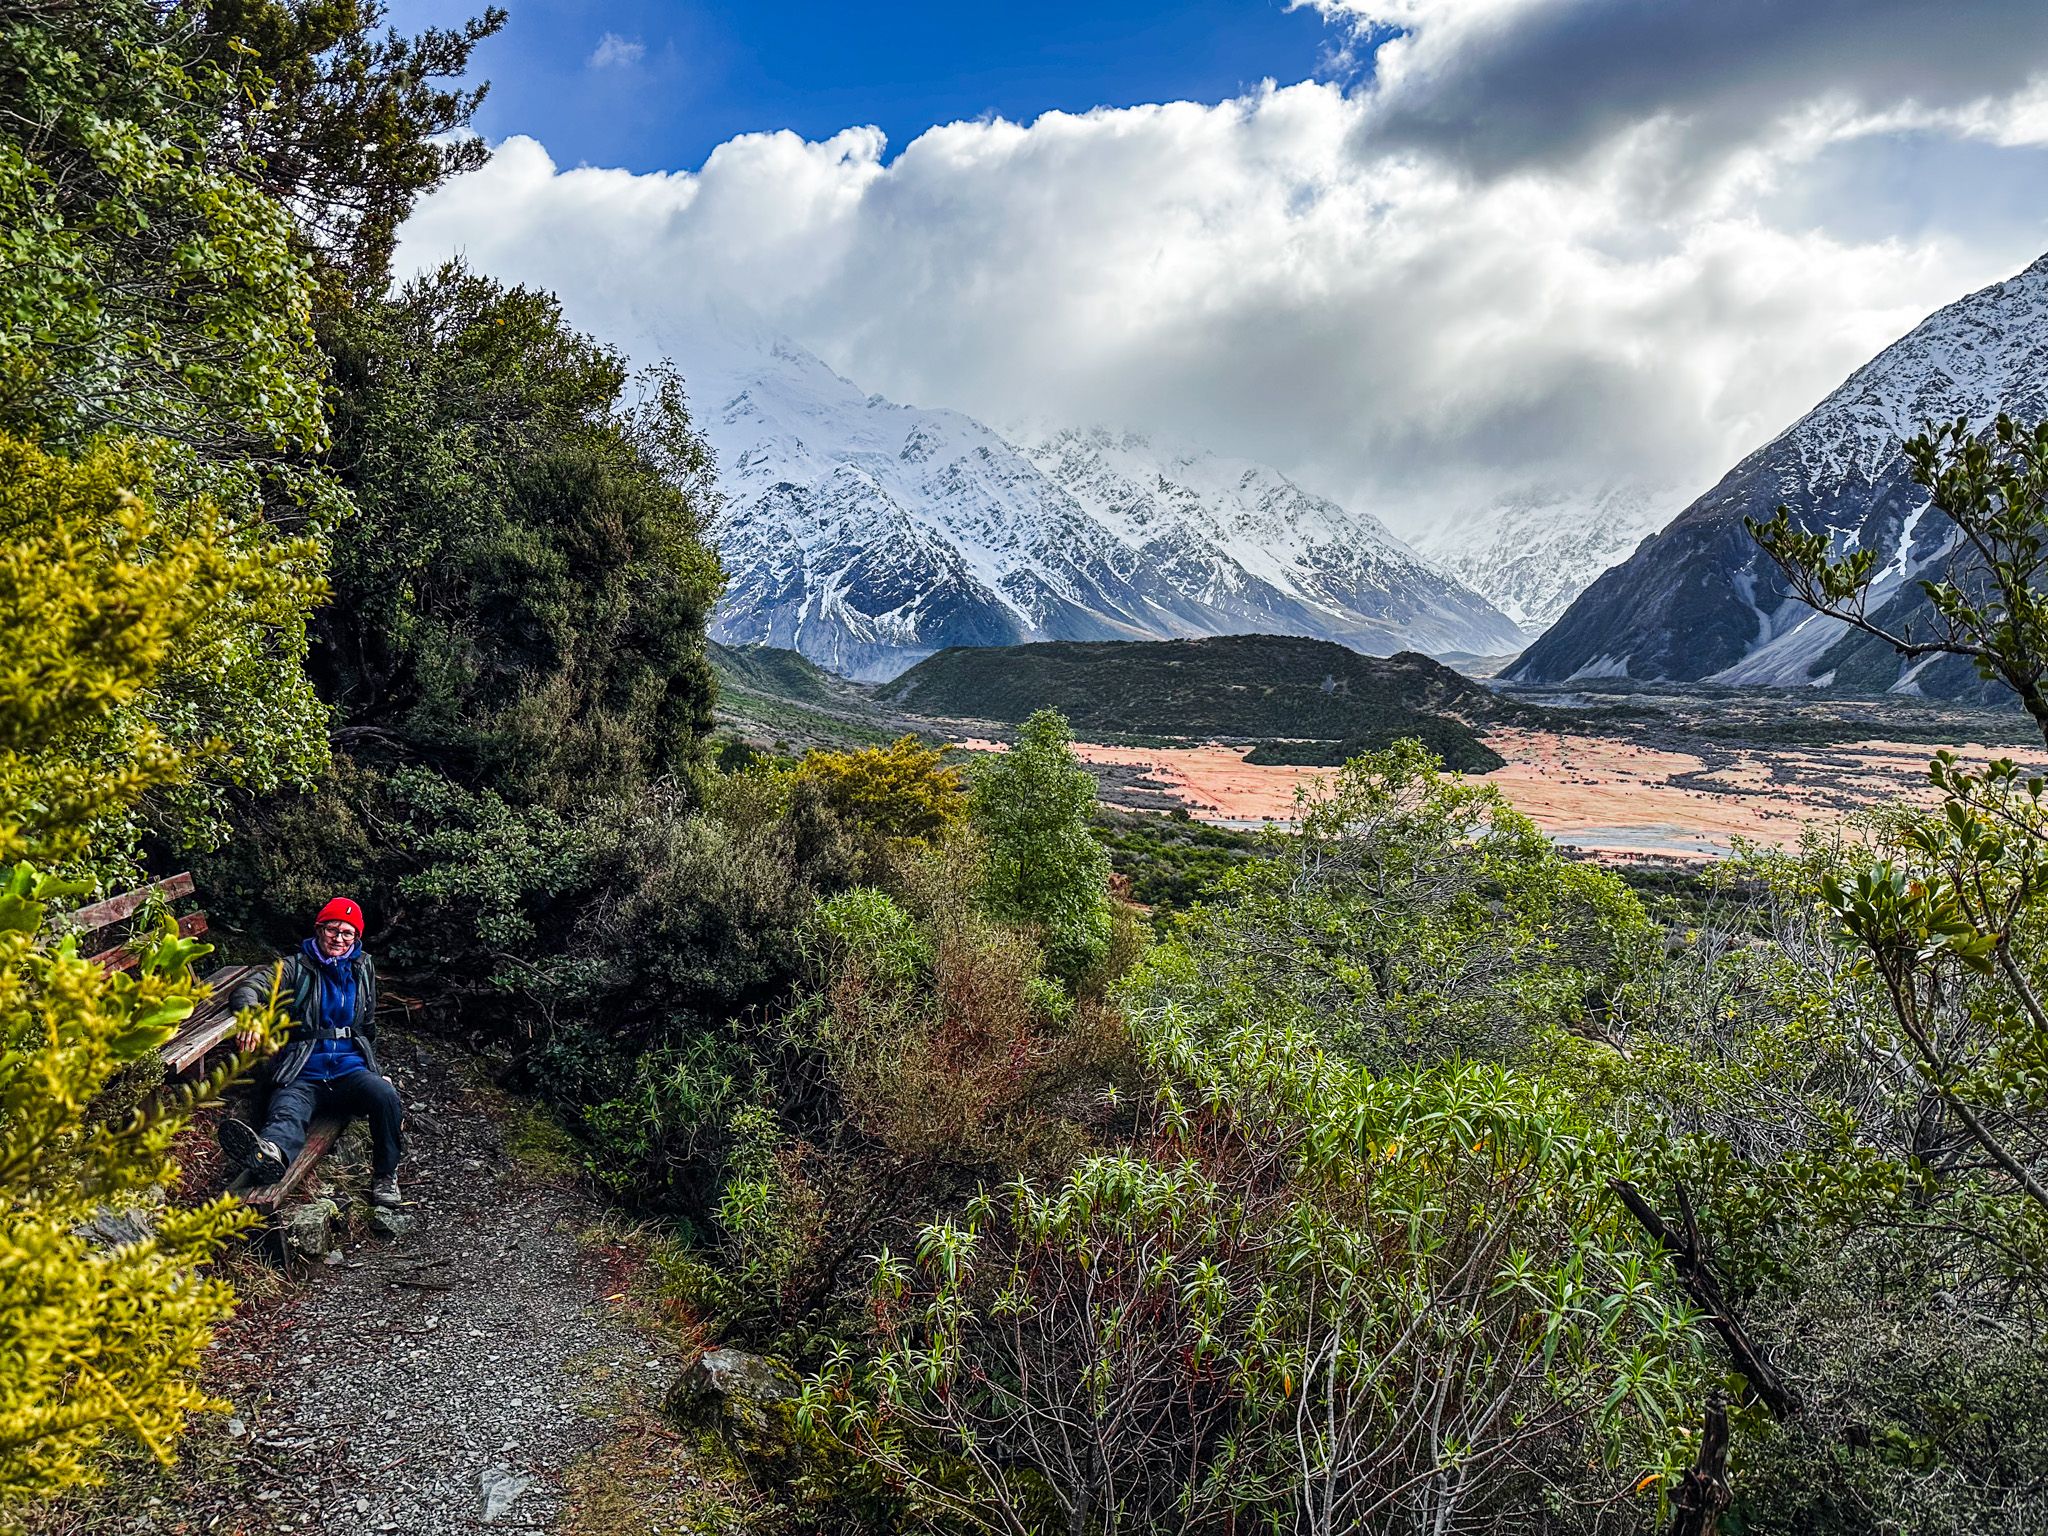
On clear days, the trail’s initial section offers spectacular views of Aoraki/Mount Cook, making it a memorable experience for cyclists.
Getting to the Trailhead
To reach the start of the trail at Mount Cook Aoraki, head to the White Horse Hill Campground near the end of the Mt Cook Highway (State Highway 80).
The next section of the track is from Twizel to Lake Ōhau, on the southwest corner of Lake Ōhau.