Exploring Hirakimata on Aotea Great Barrier Island
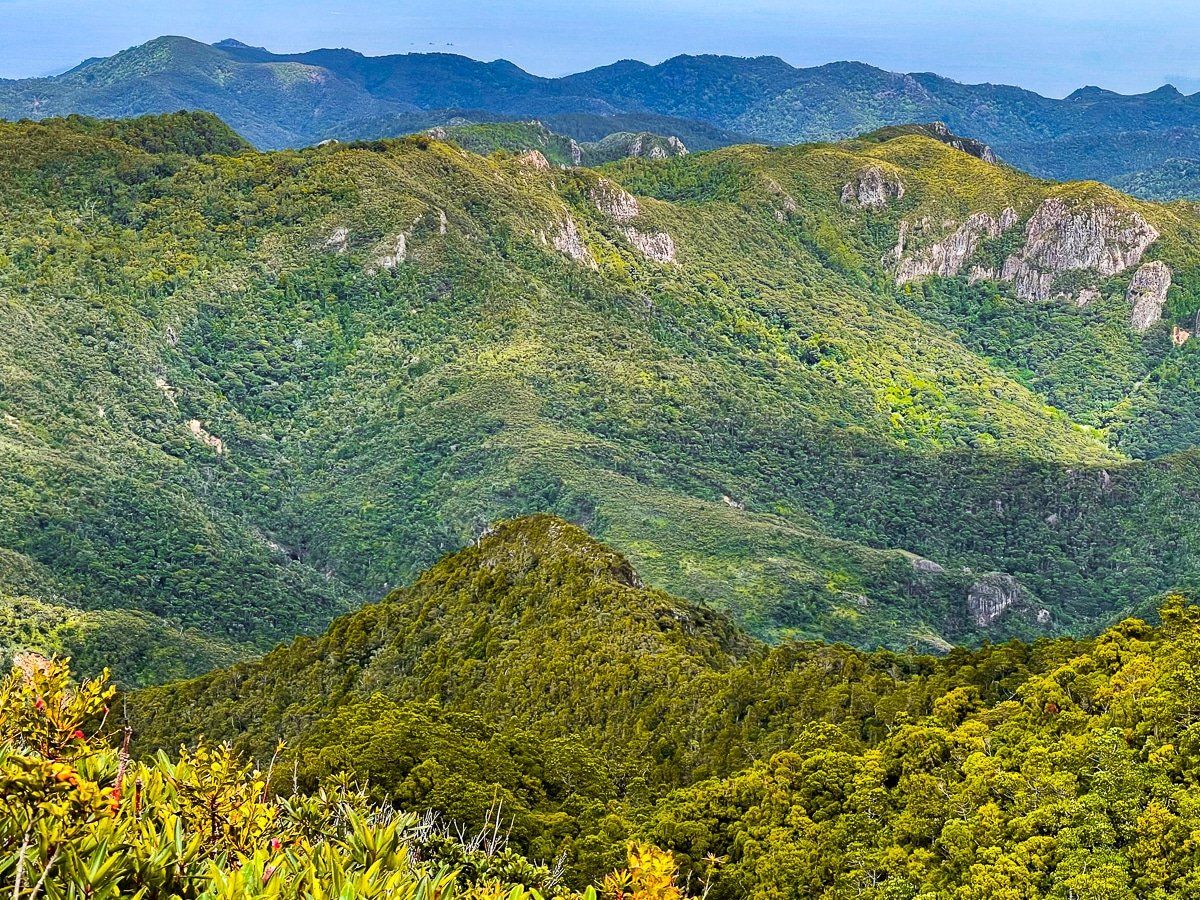
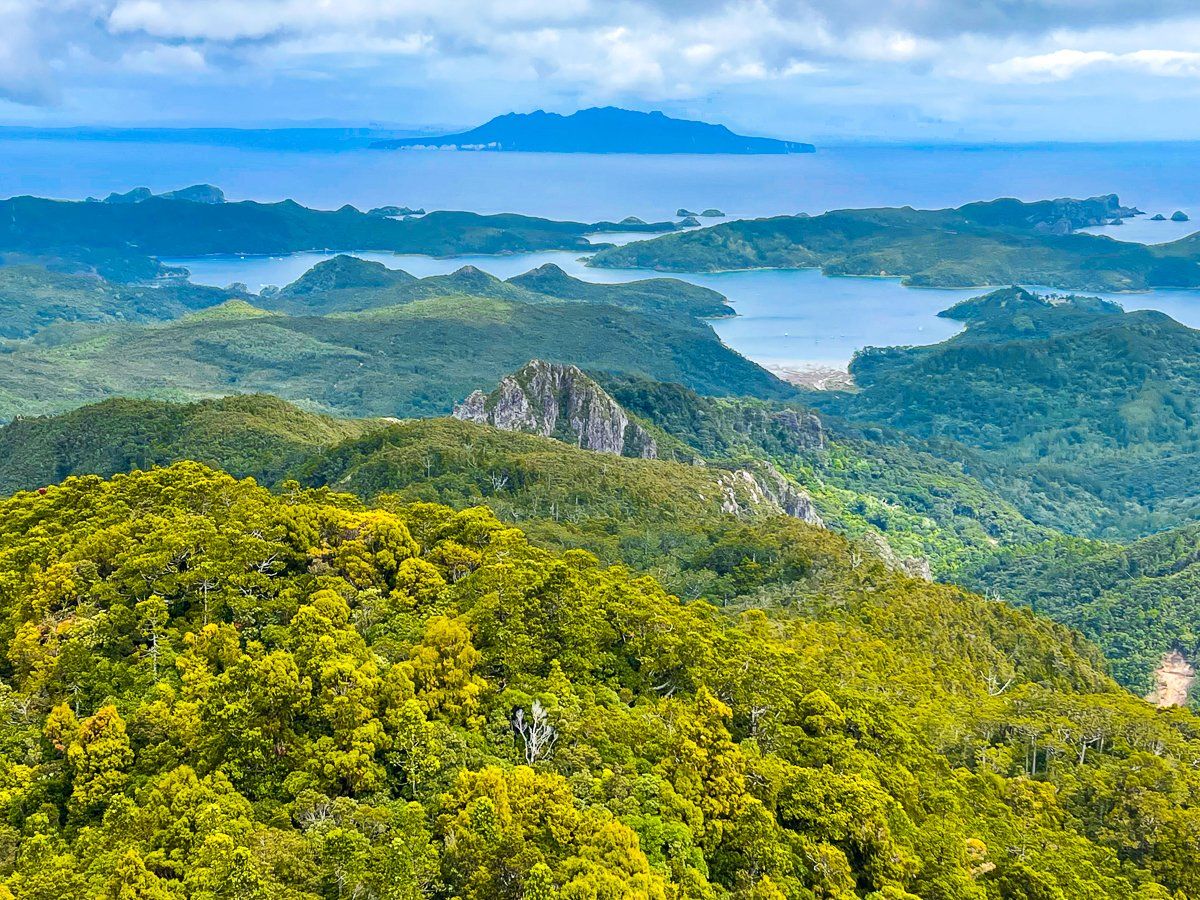
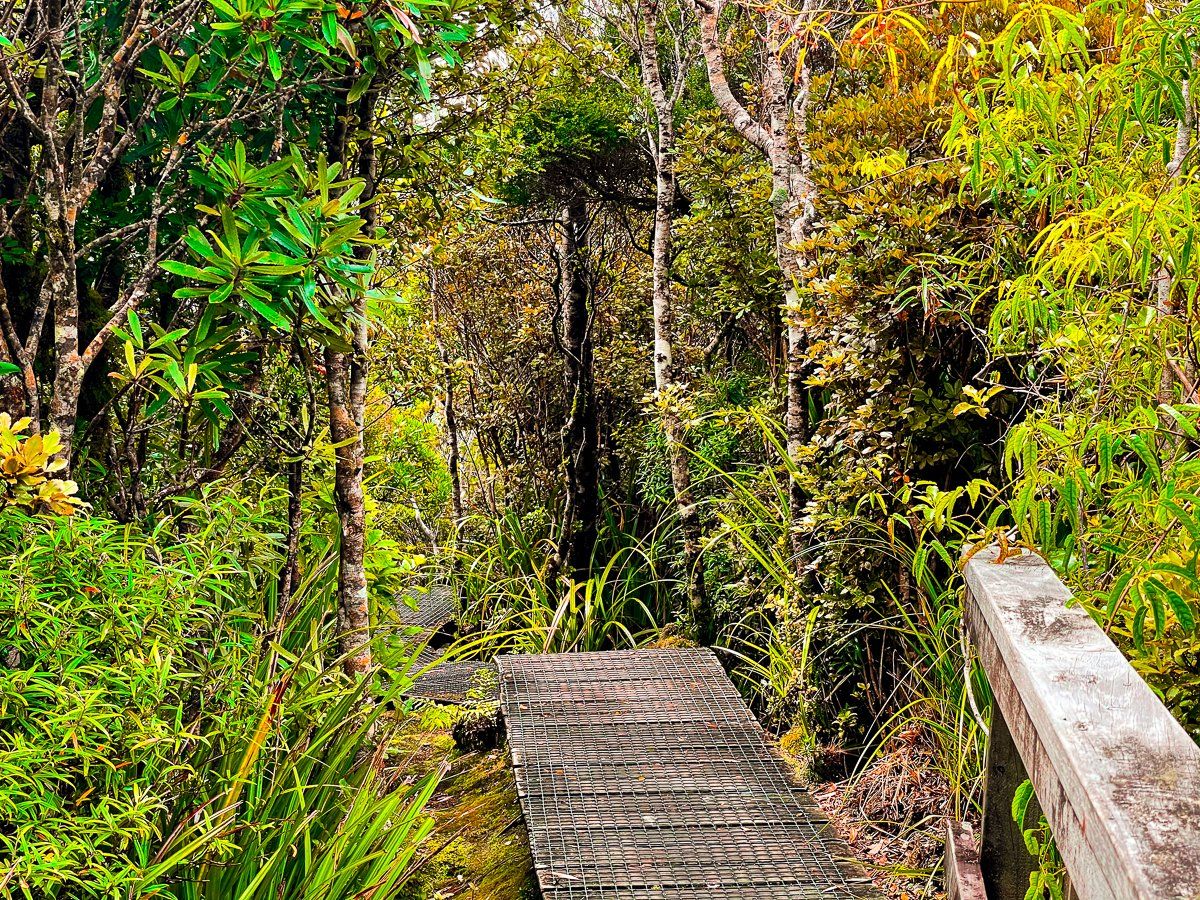
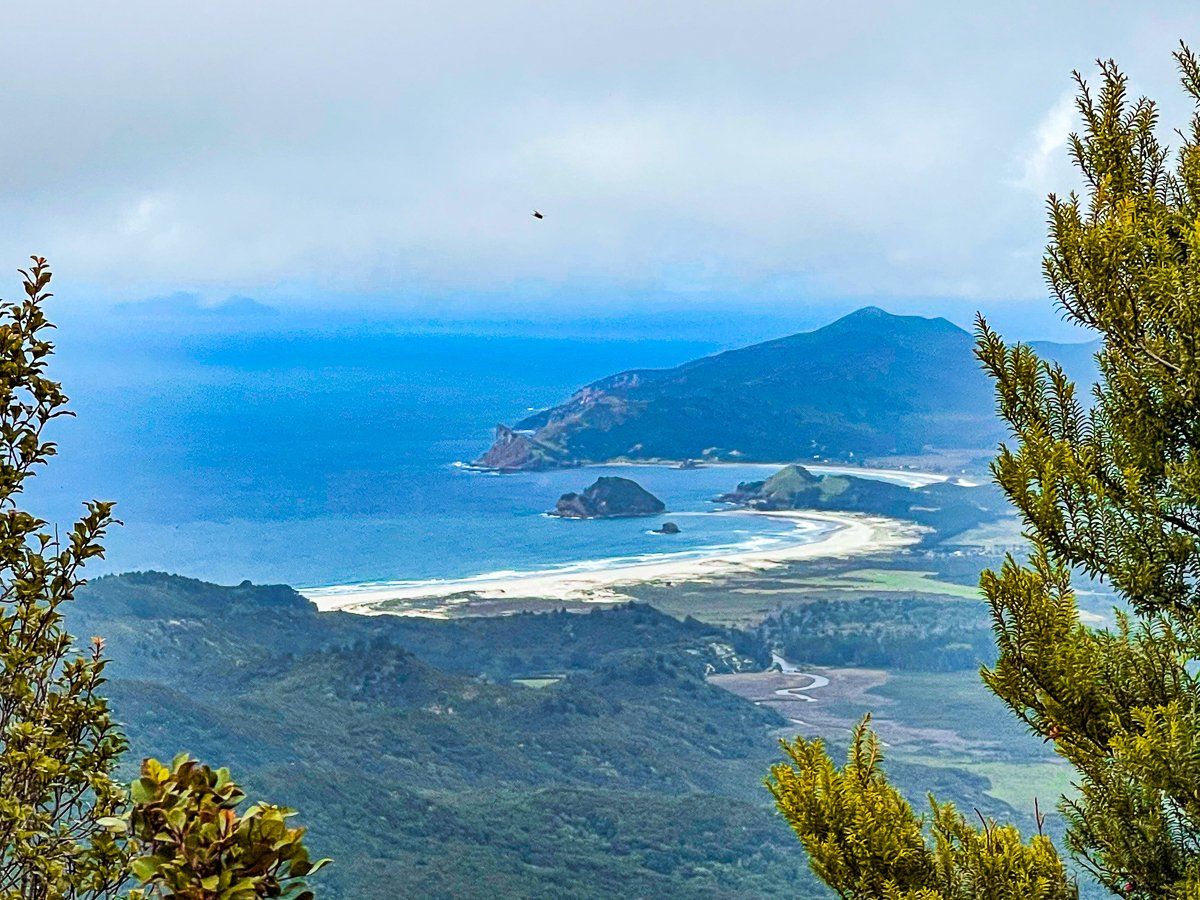
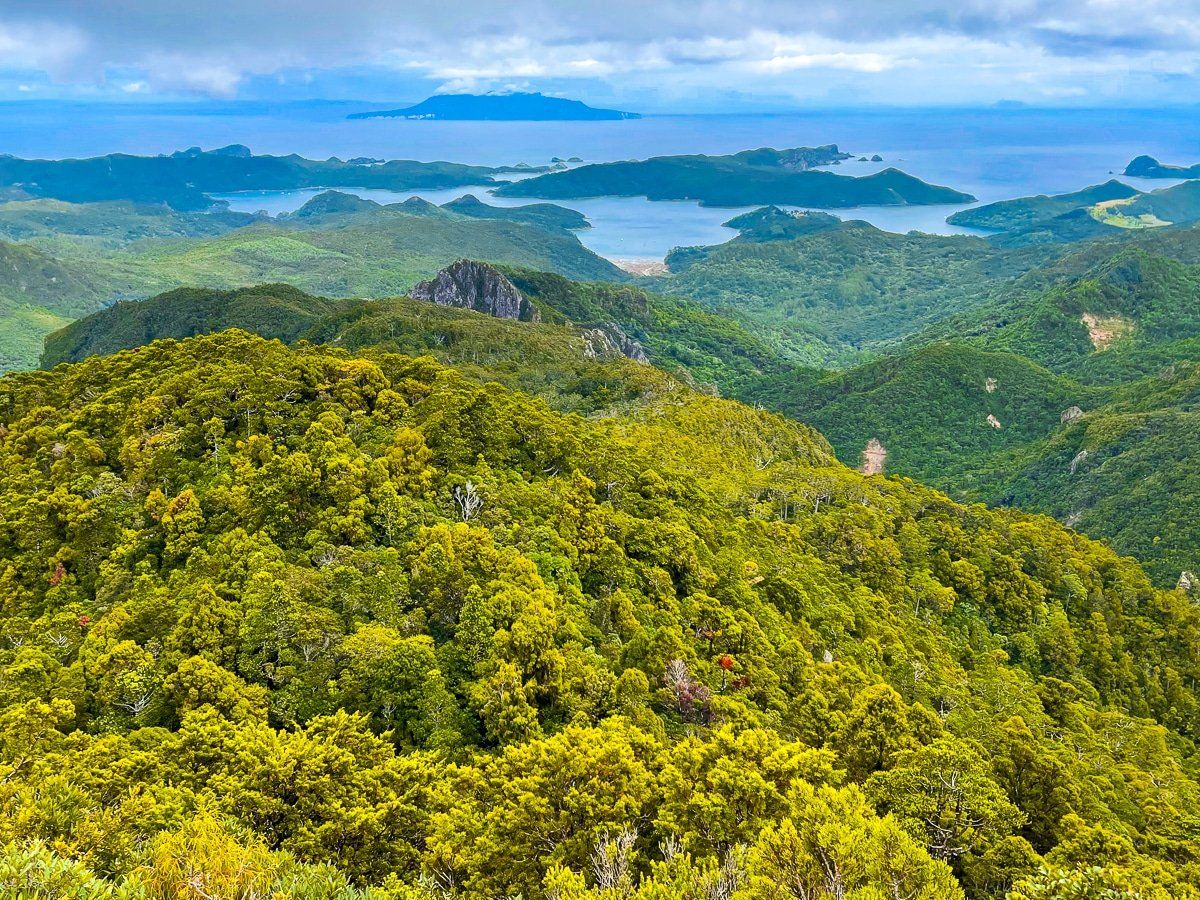
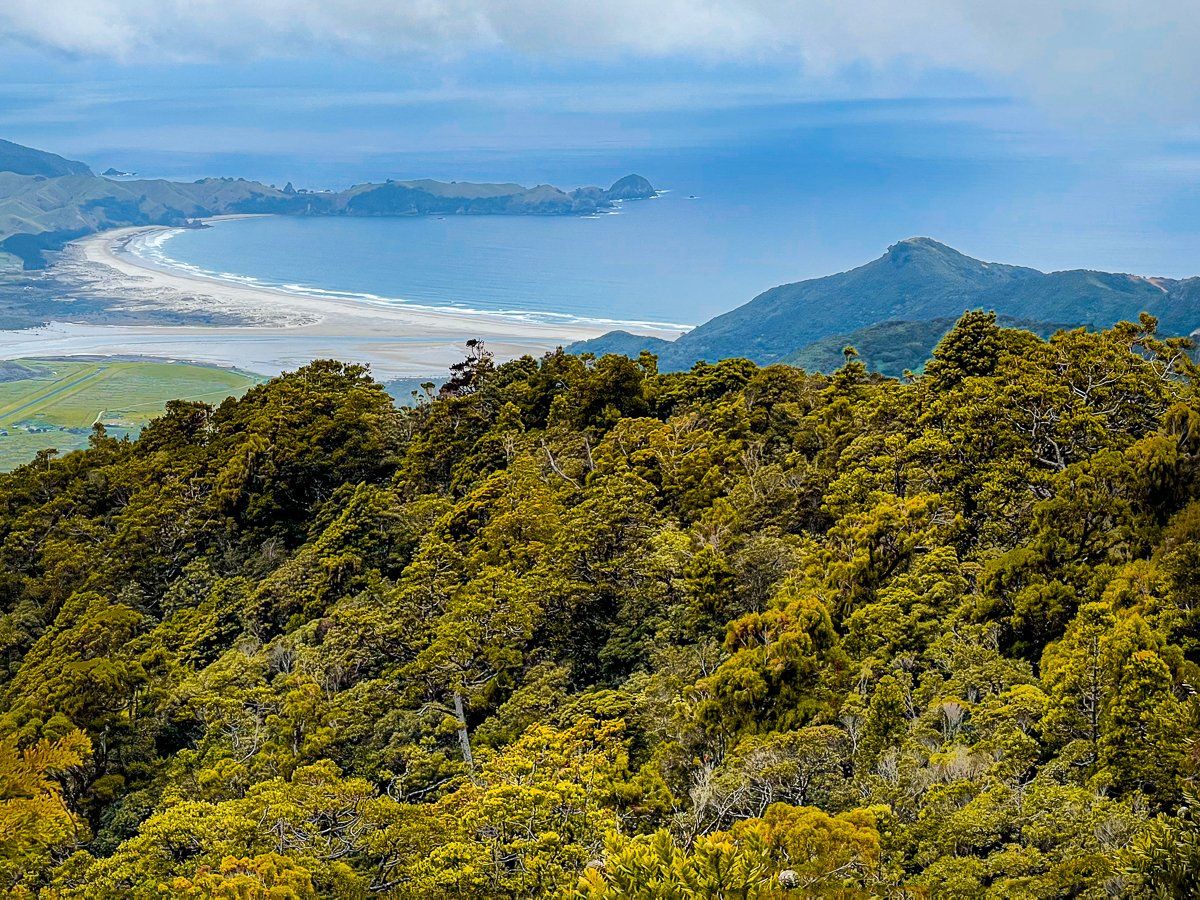
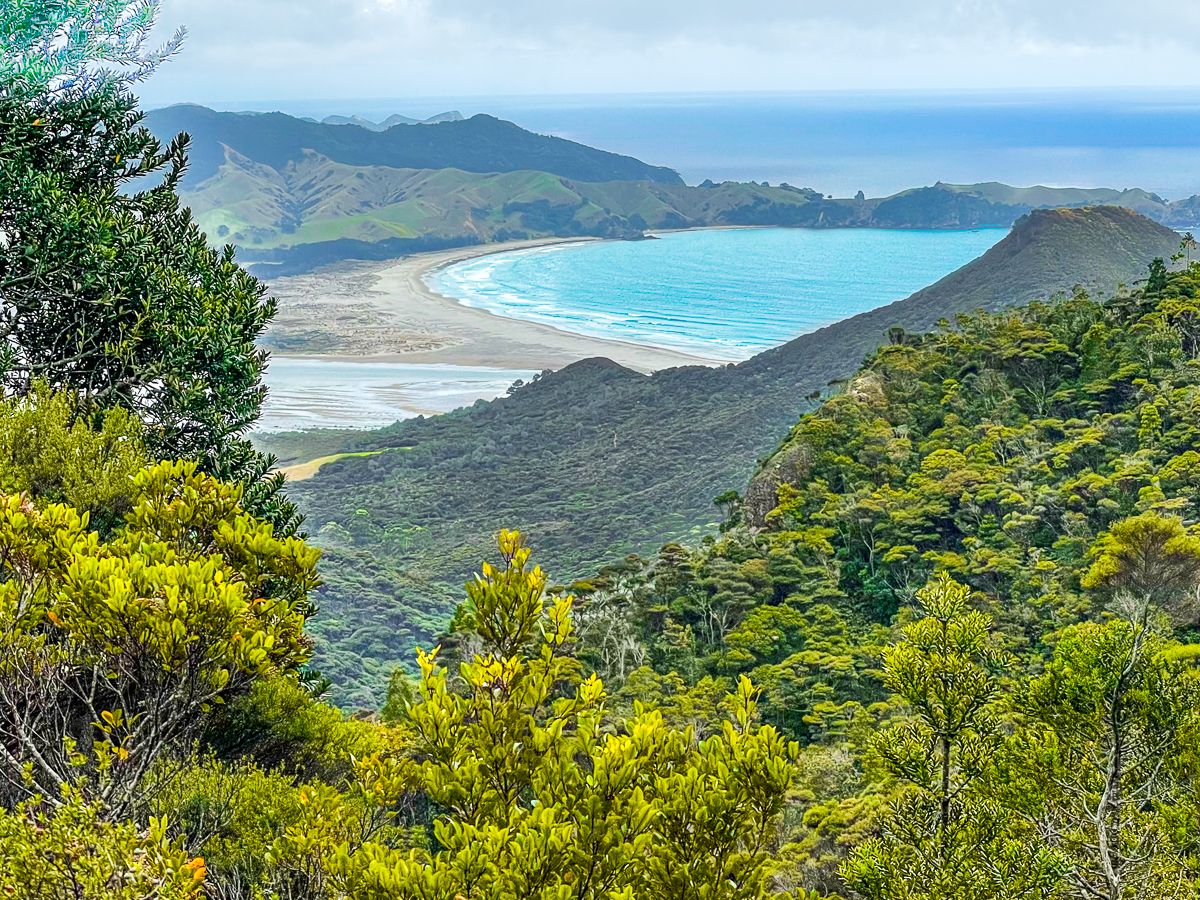
Hirakimata, standing at 627 metres, is the highest point on Aotea Great Barrier Island in the Hauraki Gulf of Auckland. One of the most captivating aspects of this hike is the final section to the peak, which takes you through rainforest, with sweeping views across the island.
Journey to the Summit
The final climb to teh summit involves many steps. While Hirakimata is often enveloped in clouds, the weather can clear, revealing stunning vistas. A viewing platform provides an ideal spot for a picnic, allowing you to take in the expansive scenery.
Flora at the Summit
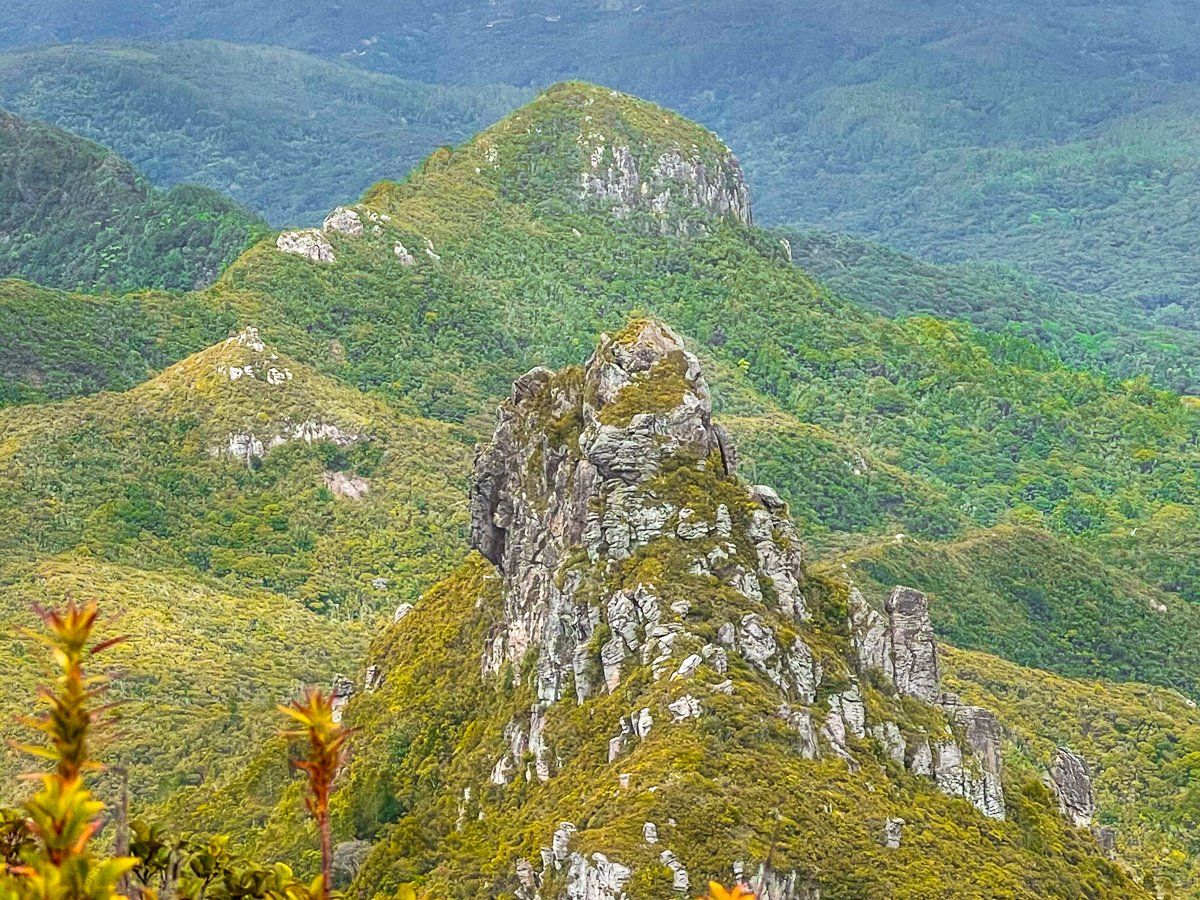
The flora on the summit of Hirakimatā is a unique blend of hardy alpine and subalpine species adapted to the island’s rugged, wind-exposed environment. Endemic and regionally significant plants include pūwharawhara, epiphytic orchids, and wind-sculpted manuka and kanuka. Mosses, liverworts, and lichens carpet the damp ground and tree trunks, thriving in the cool, mist-laden air.
Historical Significance
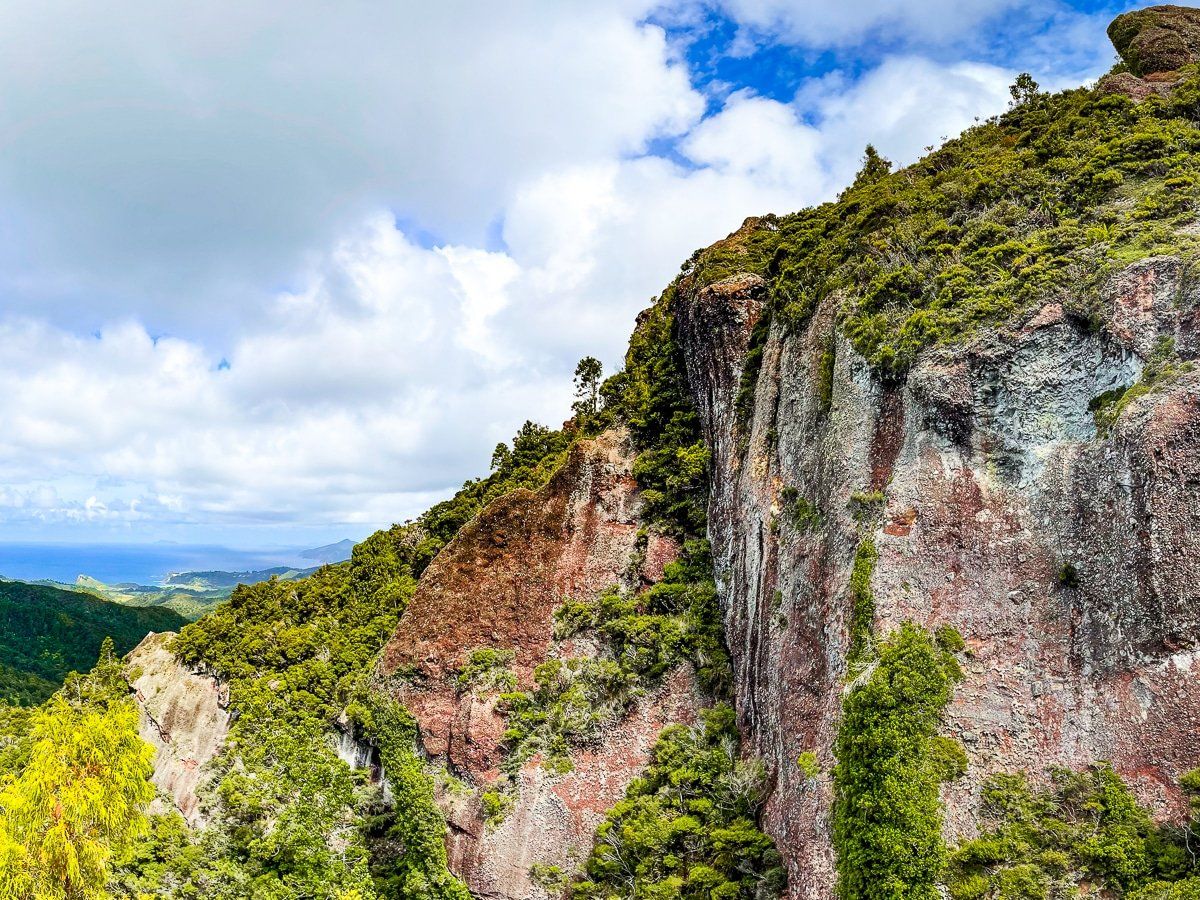
The tracks to the mountain are the legacy of the kauiri logging era over a century ago. Along the way, you can see various historical signs of this activity. Today, the result is the extensive track system that now forms the Aotea Track, the only multi-day hike in the Auckland region, which provides access to Hirakimatā.
How to get there
The island is accessible by ferry or plane from Auckland. Once on the island, the Aotea Track can be accessed from several points, with the easiest starting point from the Windy Canyon on Aotea Road. Other start options include Kaitoke Hot Springs, north of Port Fitzroy on Aotea Road and south on Forest Road. Regardless of the option chosen, the hike to the peak takes 2 to 4 hours.
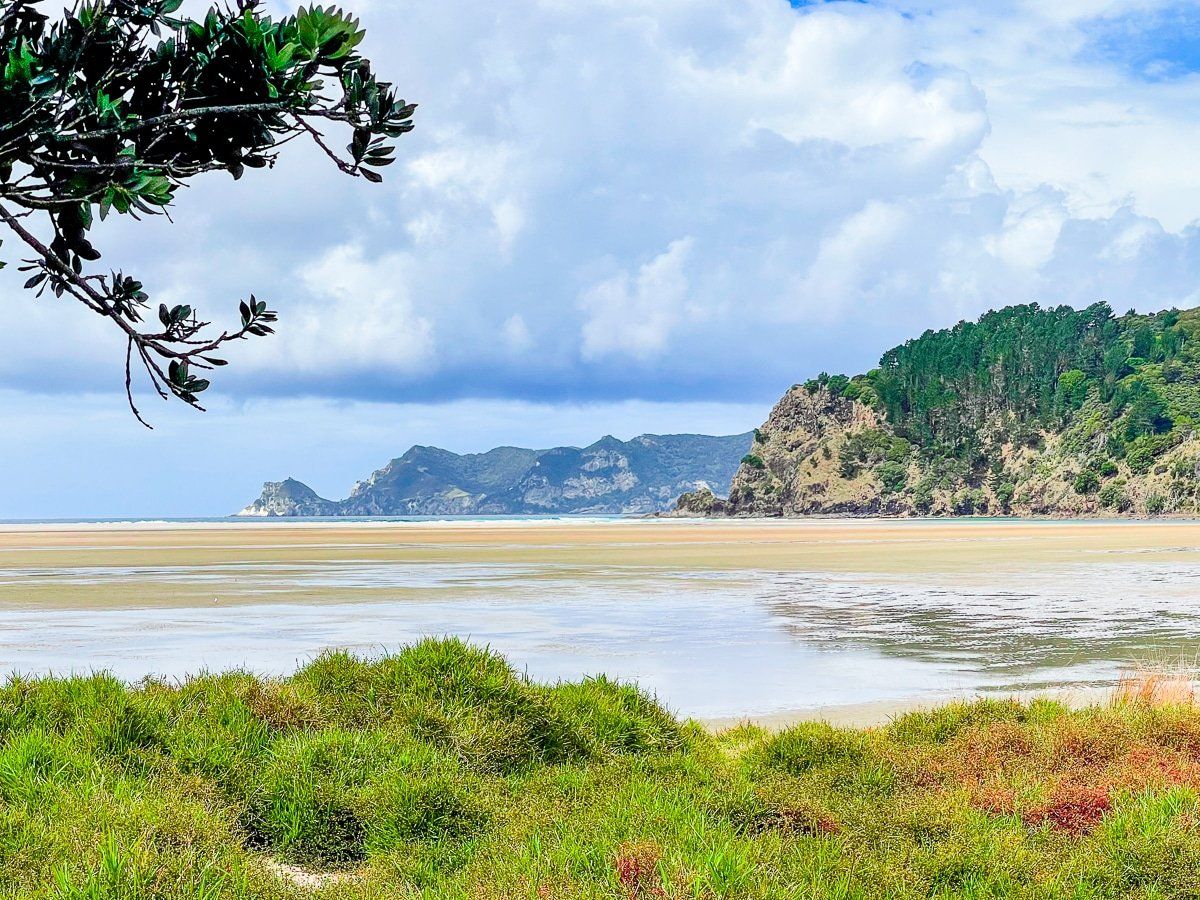
While on the island, you can explore other attractions such as the beautiful beaches at Blind Bay, Whangapoua, Harataonga Bay, Awana Bay, Kaitoke Bay and Medlands Beach.