Discovering Waikanae Estuary
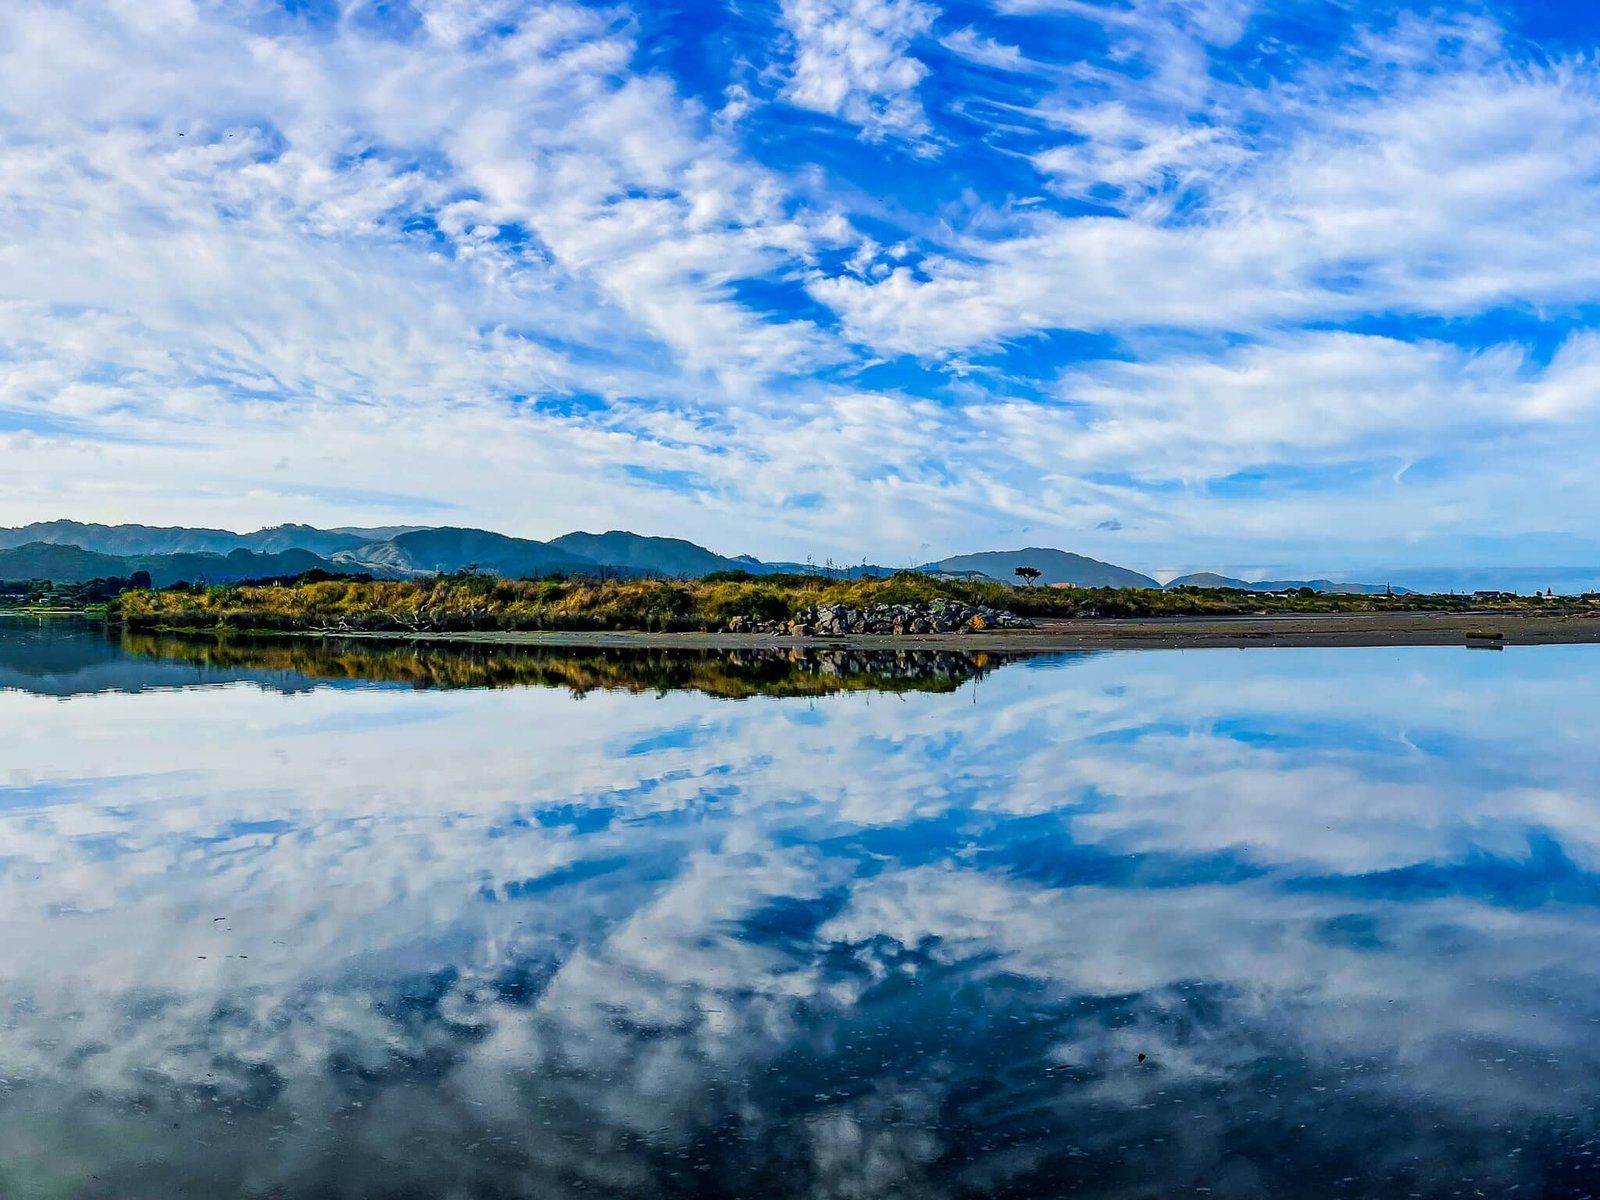
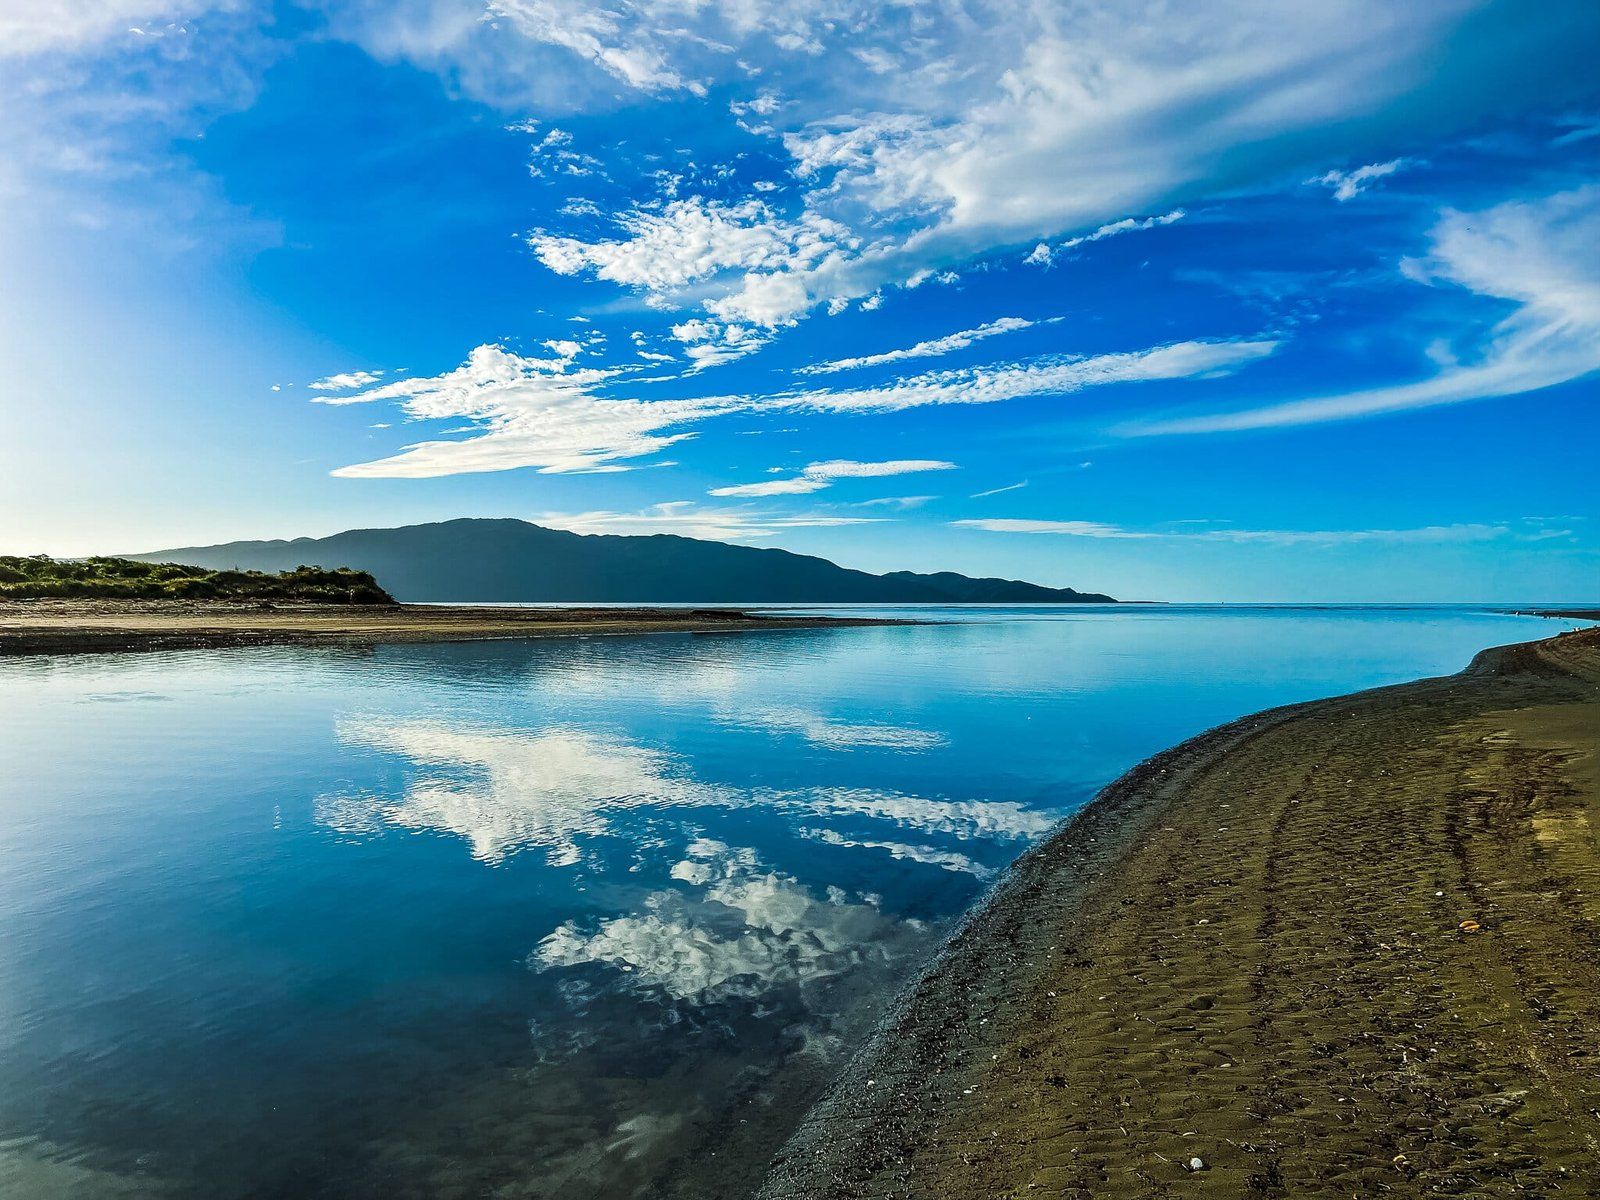
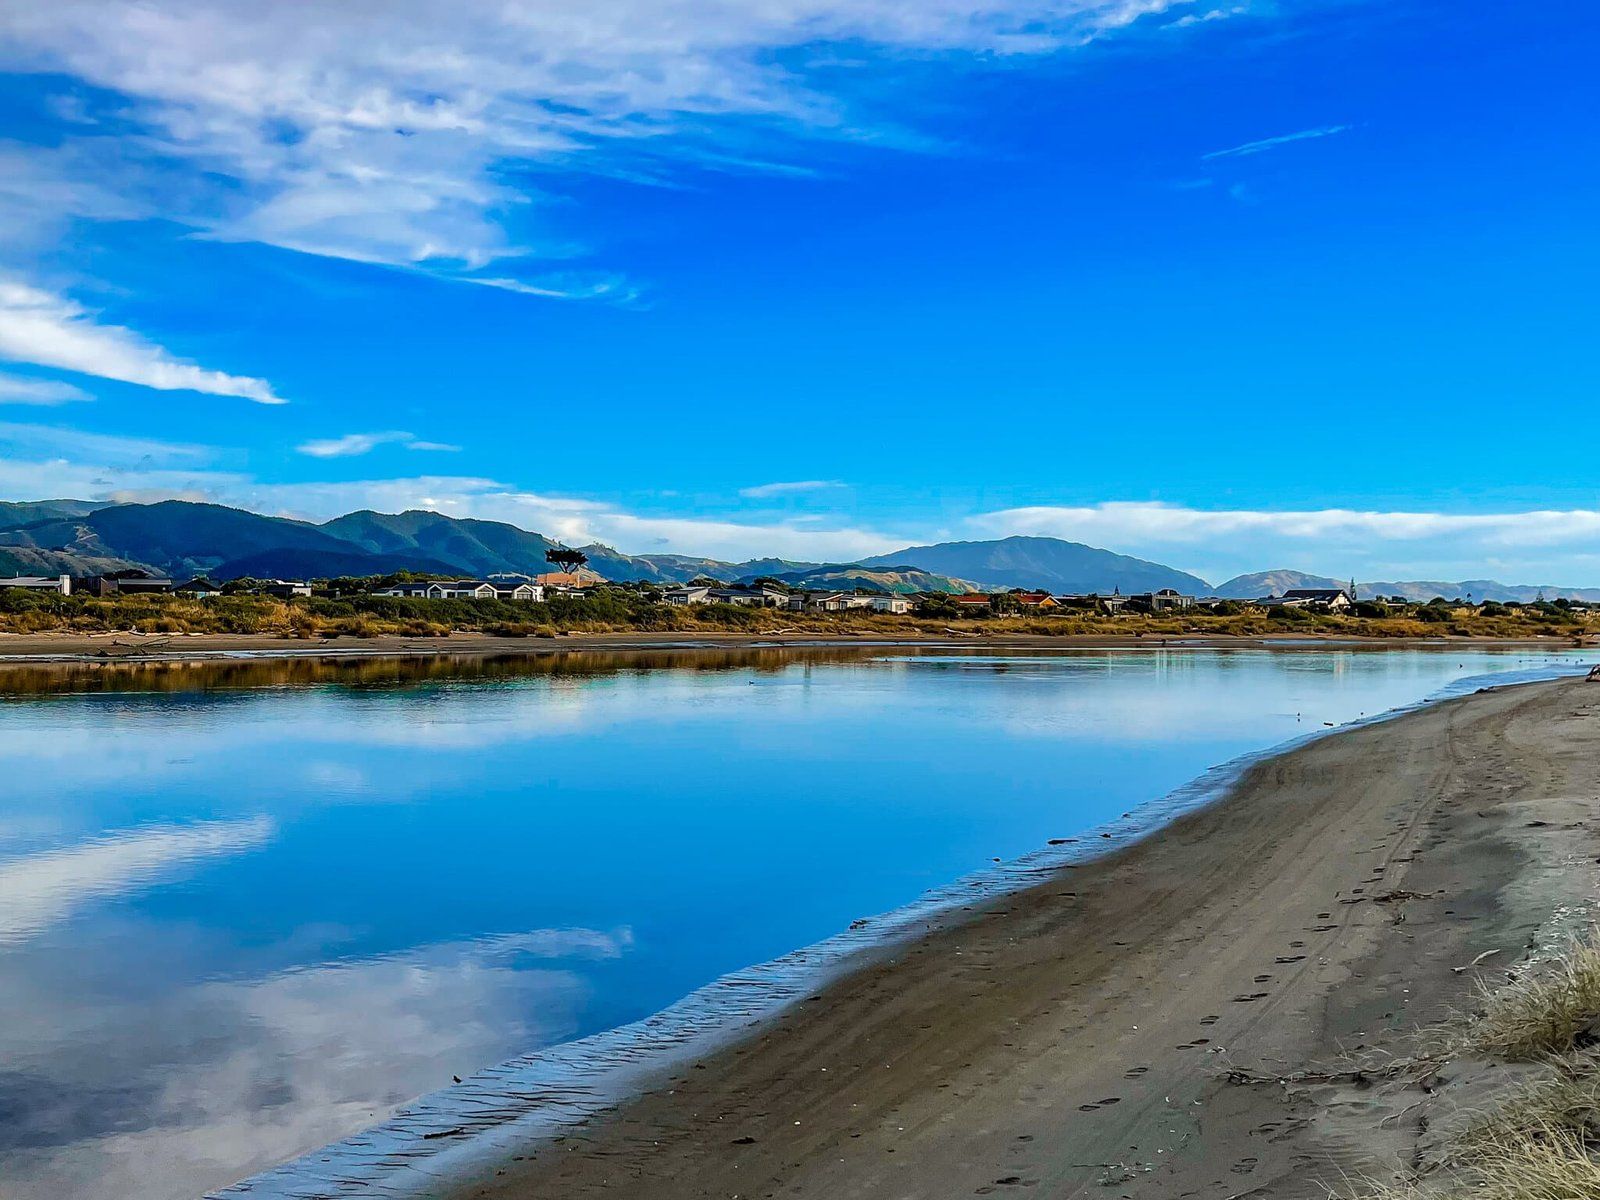
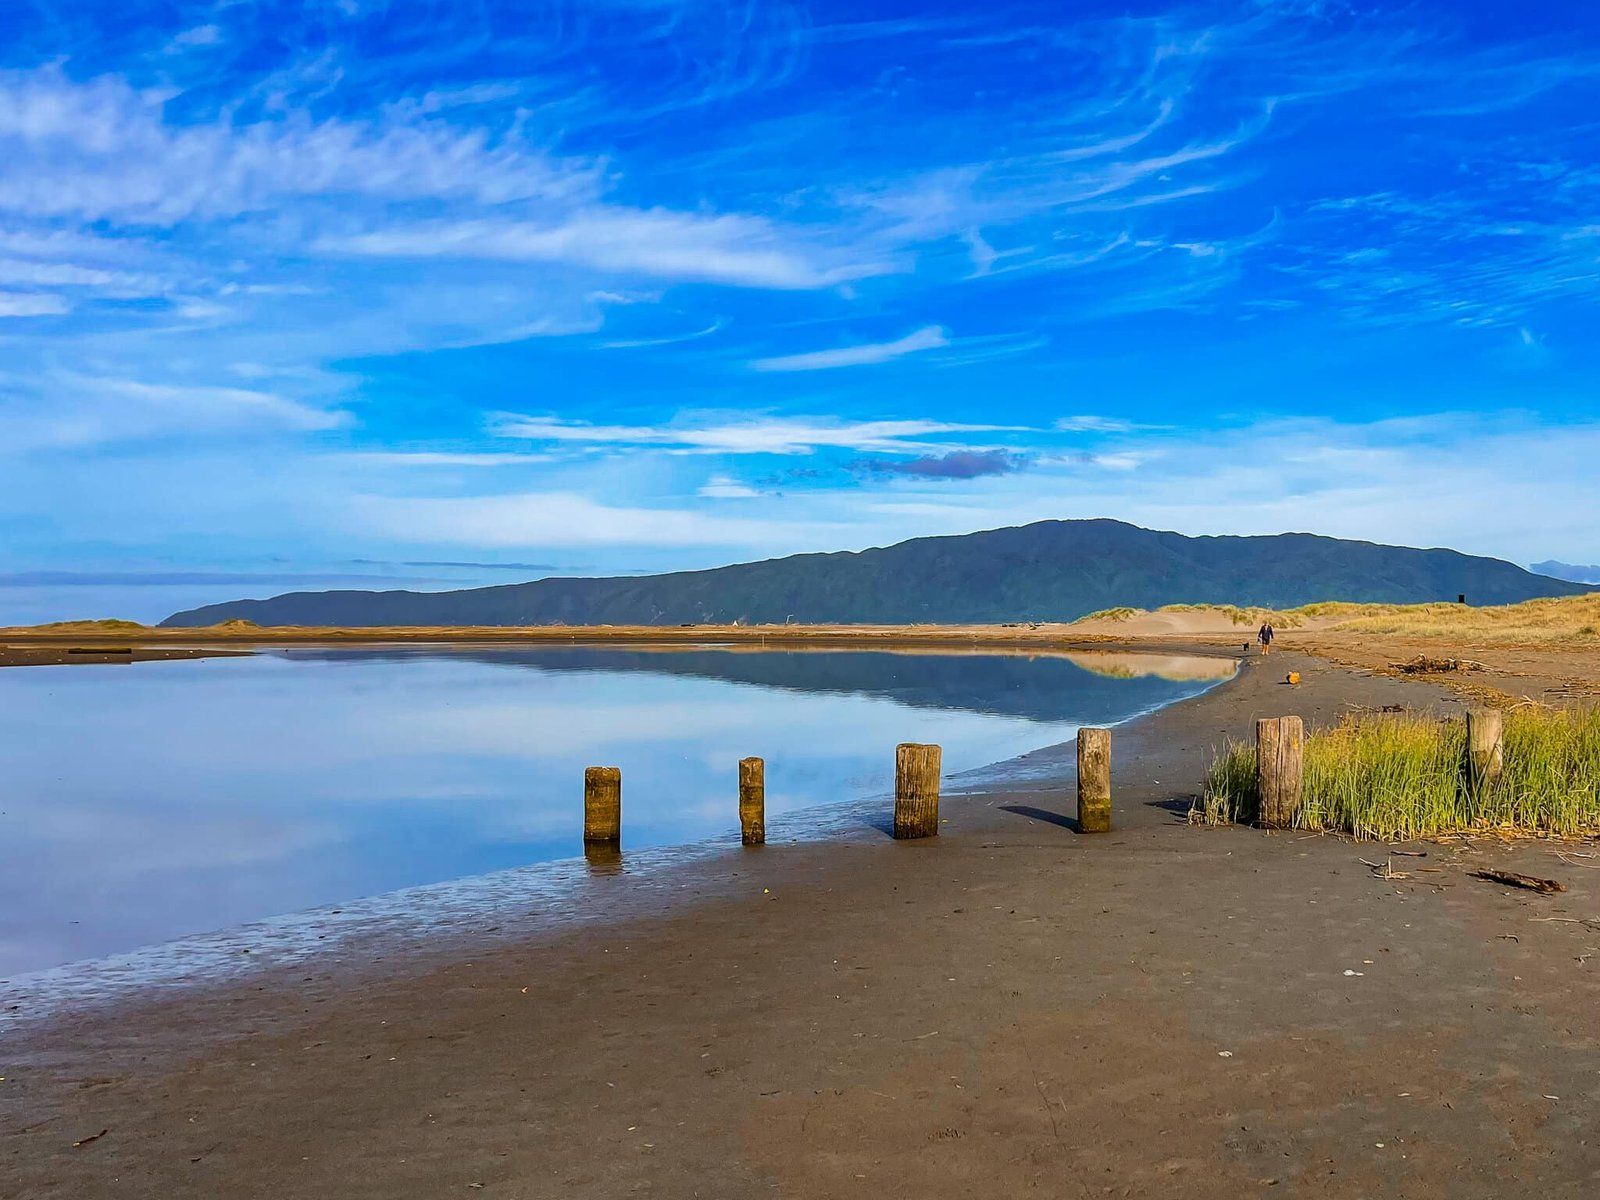
Located on the Kāpiti Coast, the Waikanae Estuary serves as a natural divide between Waikanae and Paraparaumu beaches. This area is known for its seabird sanctuary, with lagoons and a sand spit surrounded by residential areas. The estuary also marks the western end of the Waiakane River Track.
Walking the Estuary
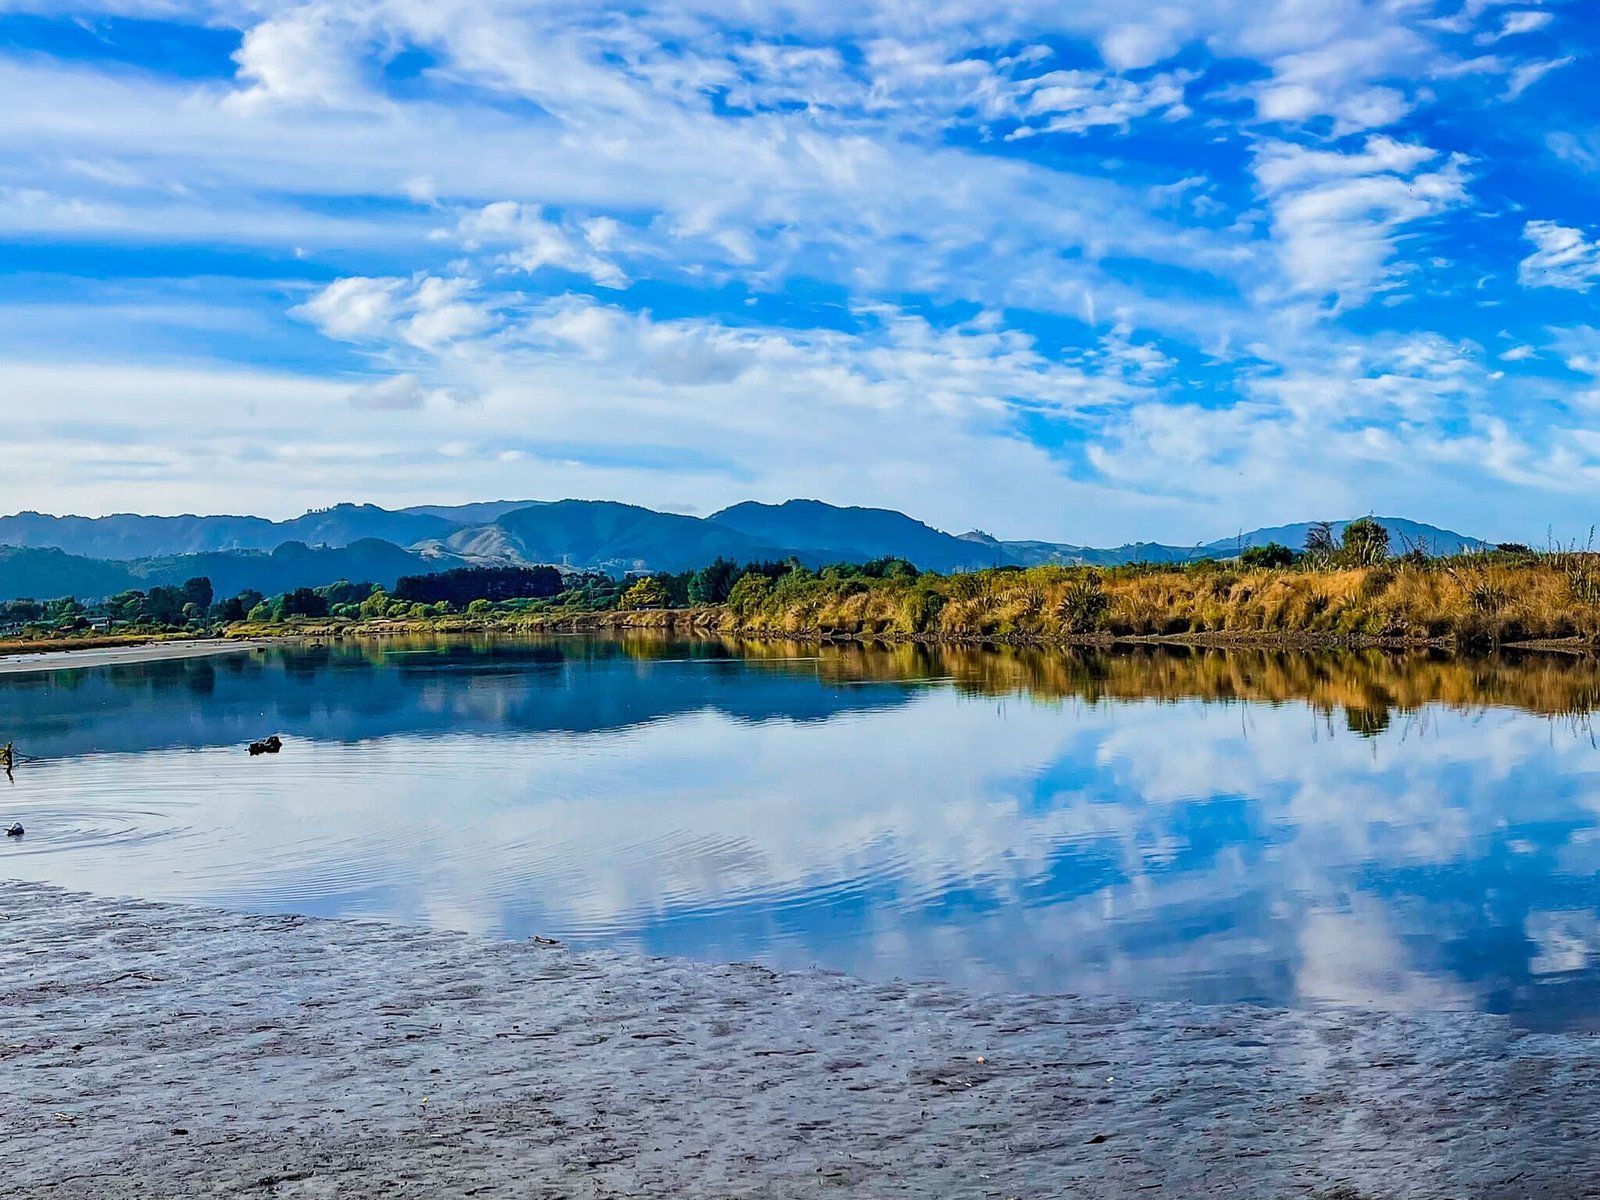
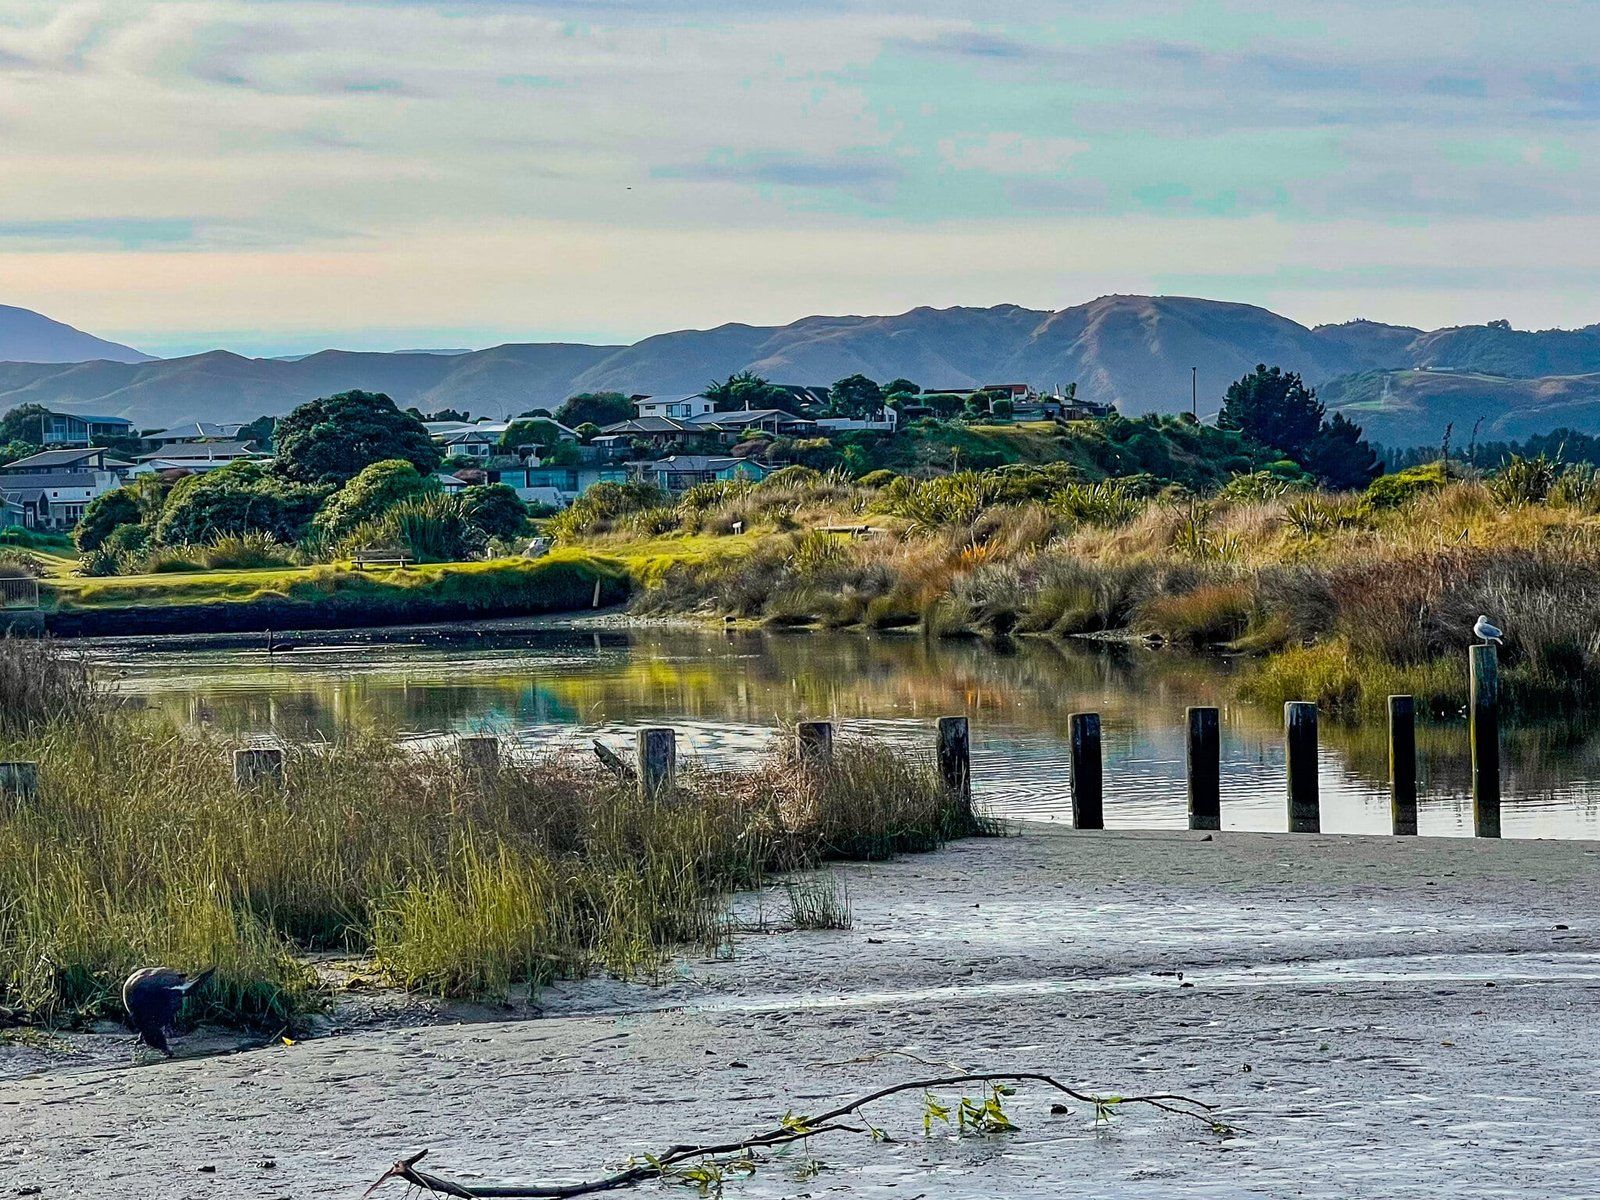
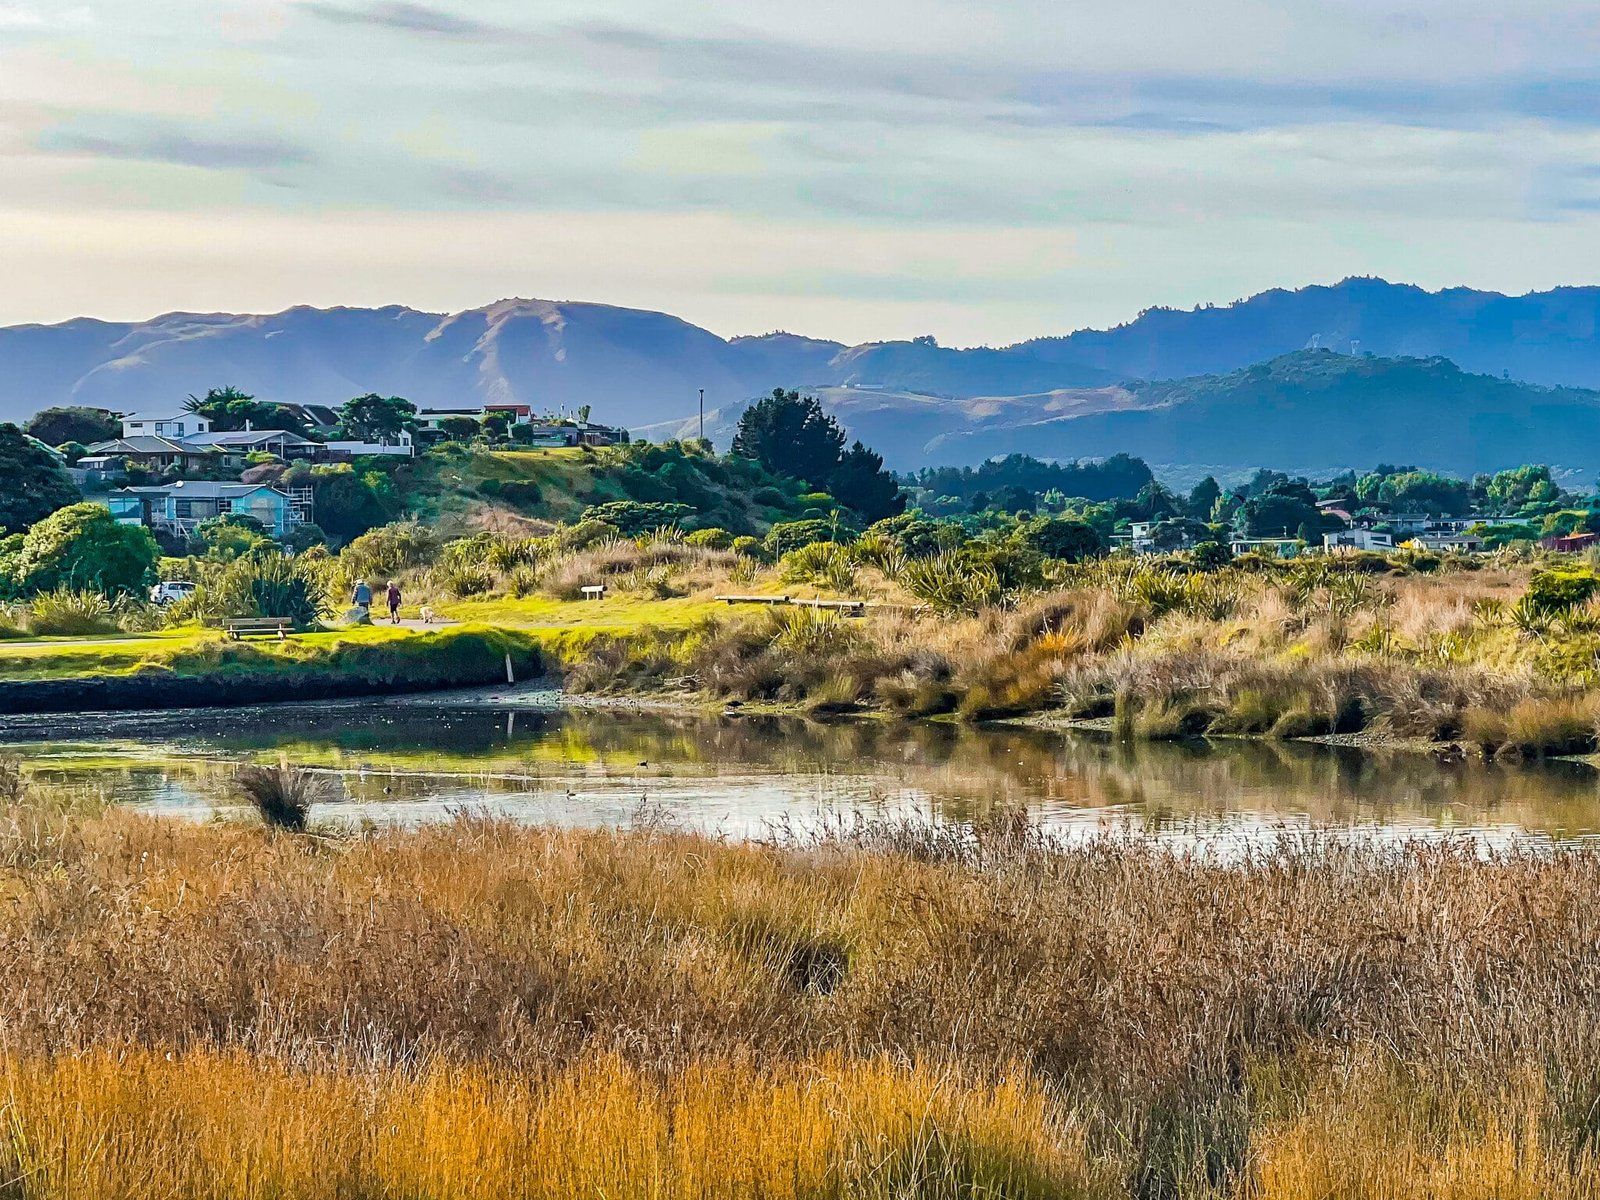
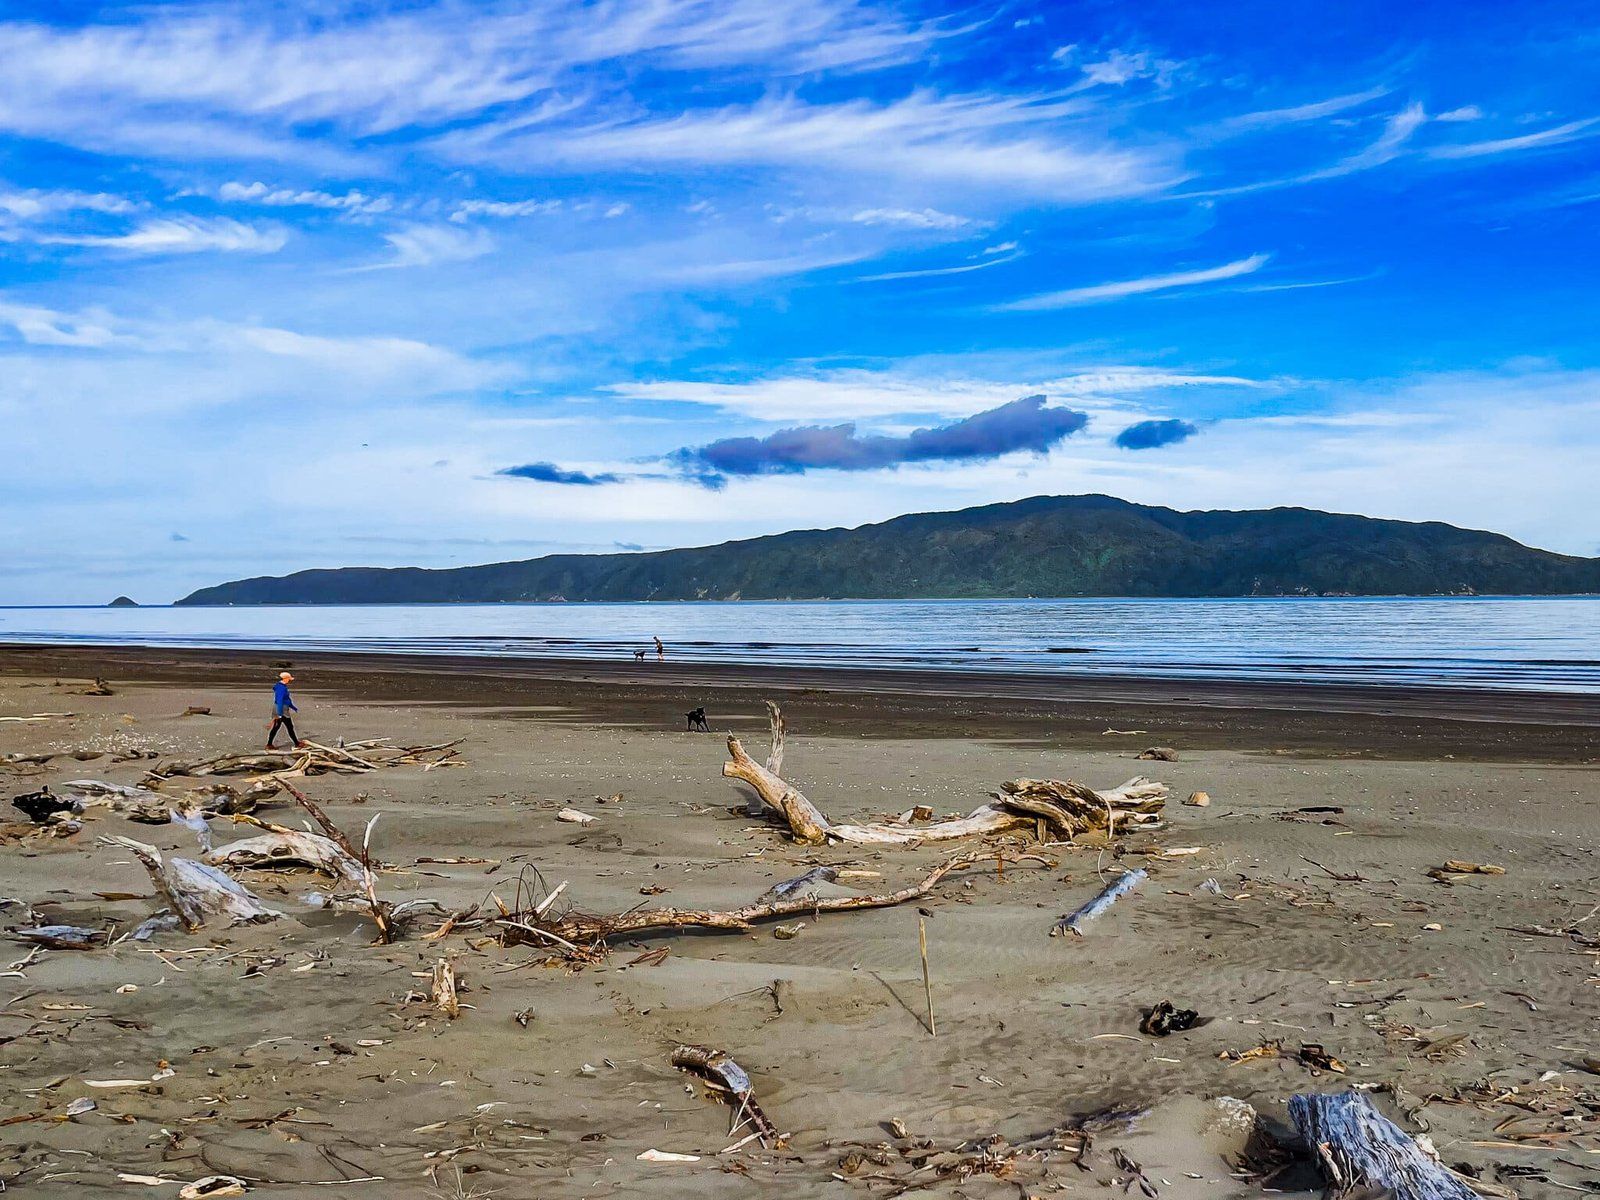
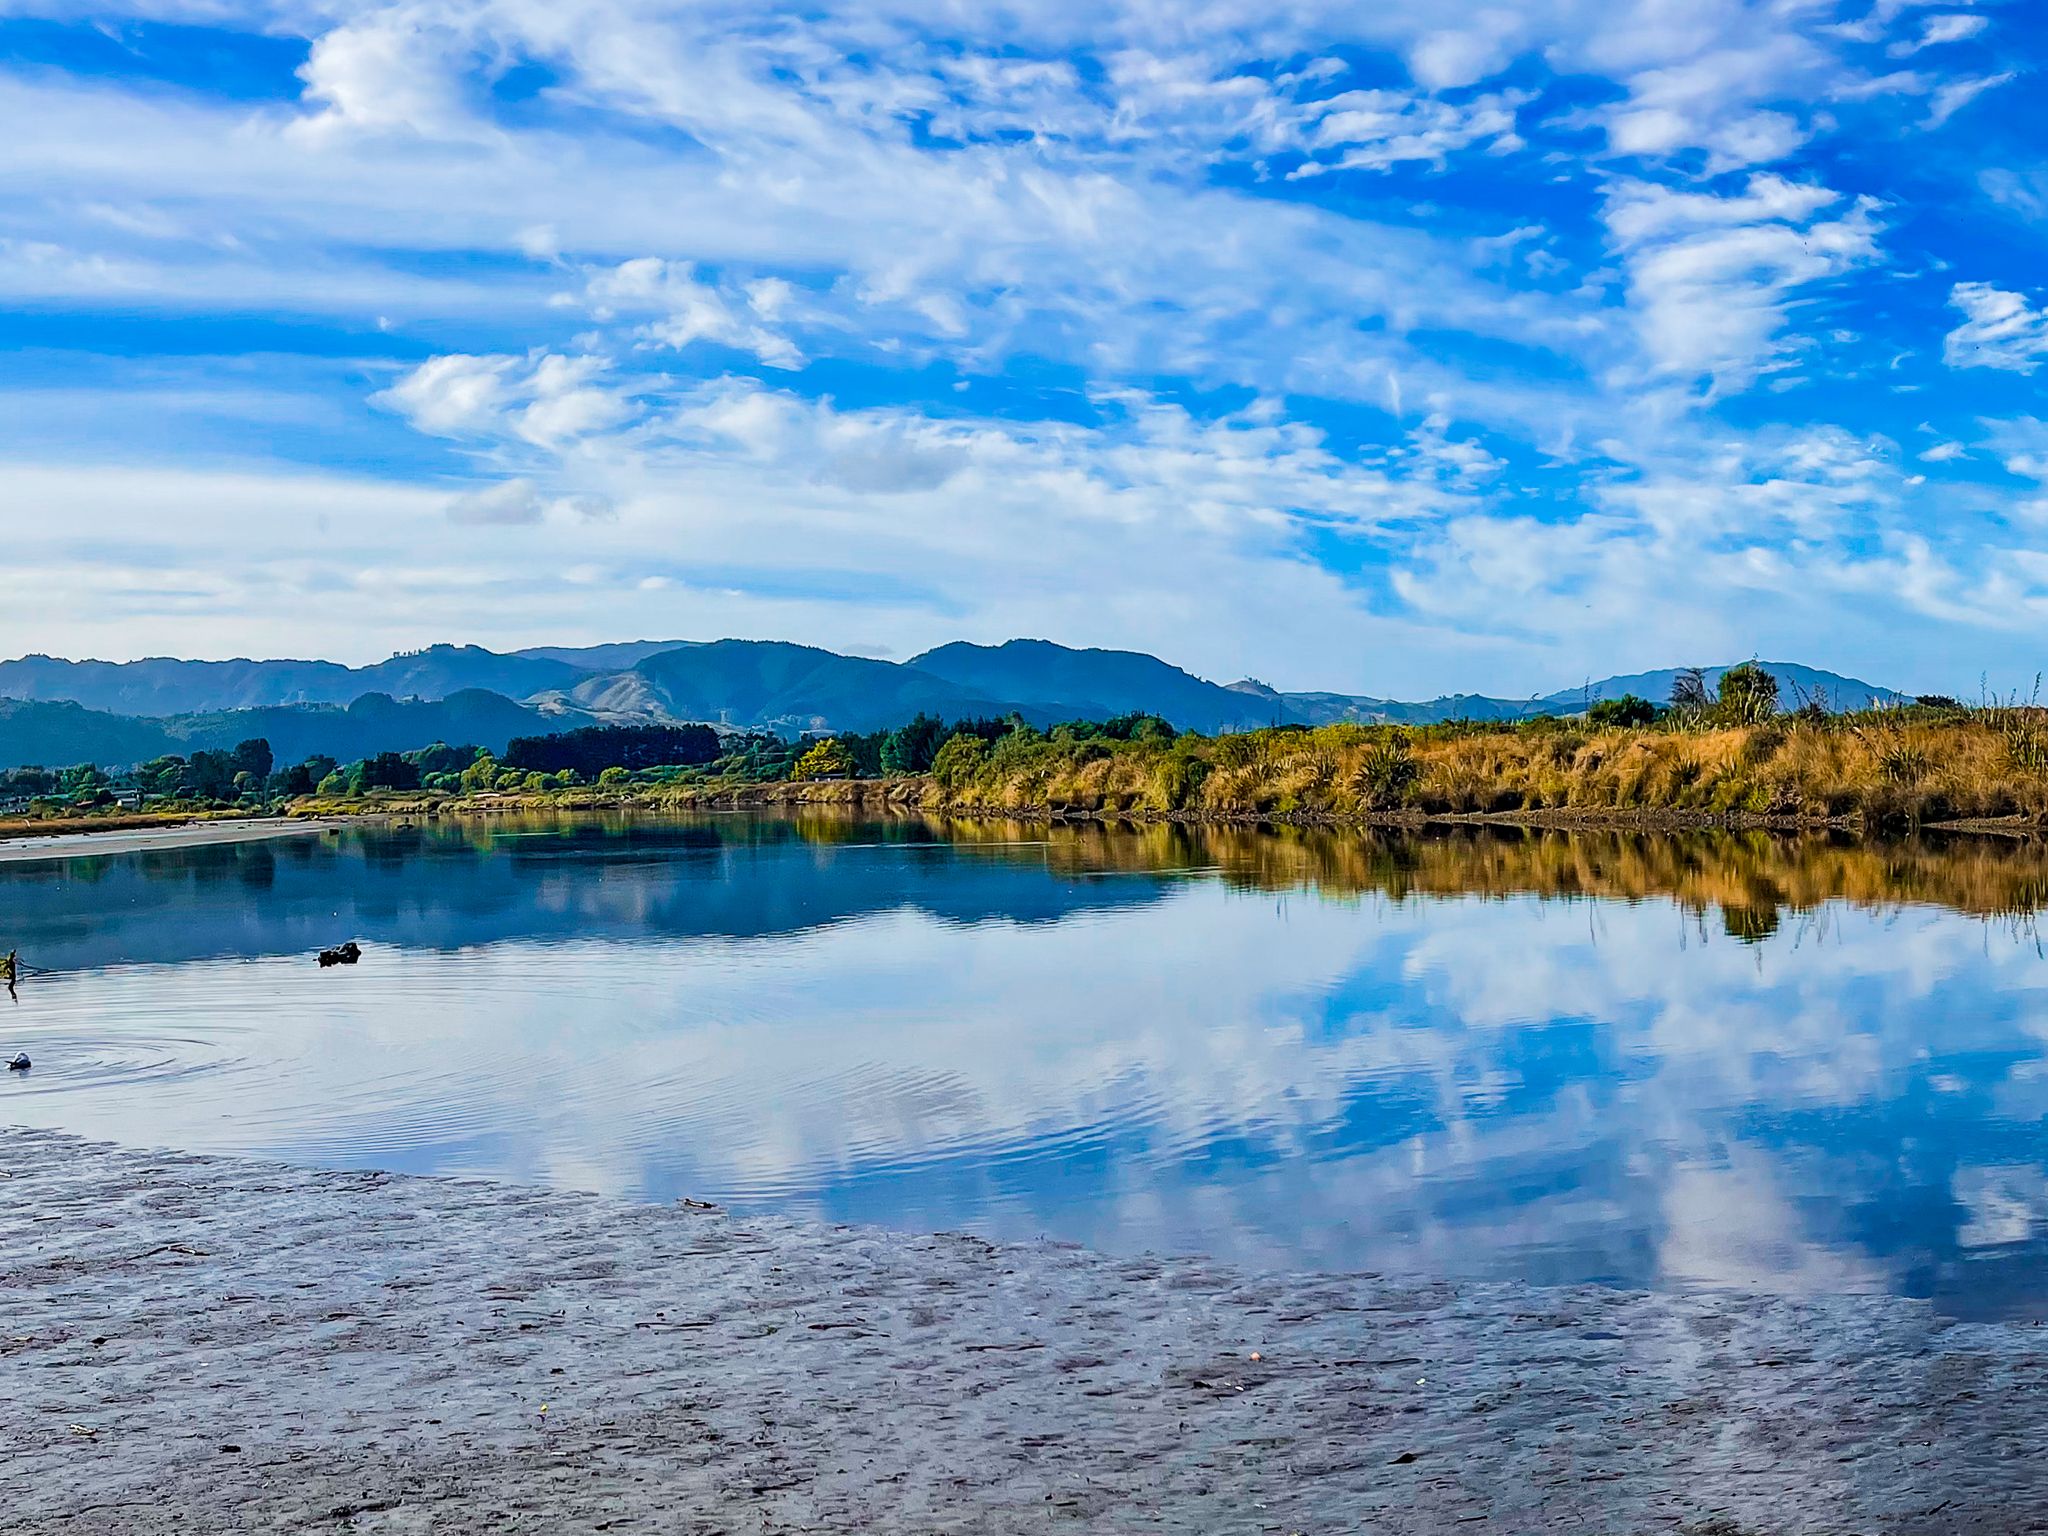
You can walk around both sides of the estuary. On the Paraparaumu side, there is a walkway through wetland shrubbery east to a bridge over the Waiakane River and north to the beach. The Paraparaumu side of the estuary is designated as a protected scientific reserve. On the Waiakanae side, the walkway continues from the bridge to the entrance on Tutere Street. From there, you can continue around the edge of the lagoon and sandspit at the south end of Waikanae Beach, with birds a feature on both sides.
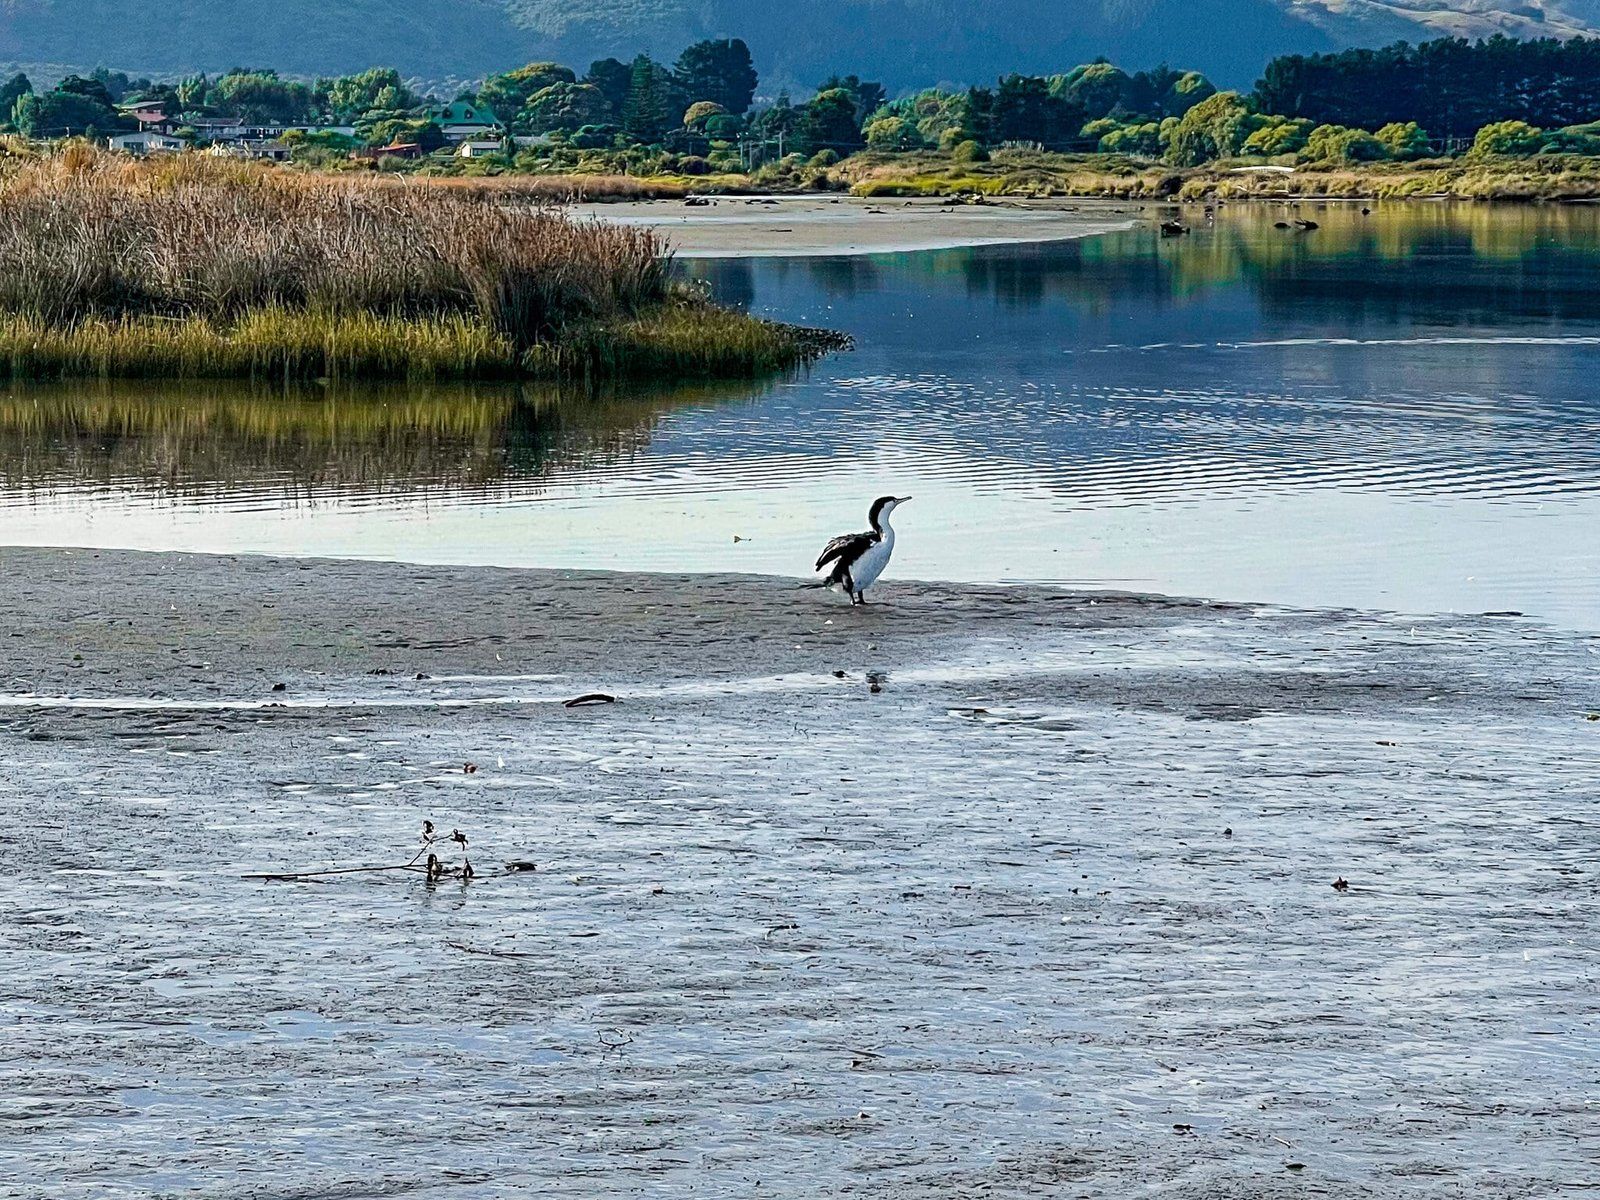
You can expect to observe a diverse range of bird species, including various gulls, shags and herons. If you're lucky, you might even spot the kōtuku ngutupapa (royal spoonbill). Early morning and evening are the best times to observe birds and capture golden-hour reflections of the estuary.
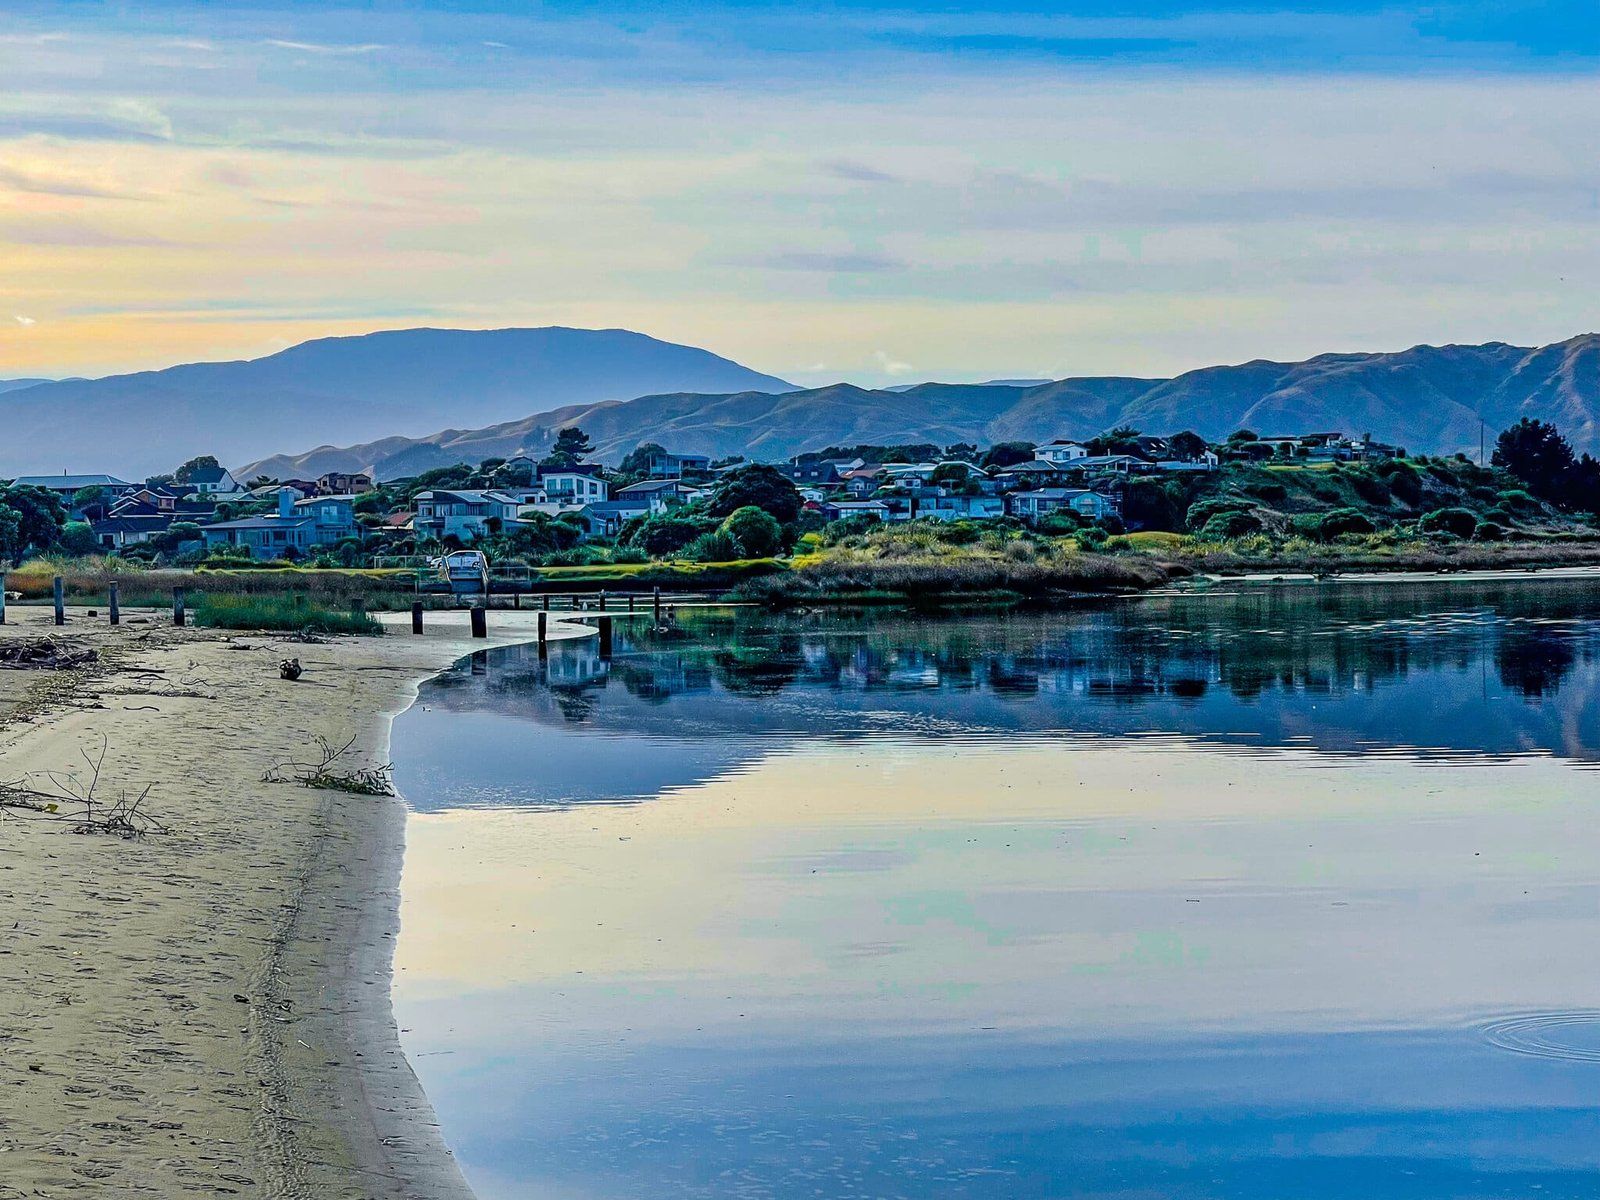
Camping and Access to Waikanae Beach
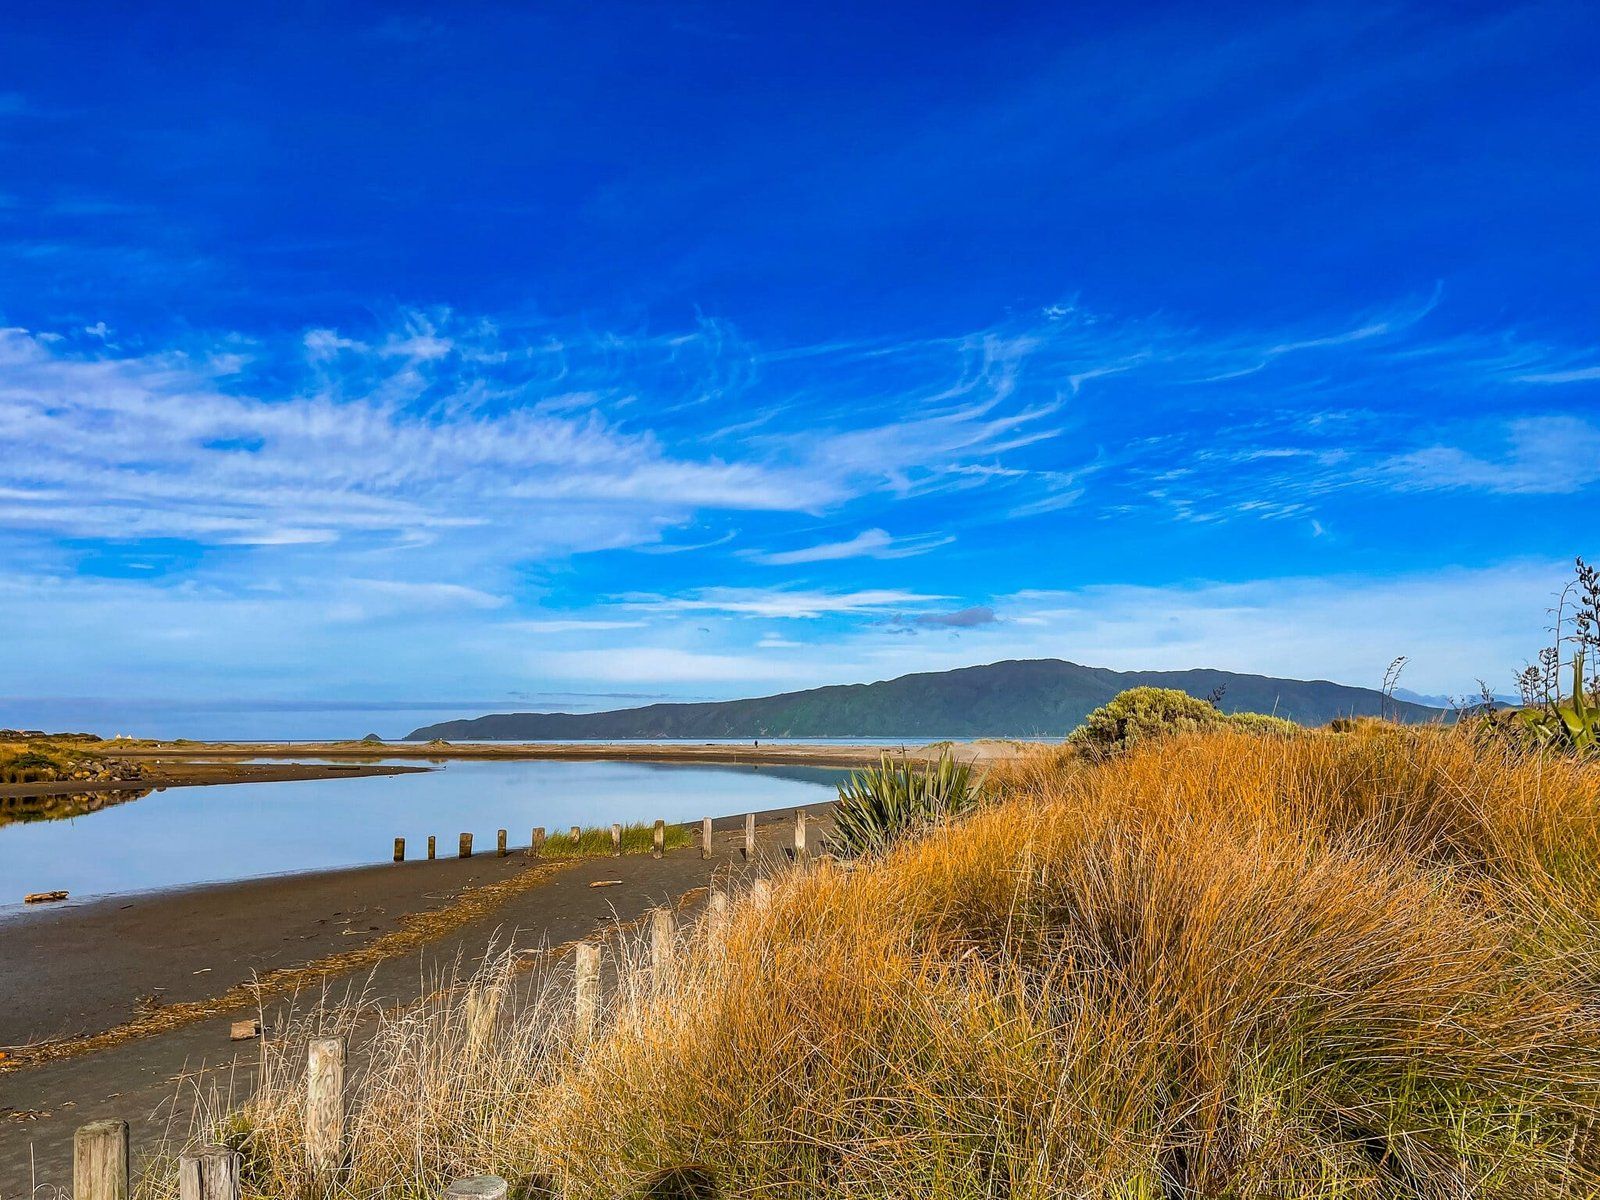
For those interested in freedom camping, there is a designated area at the end of Tutere Street, right before you reach the sandspit and the low-lying dunes. This location is just a short walk to the southern end of Waikanae Beach and the nearby Waimanu Lagoon.
How to Get There
To reach the Waikanae Estuary, you can walk or cycle the Waikanae River Track from central Waikanae. If you are coming from Wellington, you can take a bike on the Kāpiti Coast Train. If you are driving, take the motorway to Waiakanae, then take the Te Moana Road off-ramp and head west towards the coast. At Tutere Road, head southwest to the car park at the end of the road.
Other places to explore along the coast include Kāpiti Island, Raumati Beach, Queen Elizabeth Park and Paekākāriki.