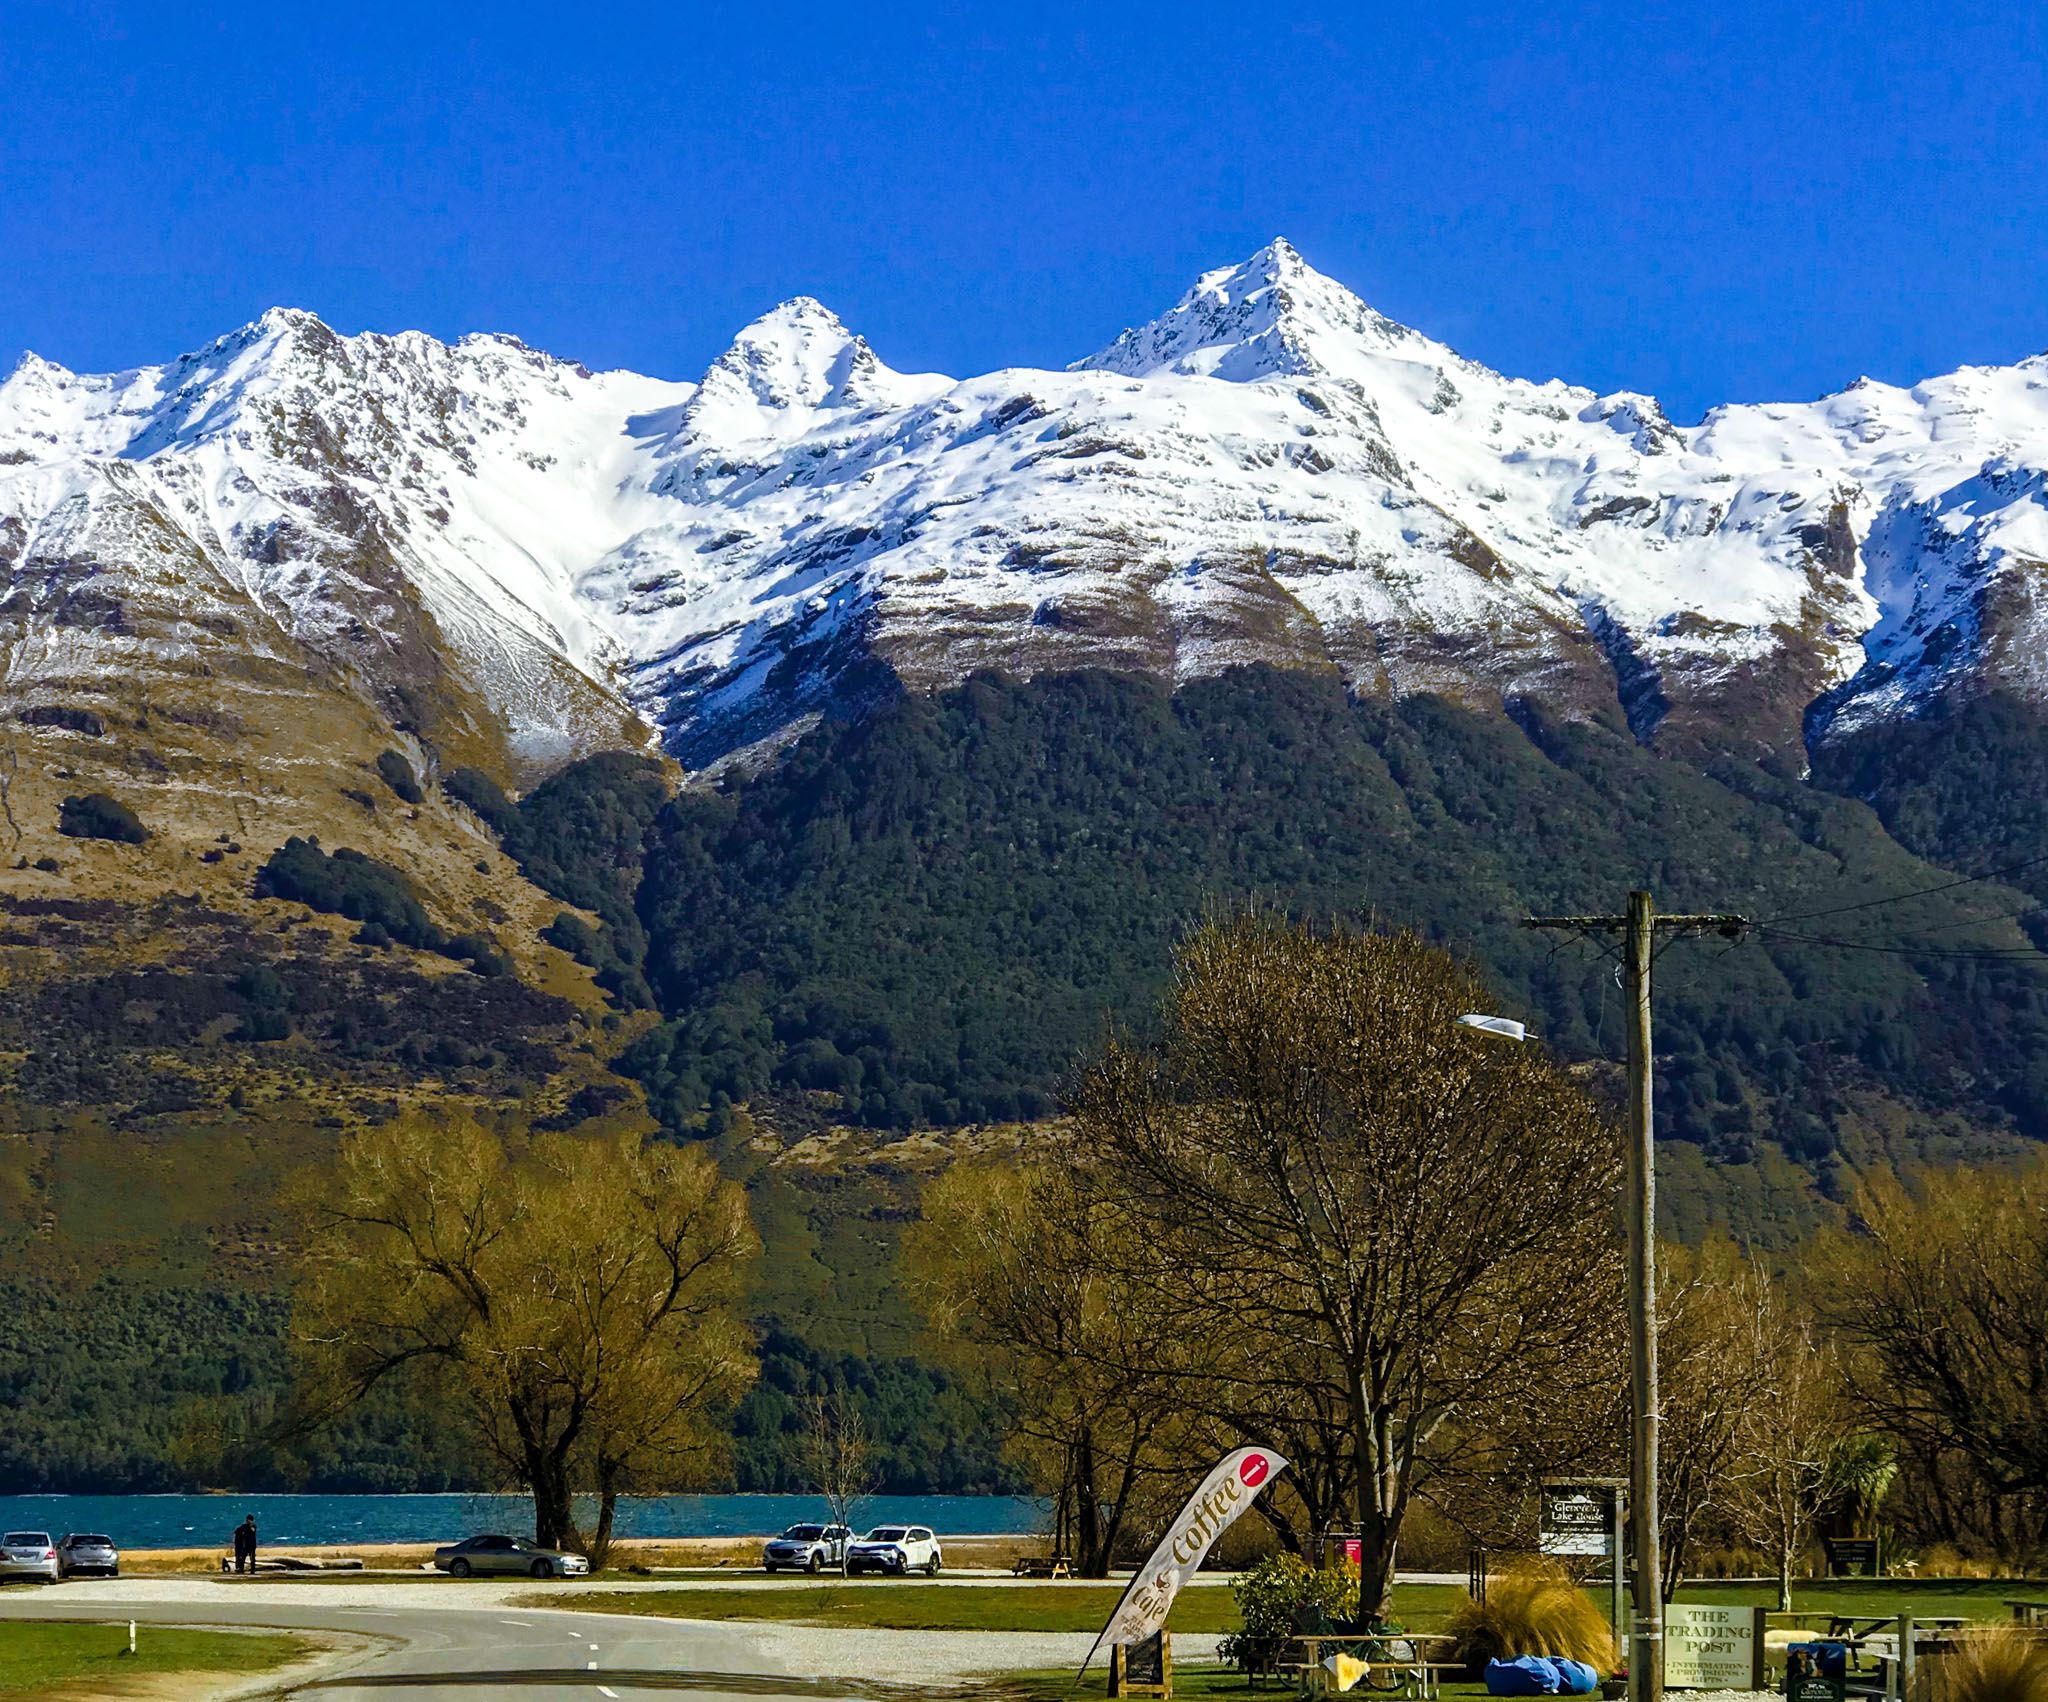
Exploring Diamond Creek Walk
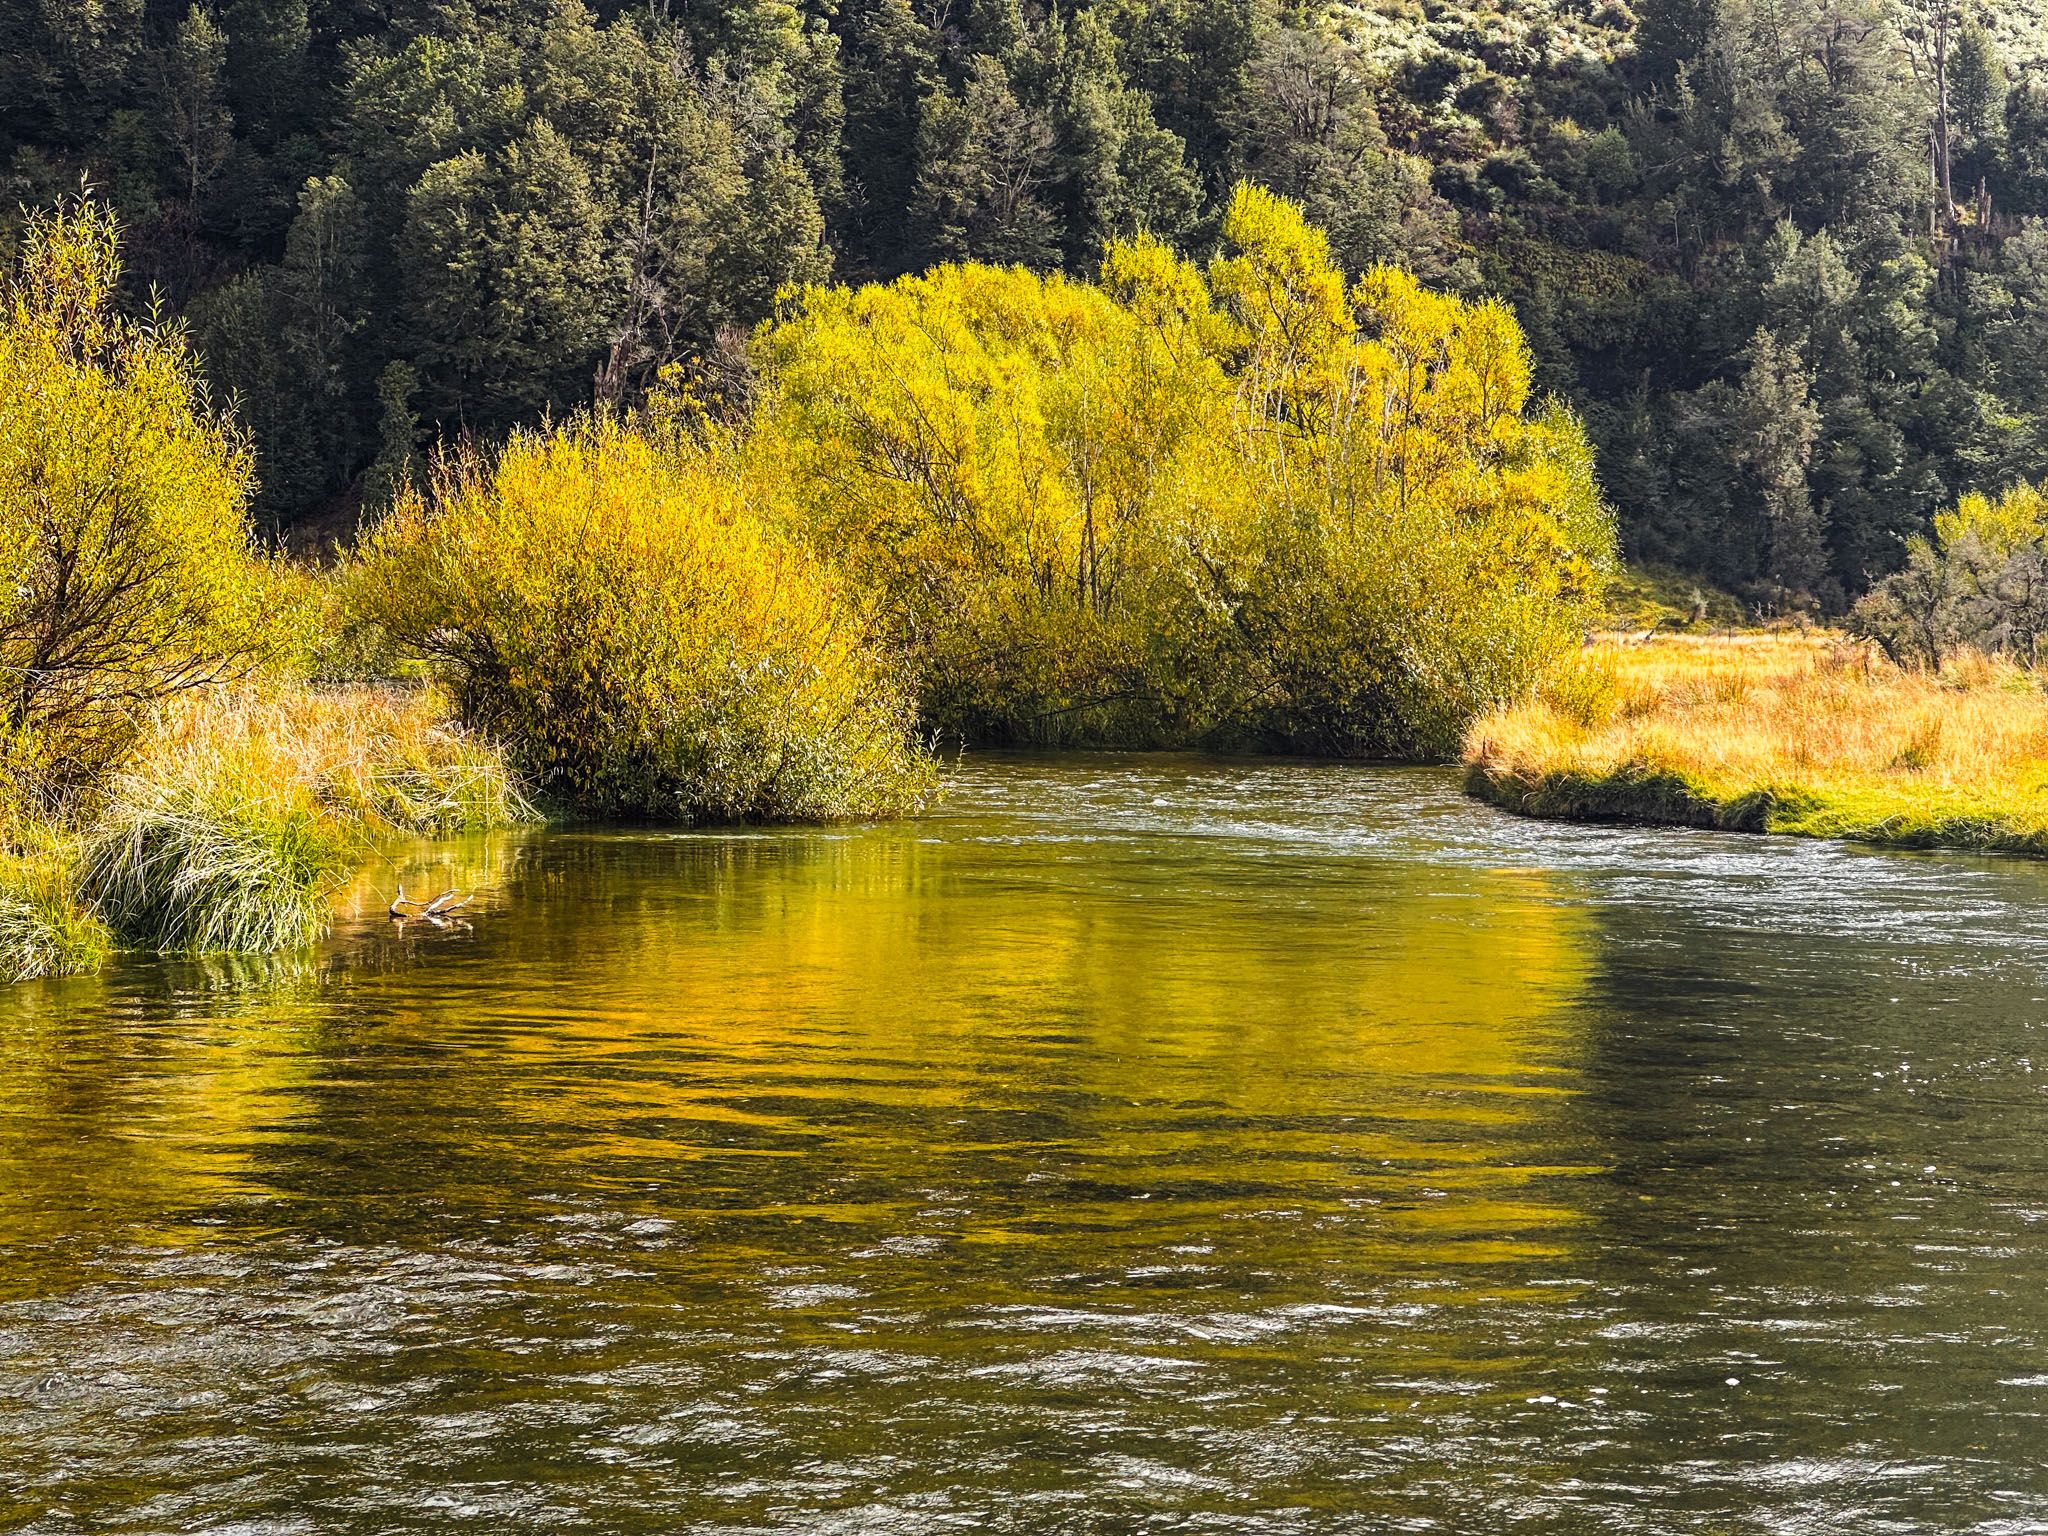
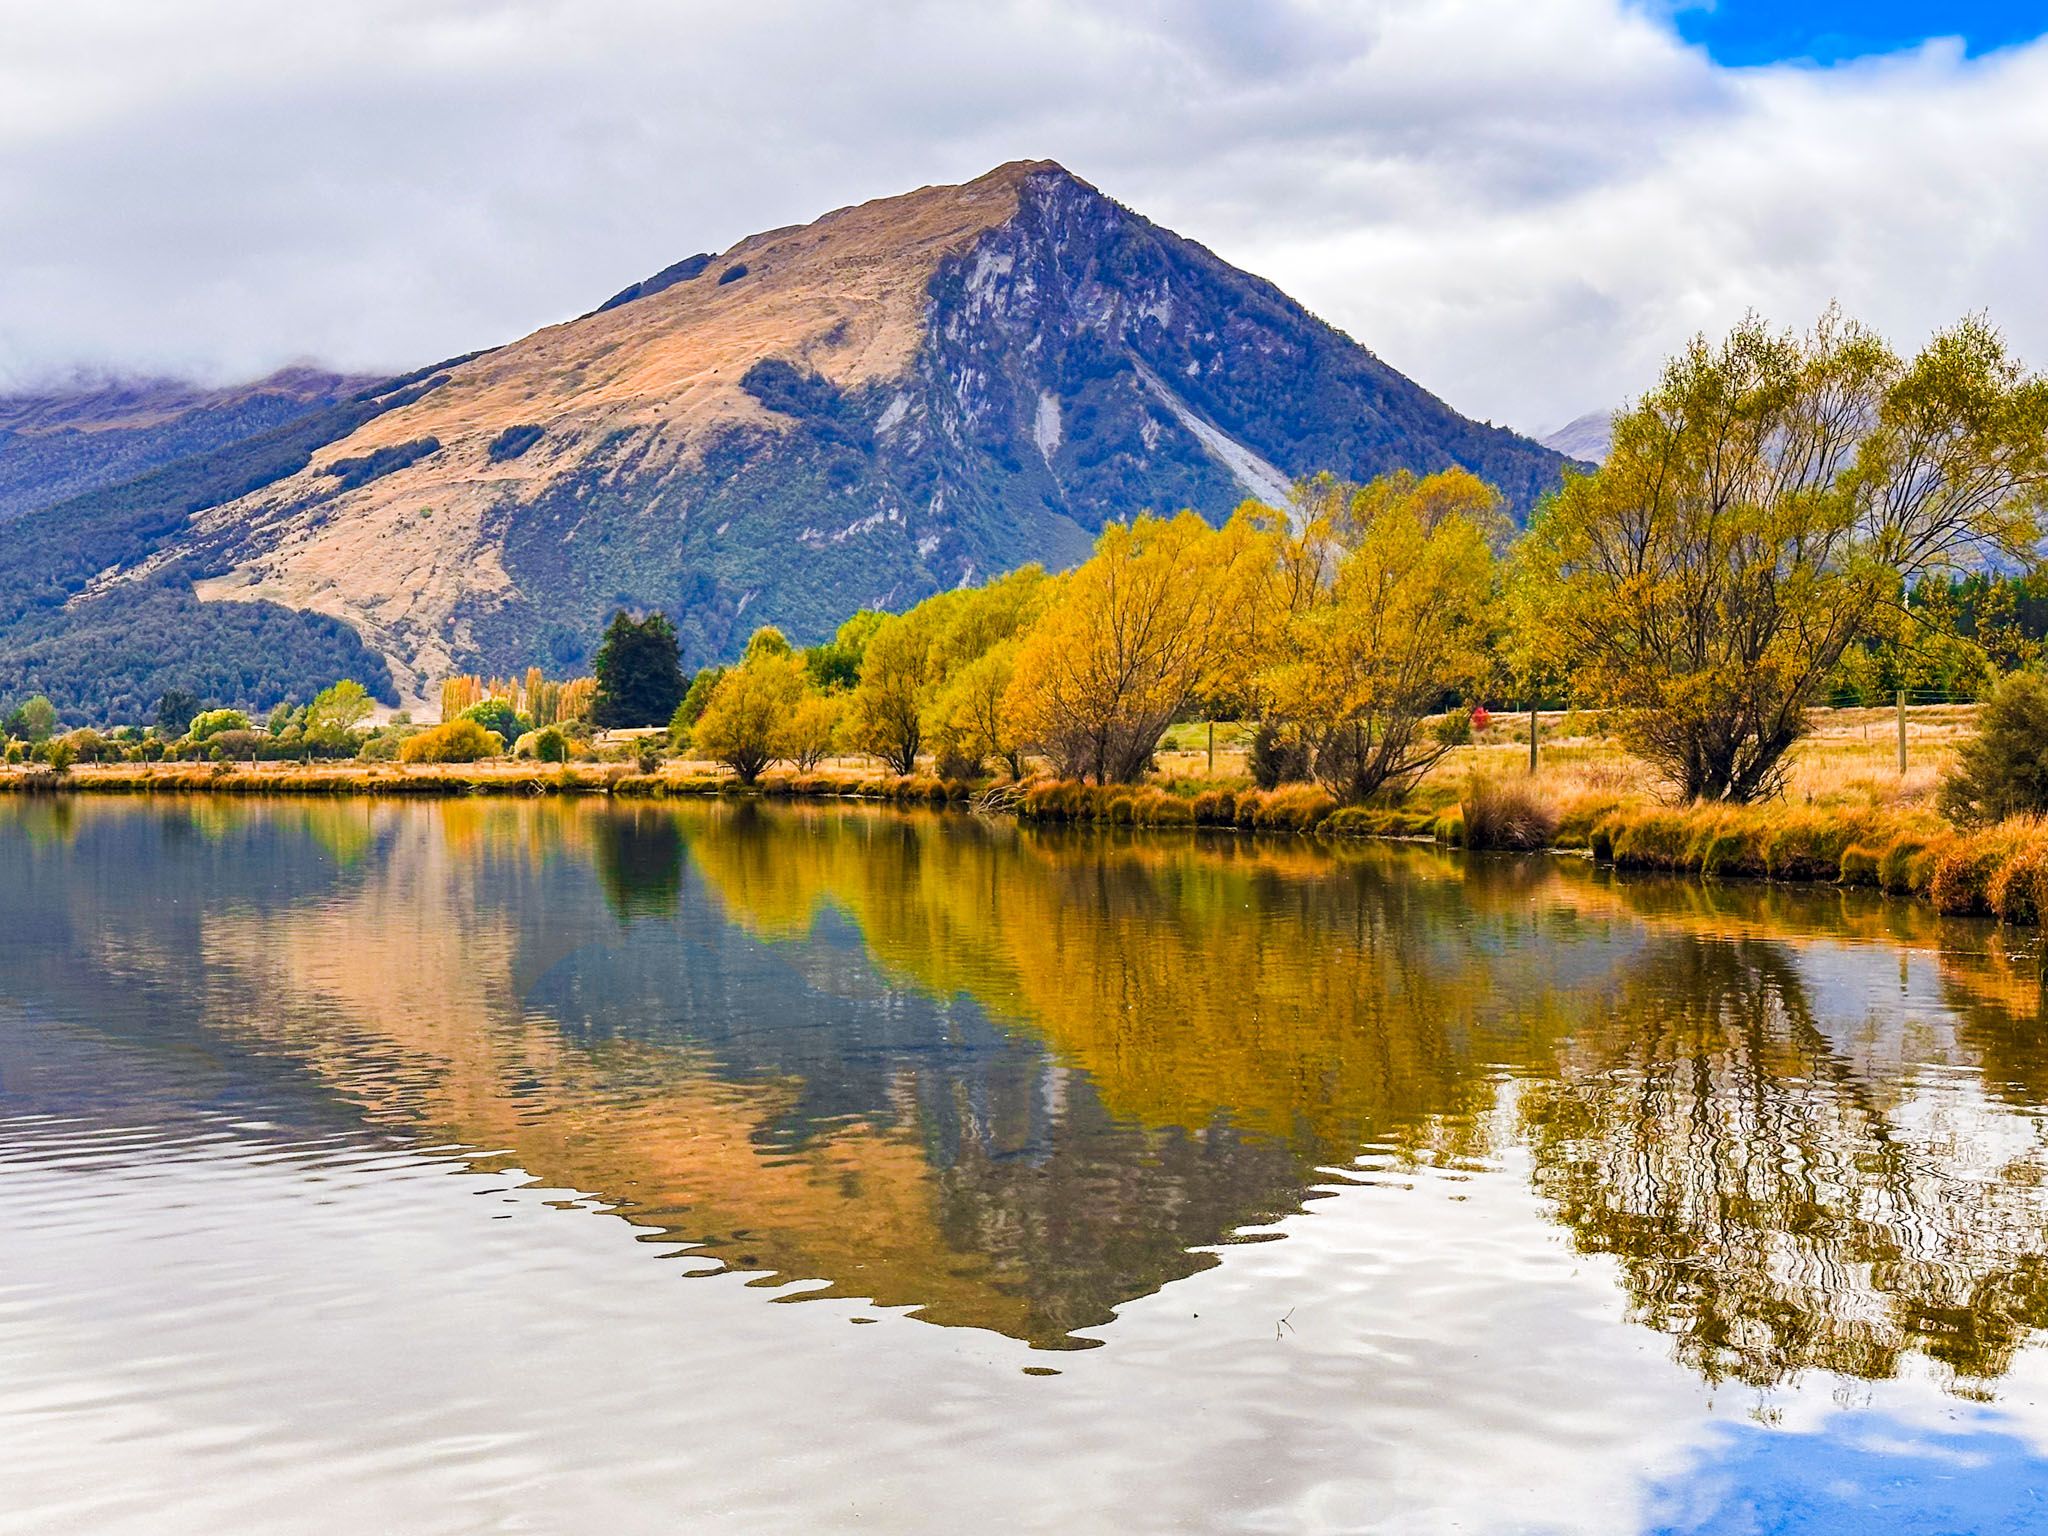
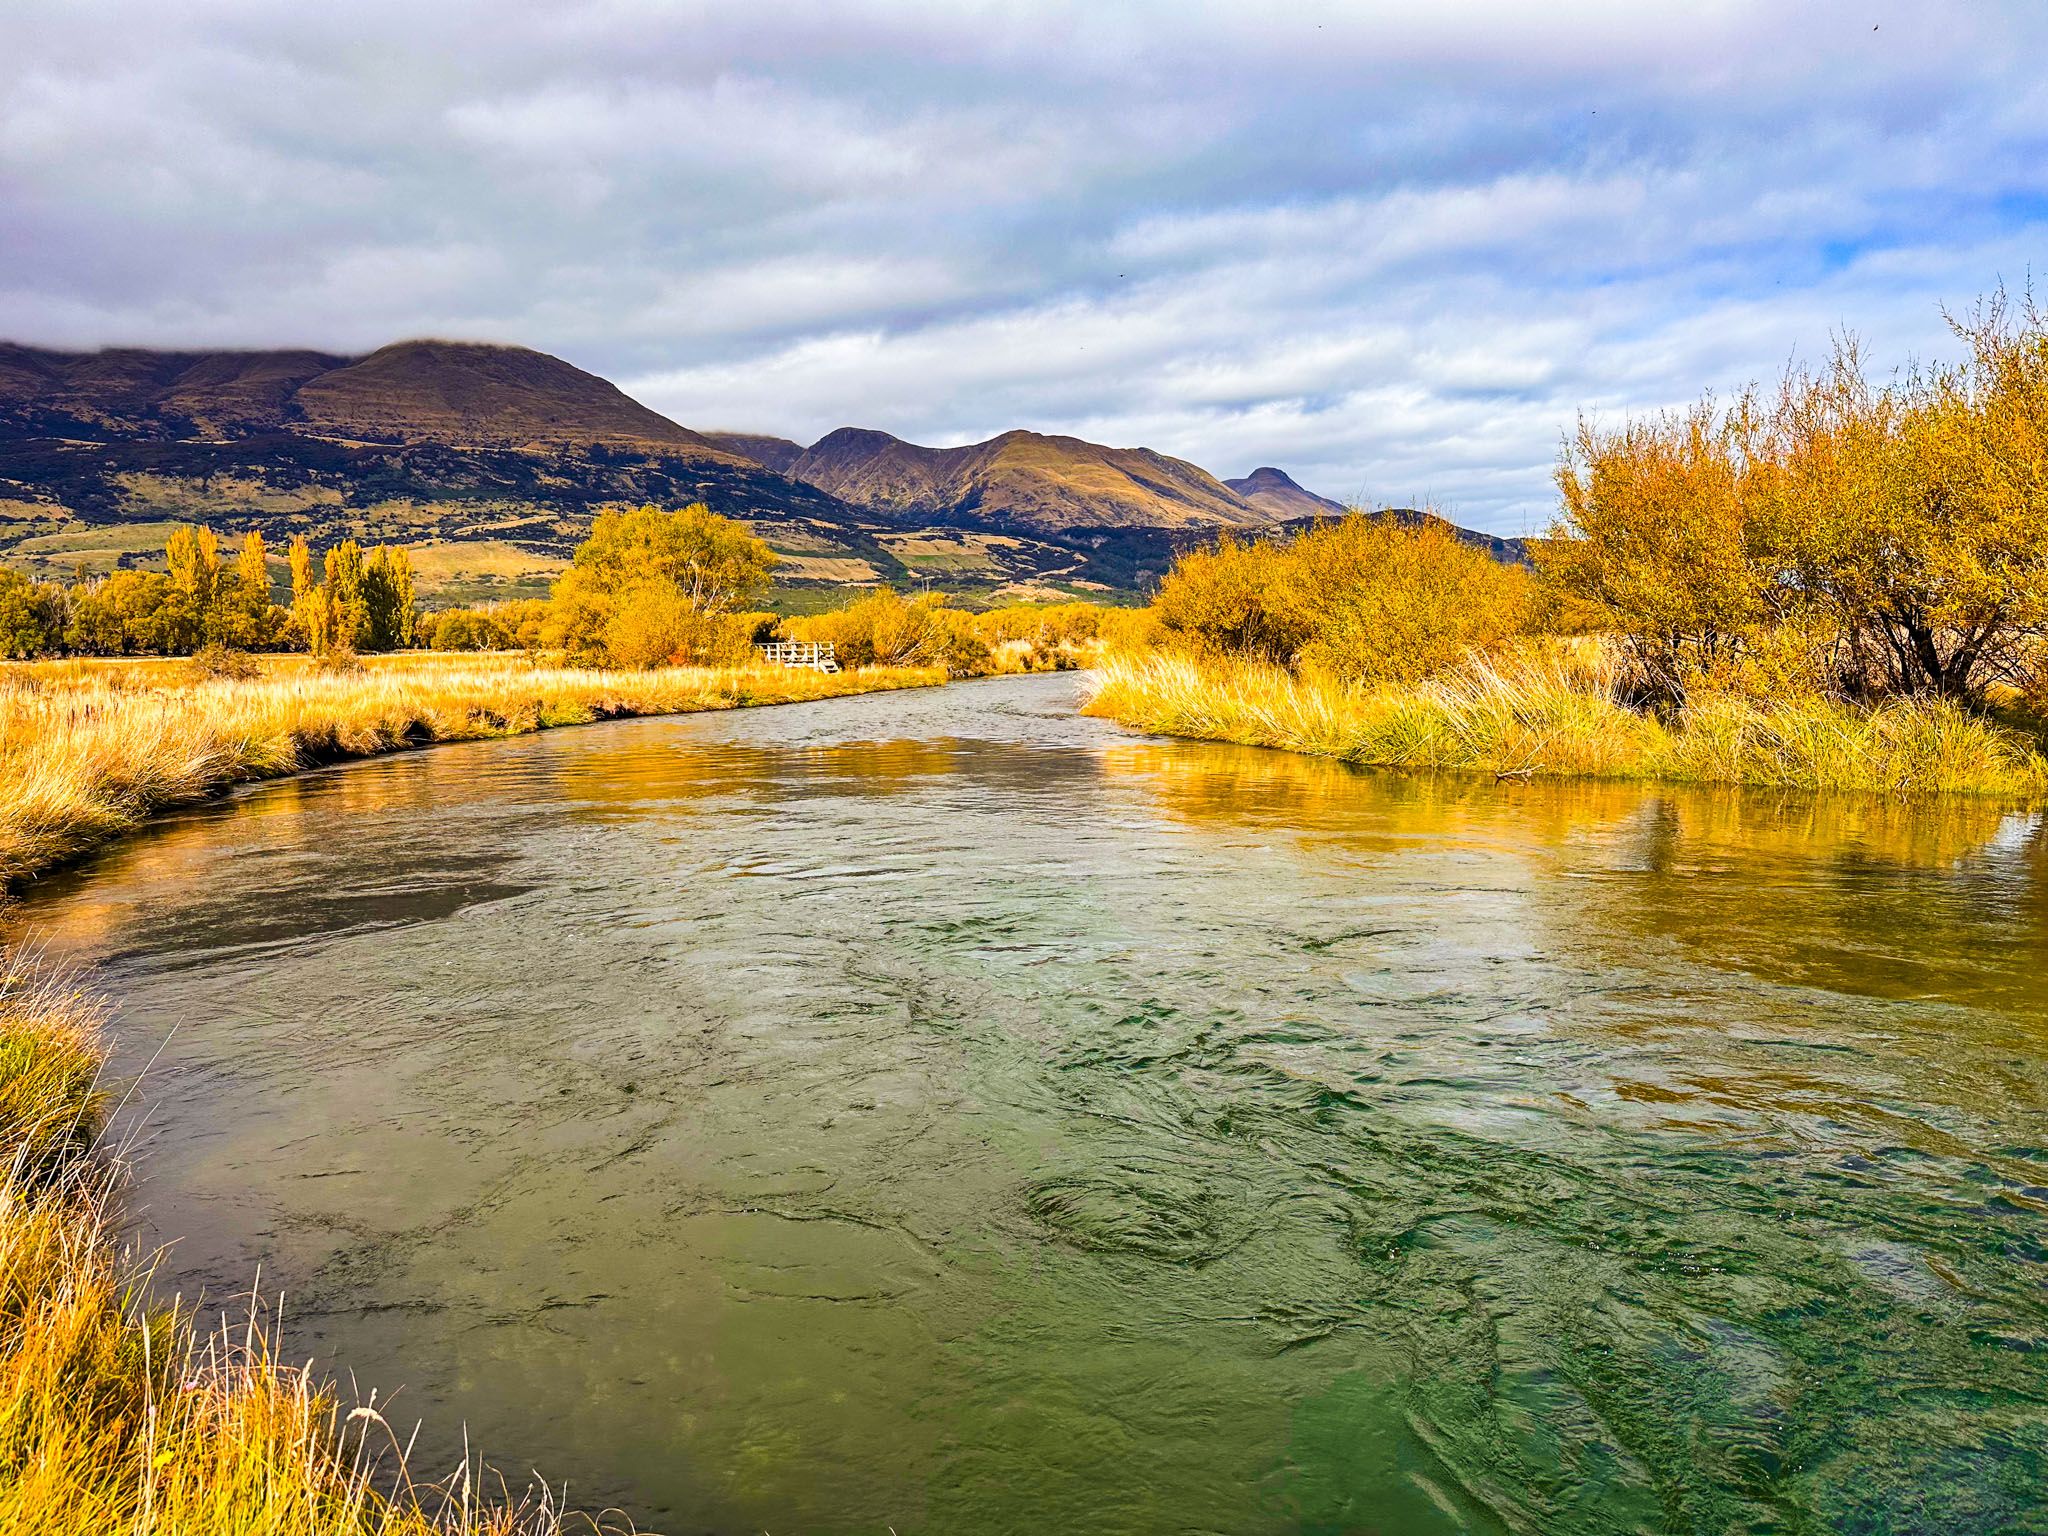
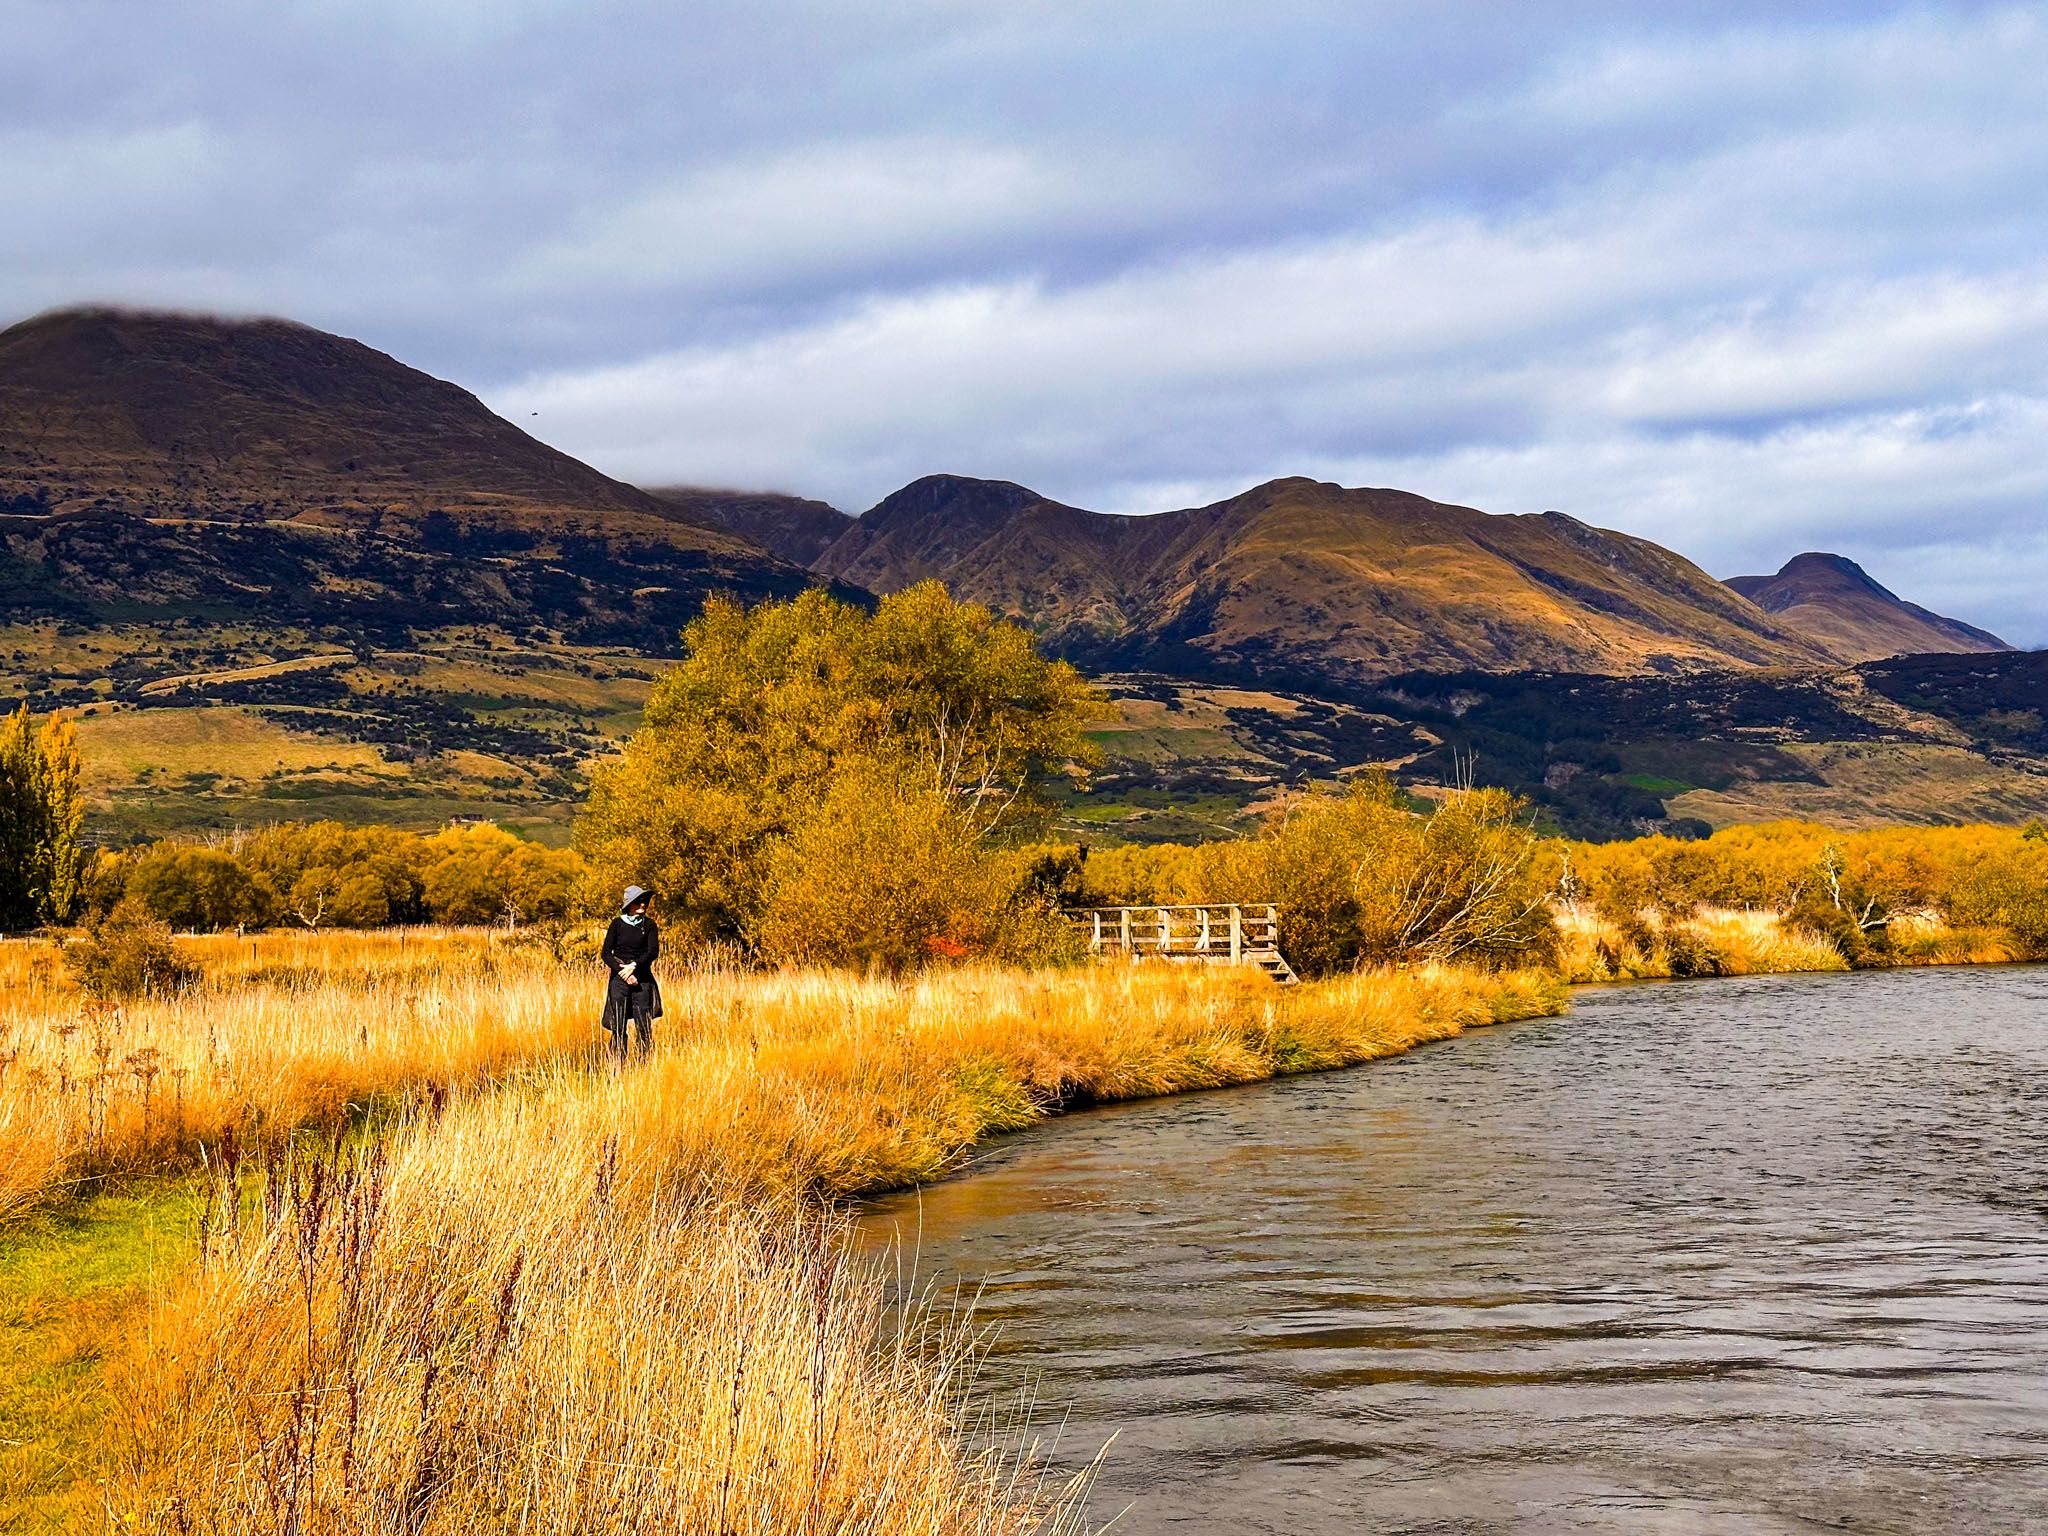
Diamond Creek Walk, located at the top of Lake Wakatipu, is an easy, scenic route that follows Diamond Creek to the small Lake Reid. The creek runs along the steep eastern side of Mount Alfred, marking the western edge of the Rees Valley. Despite its name, Diamond Creek resembles a small river, with deep sections and captivating whirlpools. Exercise caution with small children, as the creek's appearance can be misleading.
Track Details and Scenery
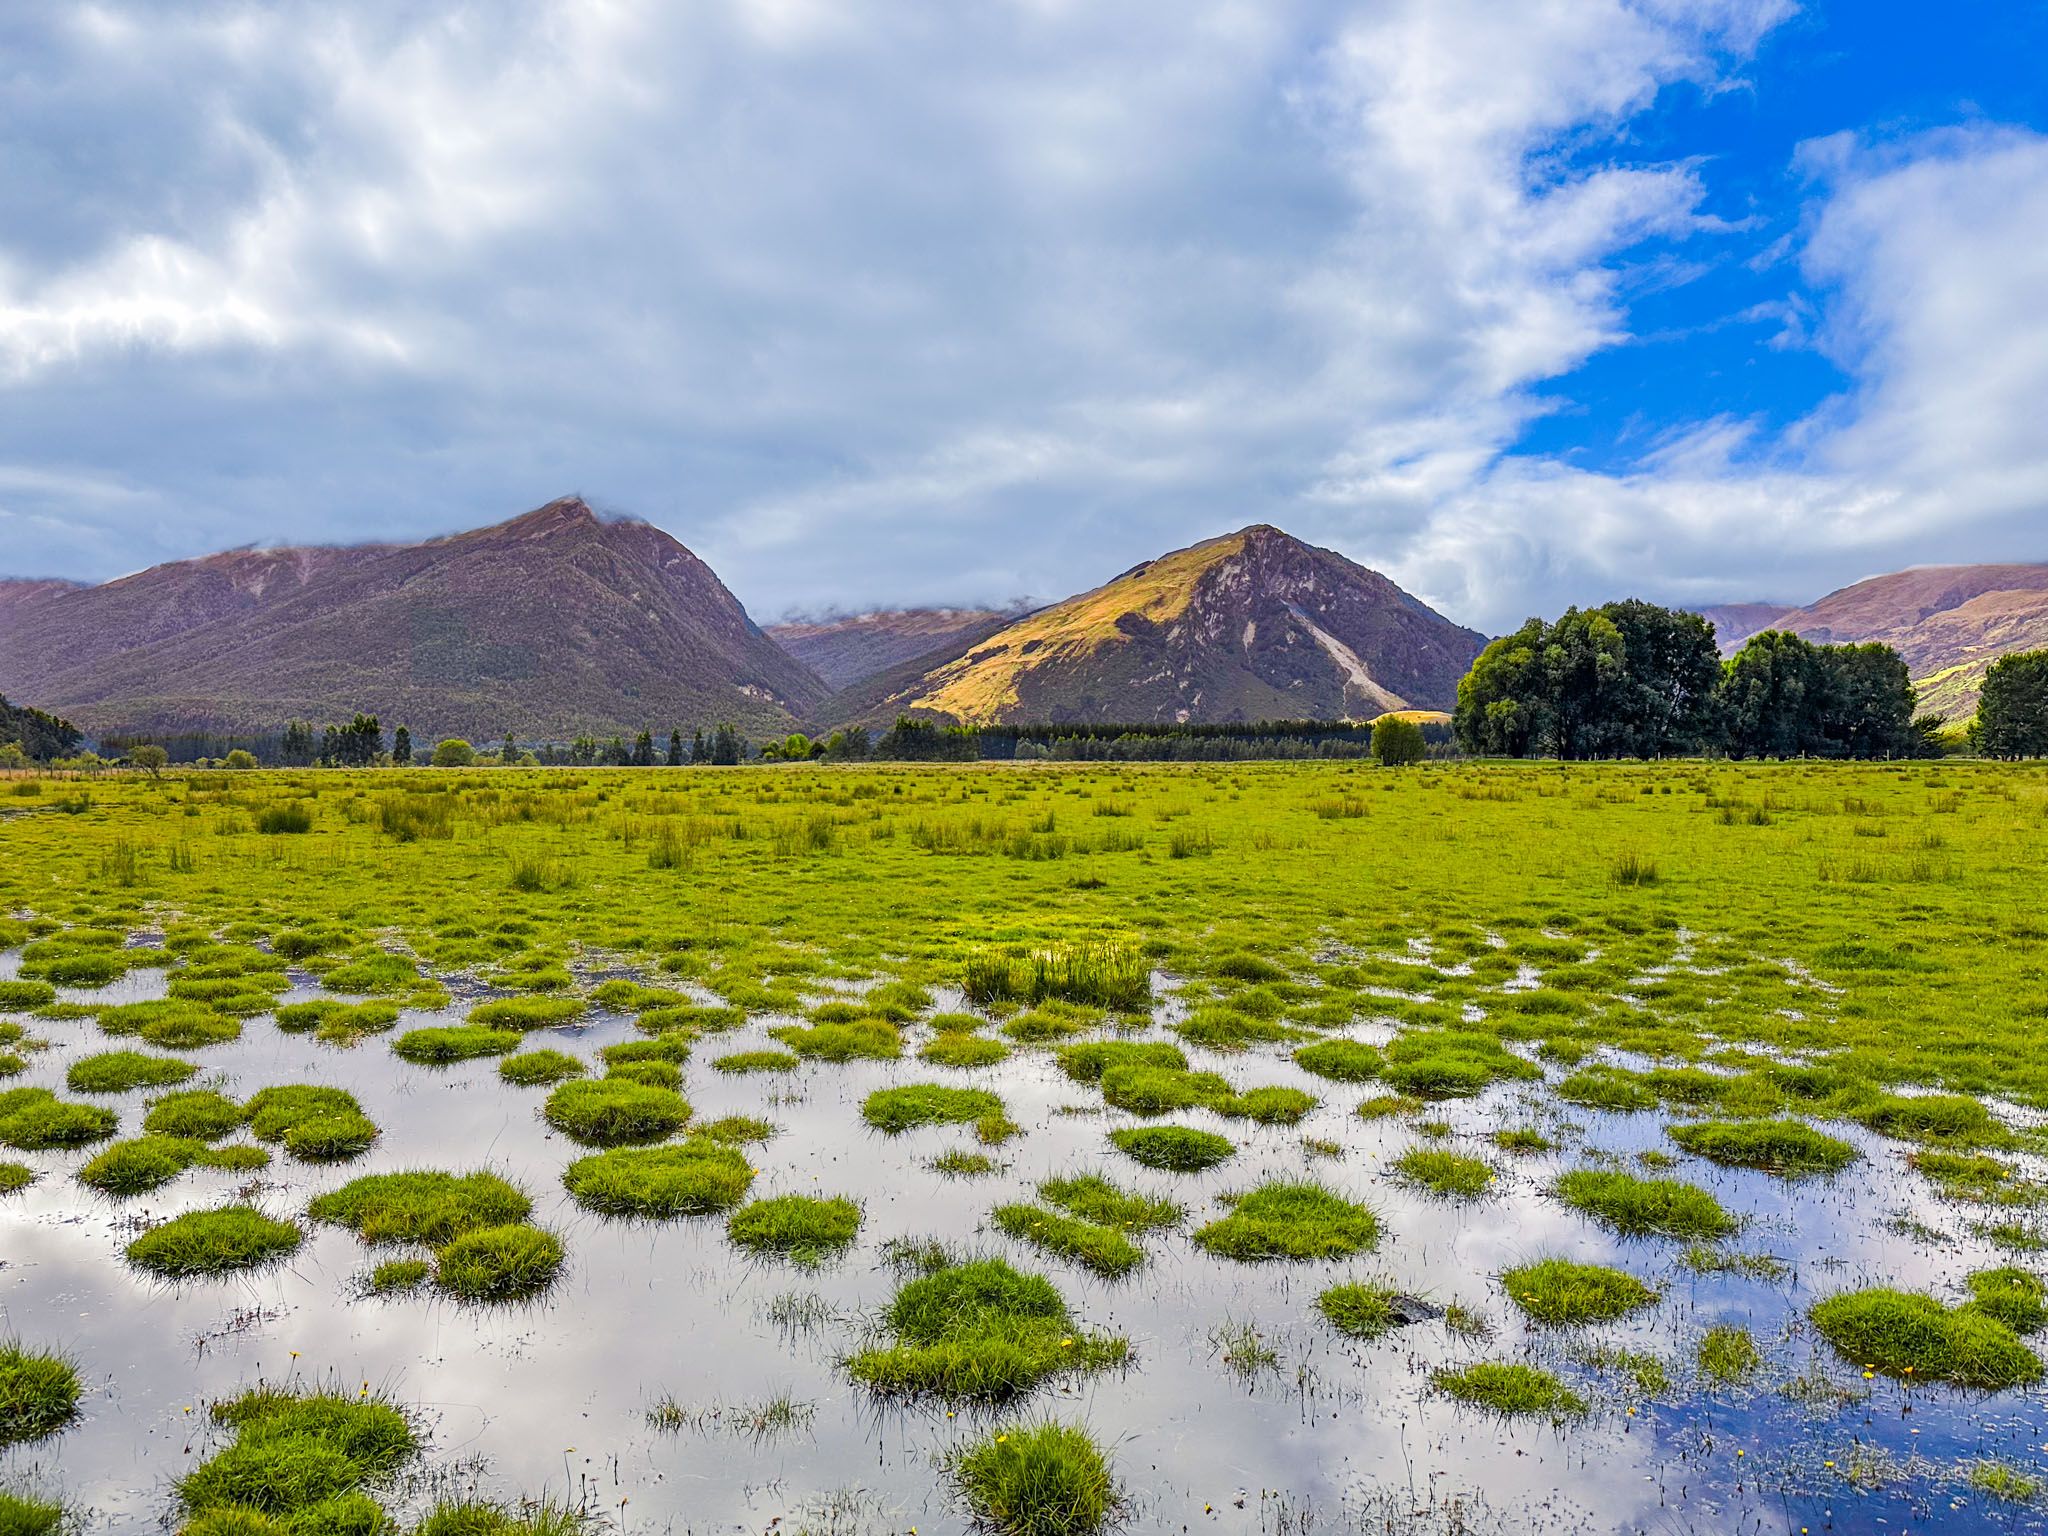
The walk begins on Priory Road, which connects the Rees Valley and Dart Valley, running south of Mount Alfred. The track follows the east bank of the creek, traversing mostly open, grassy terrain. The valley flats to the east are used for farming, and large pools of water may form after rain, potentially affecting the track.
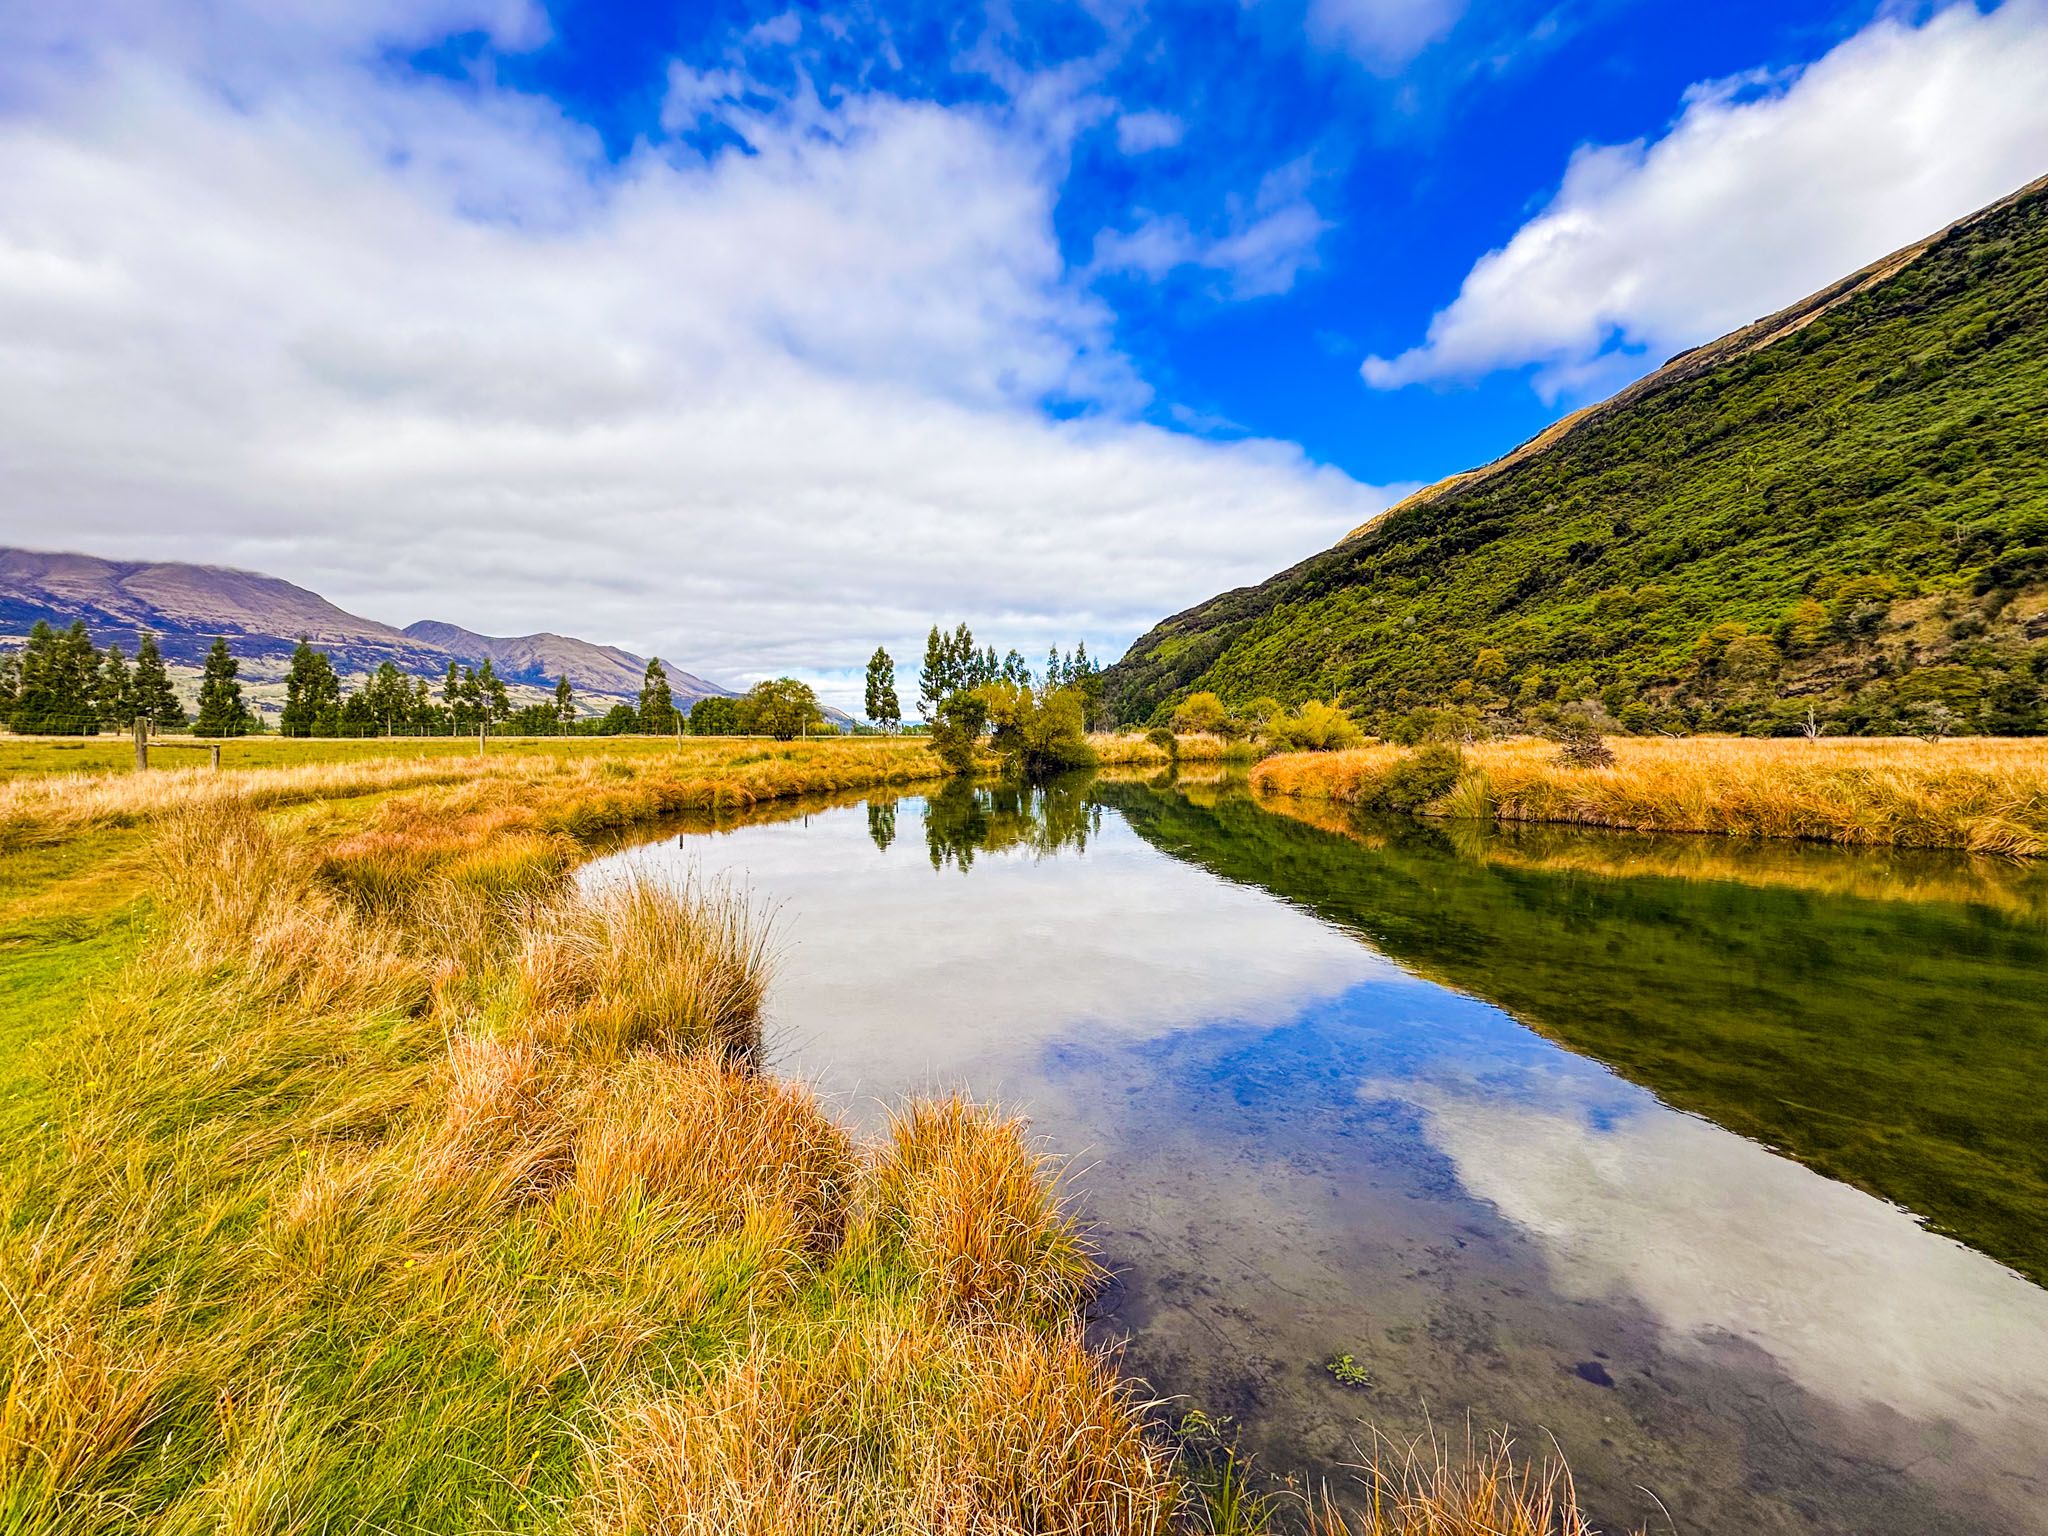
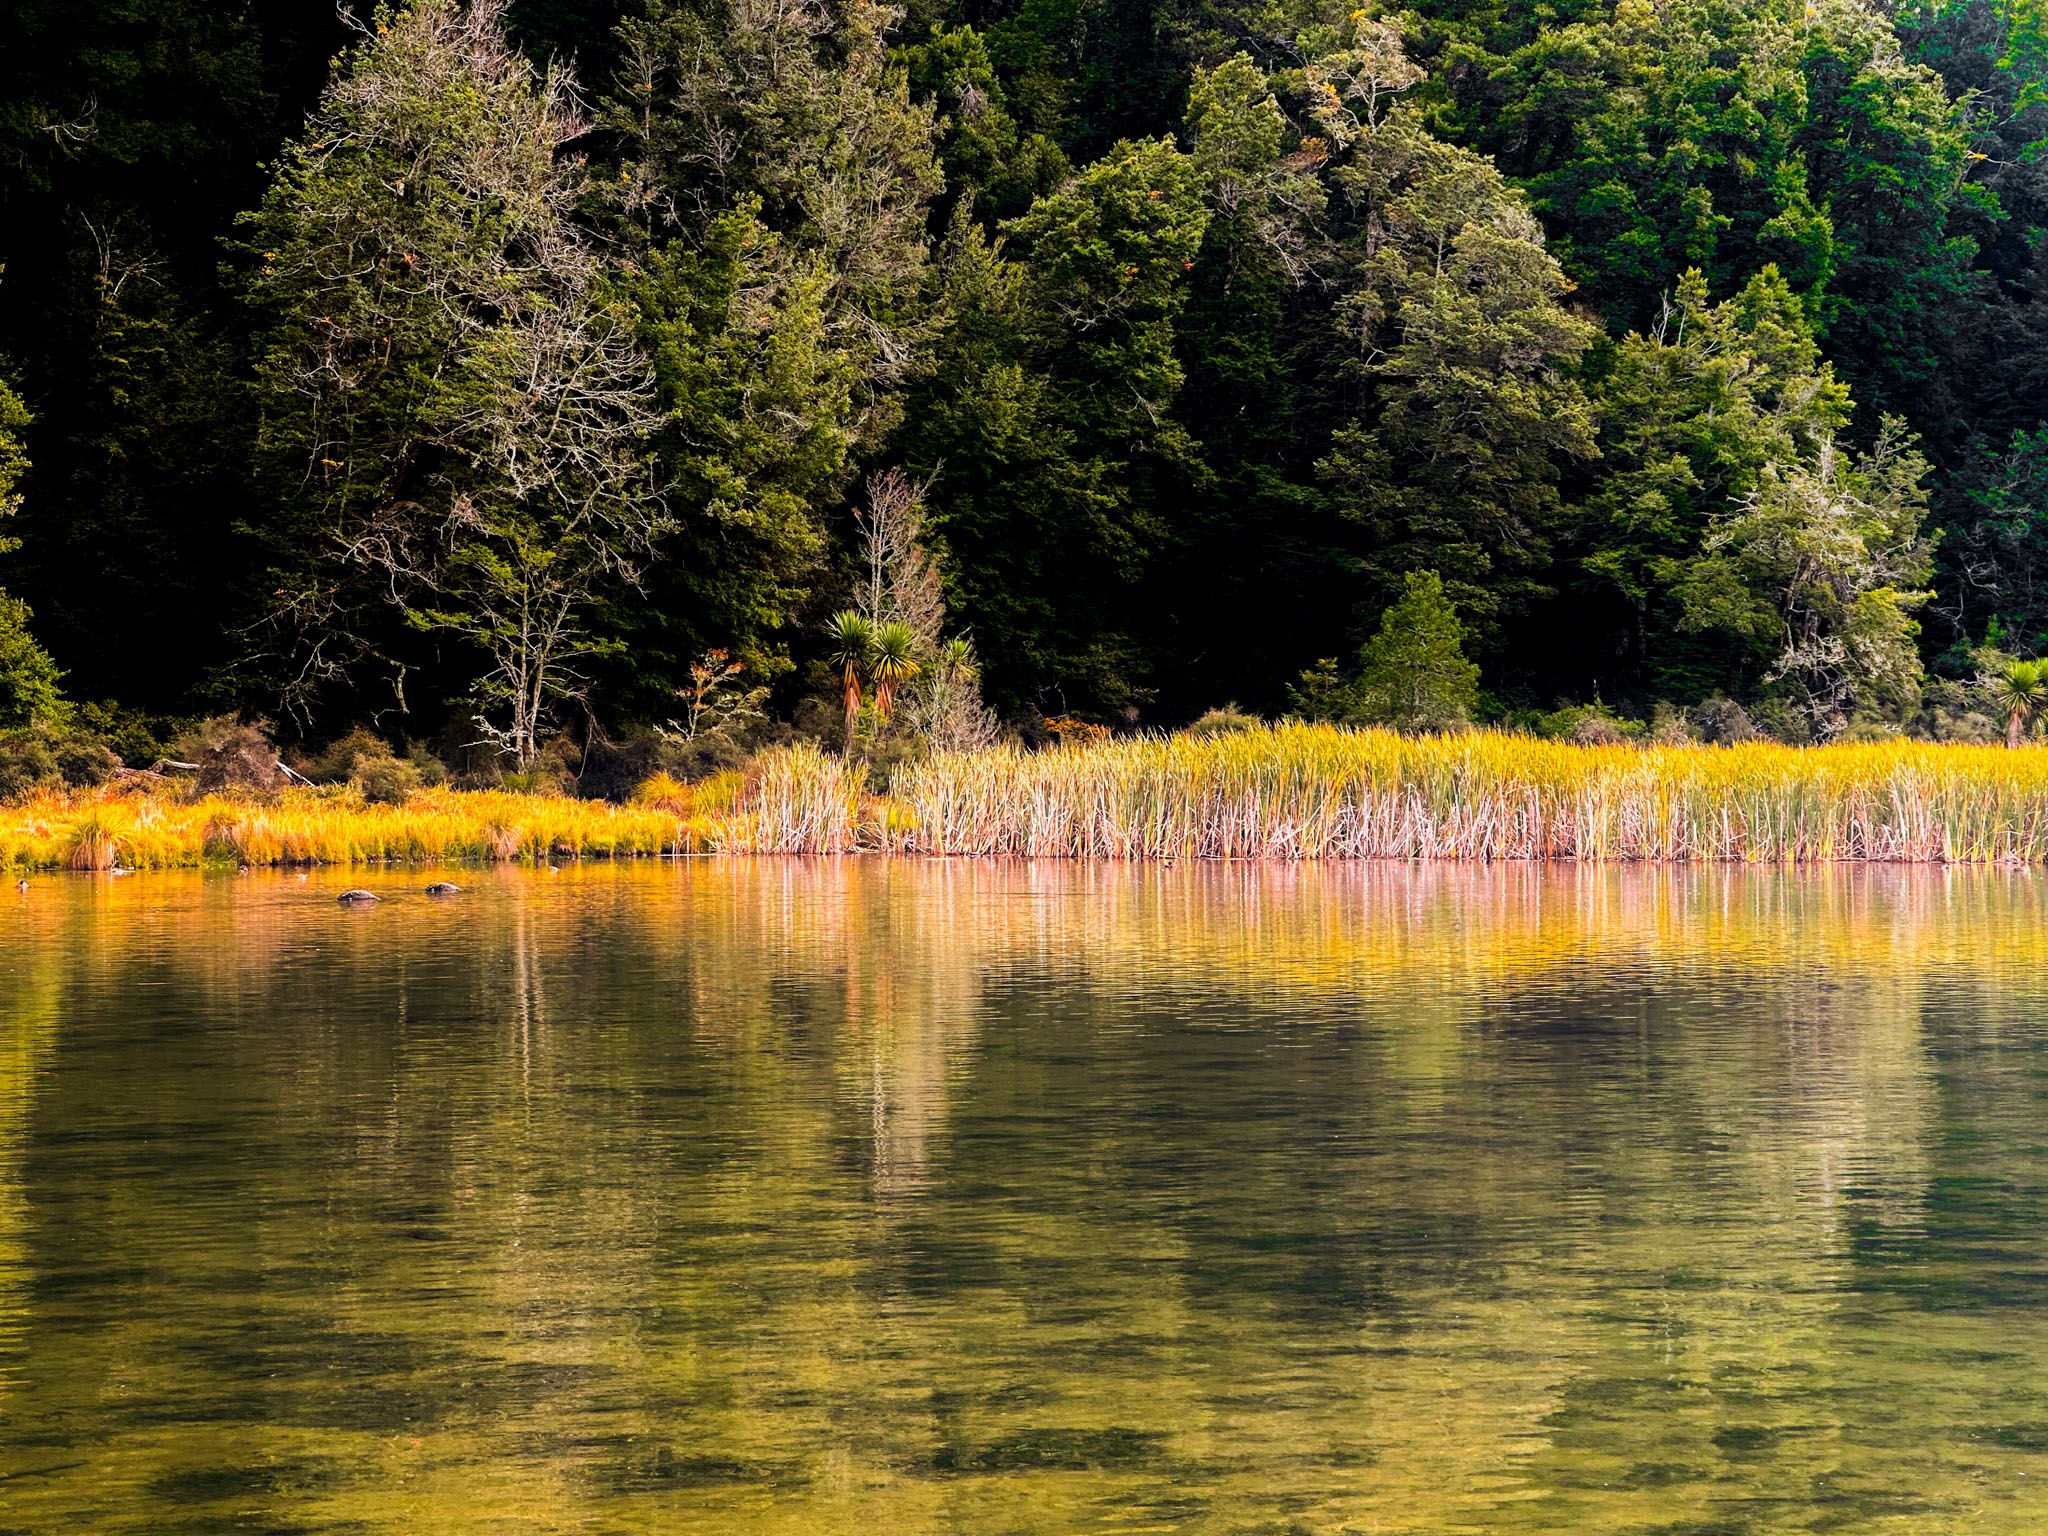
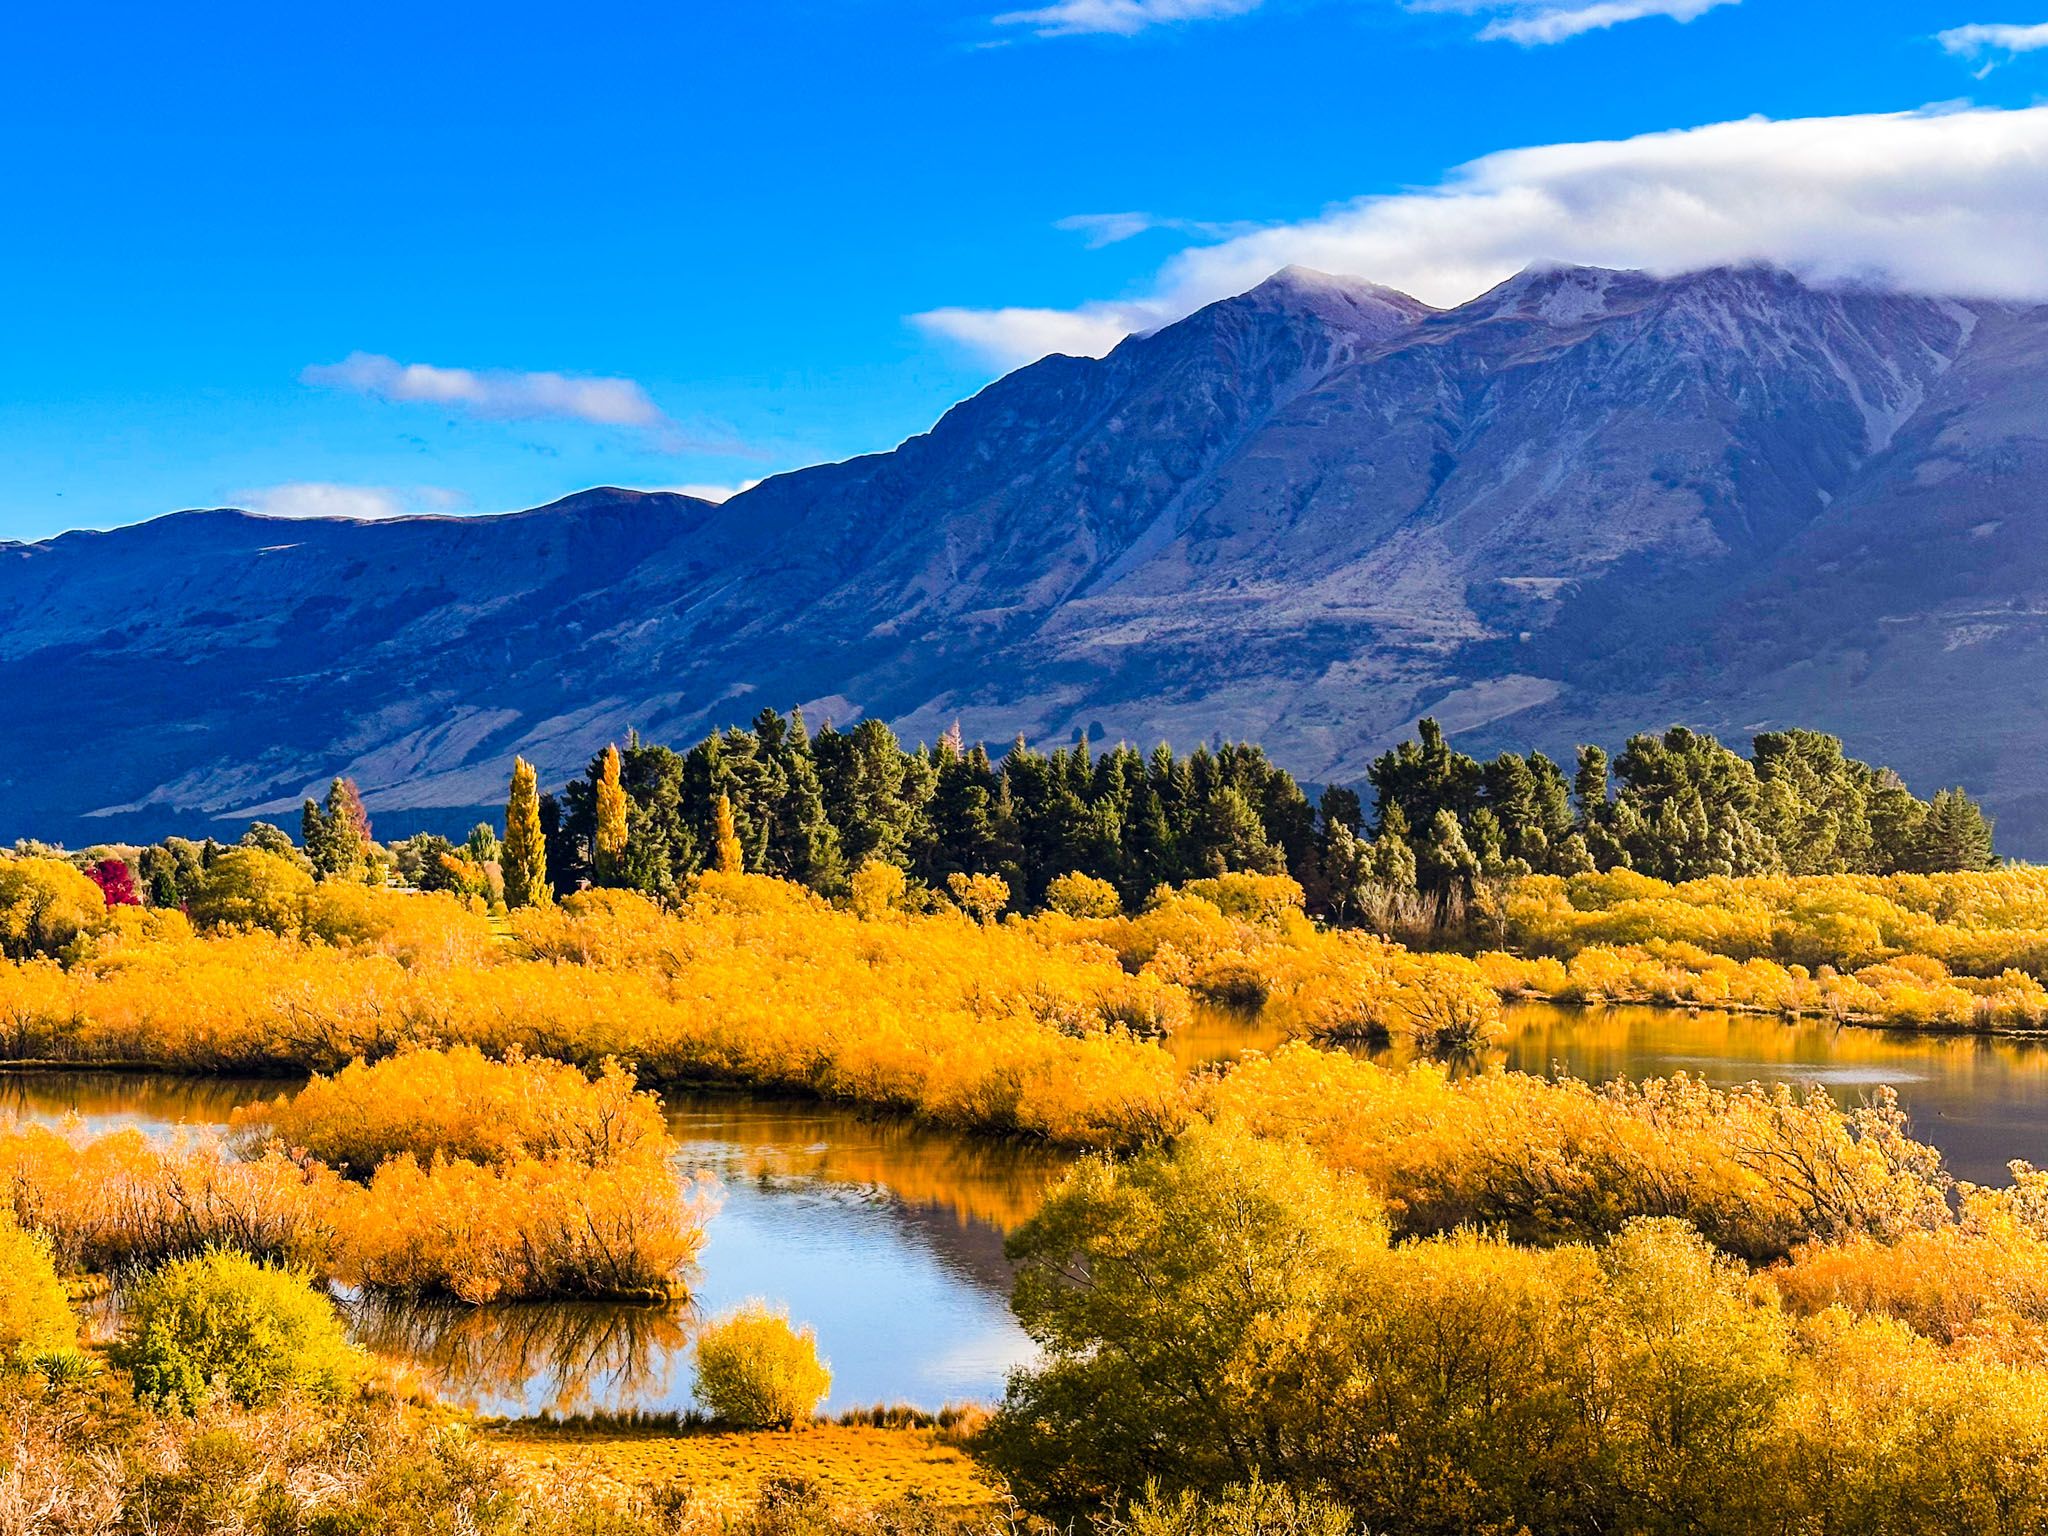
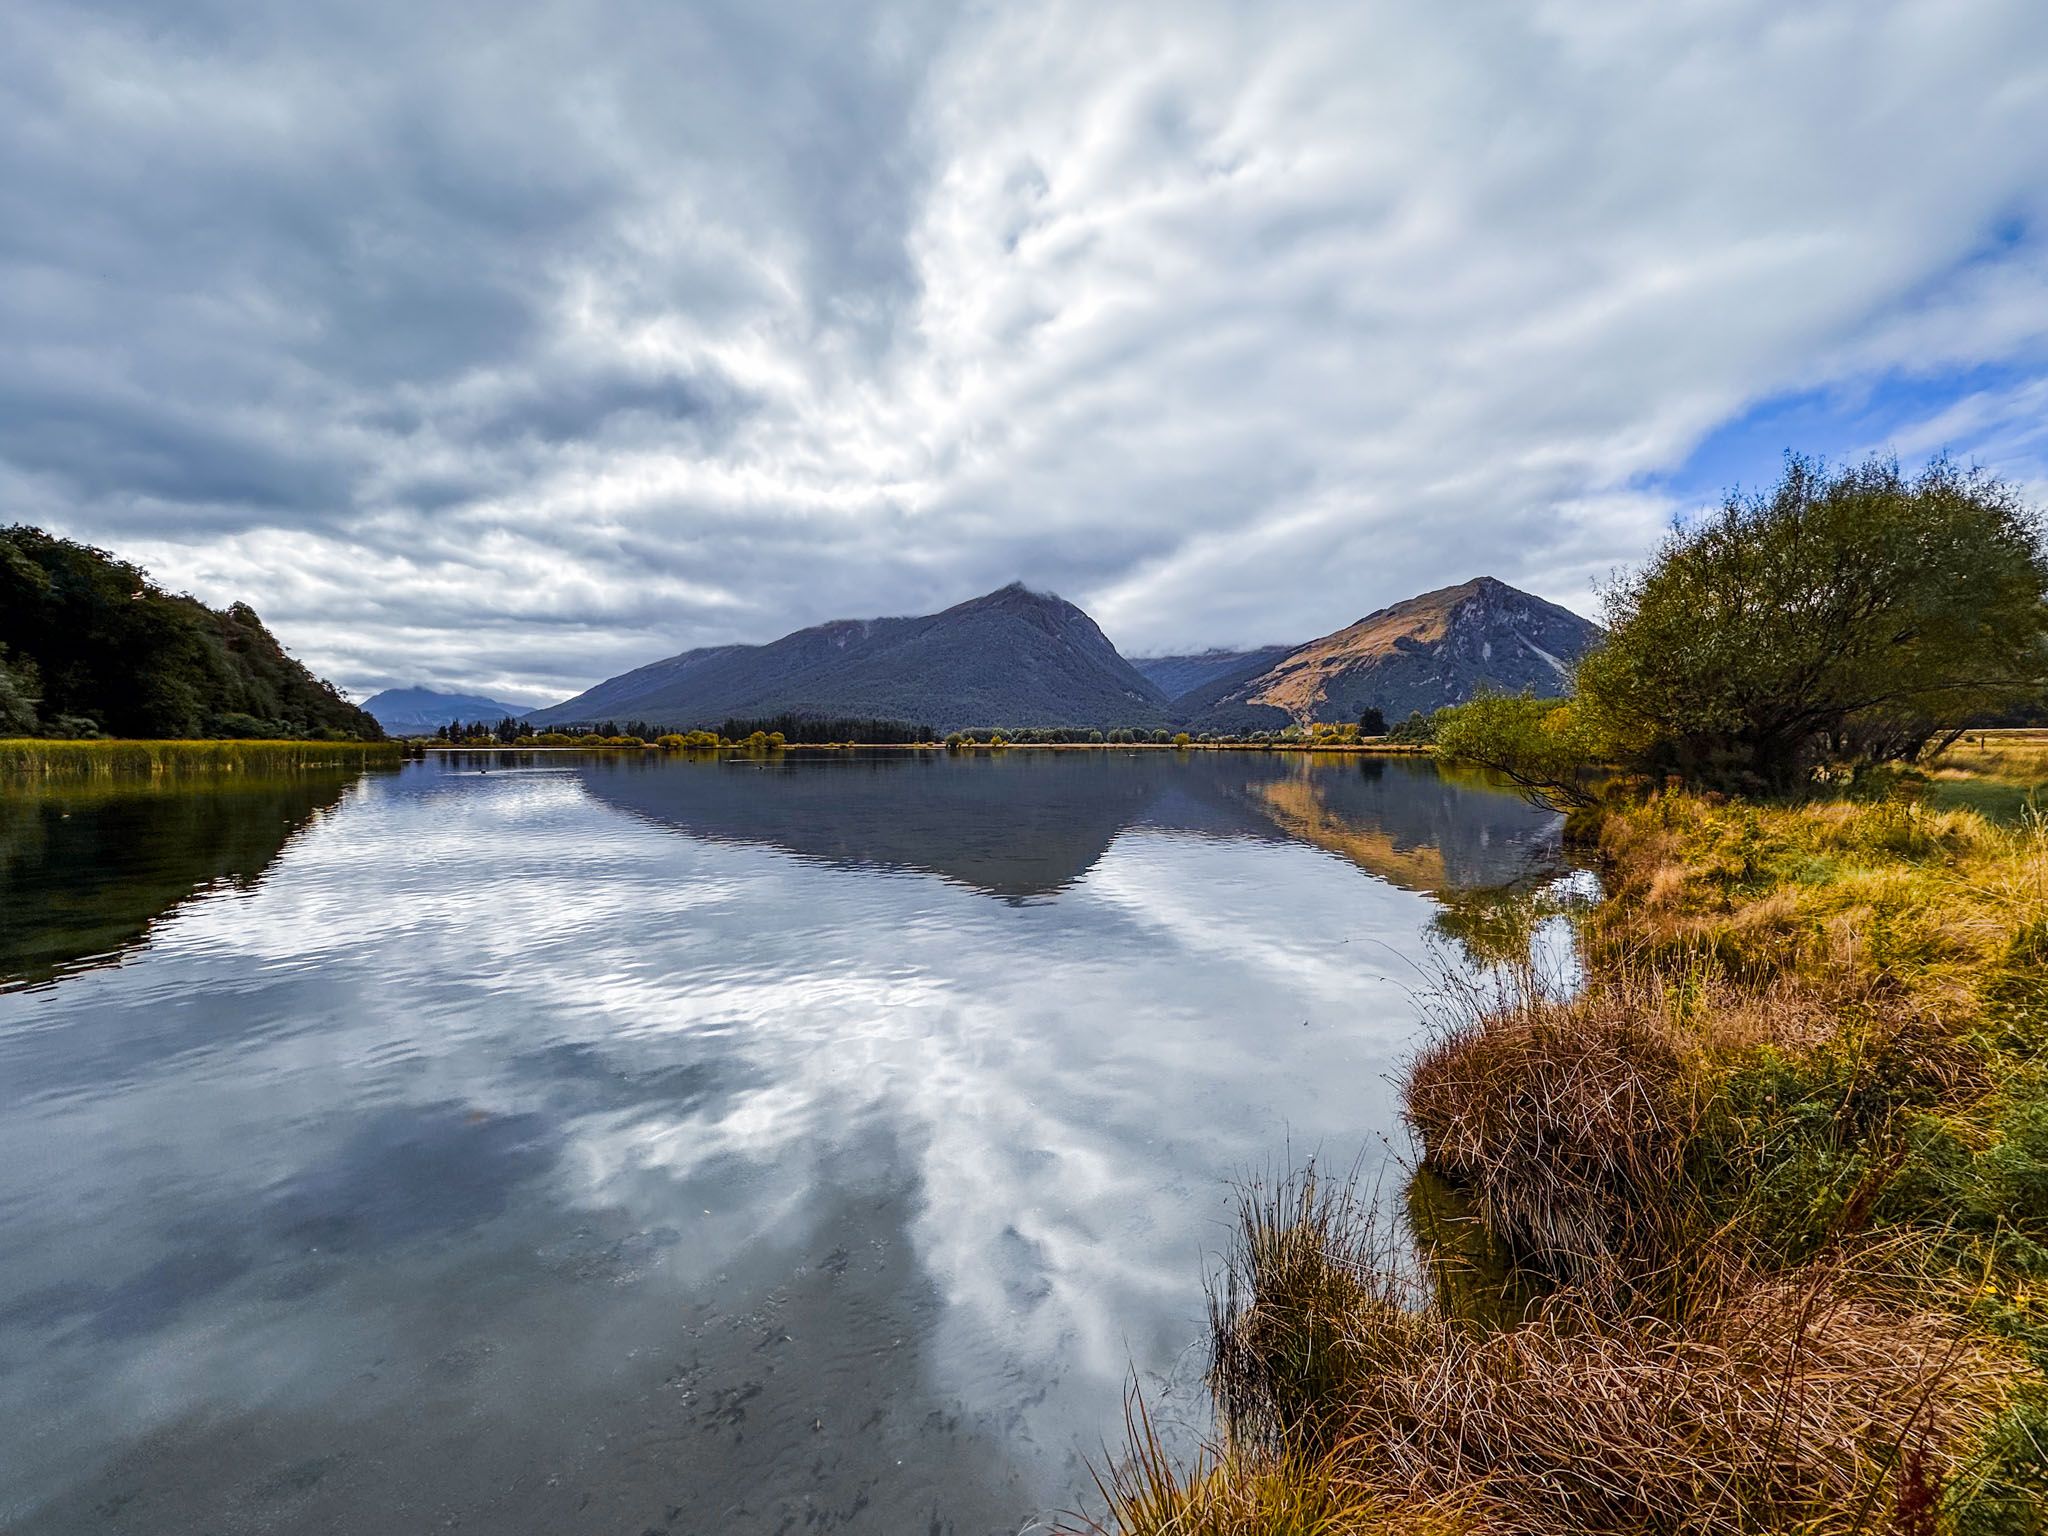
As you walk, you'll enjoy numerous close-up views of the stream. Midway through the walk, the landscape transitions to native beech forest and tree ferns on Mount Alfred's slopes. The final section of the creek is calmer, with stunning reflections of the surrounding mountains.
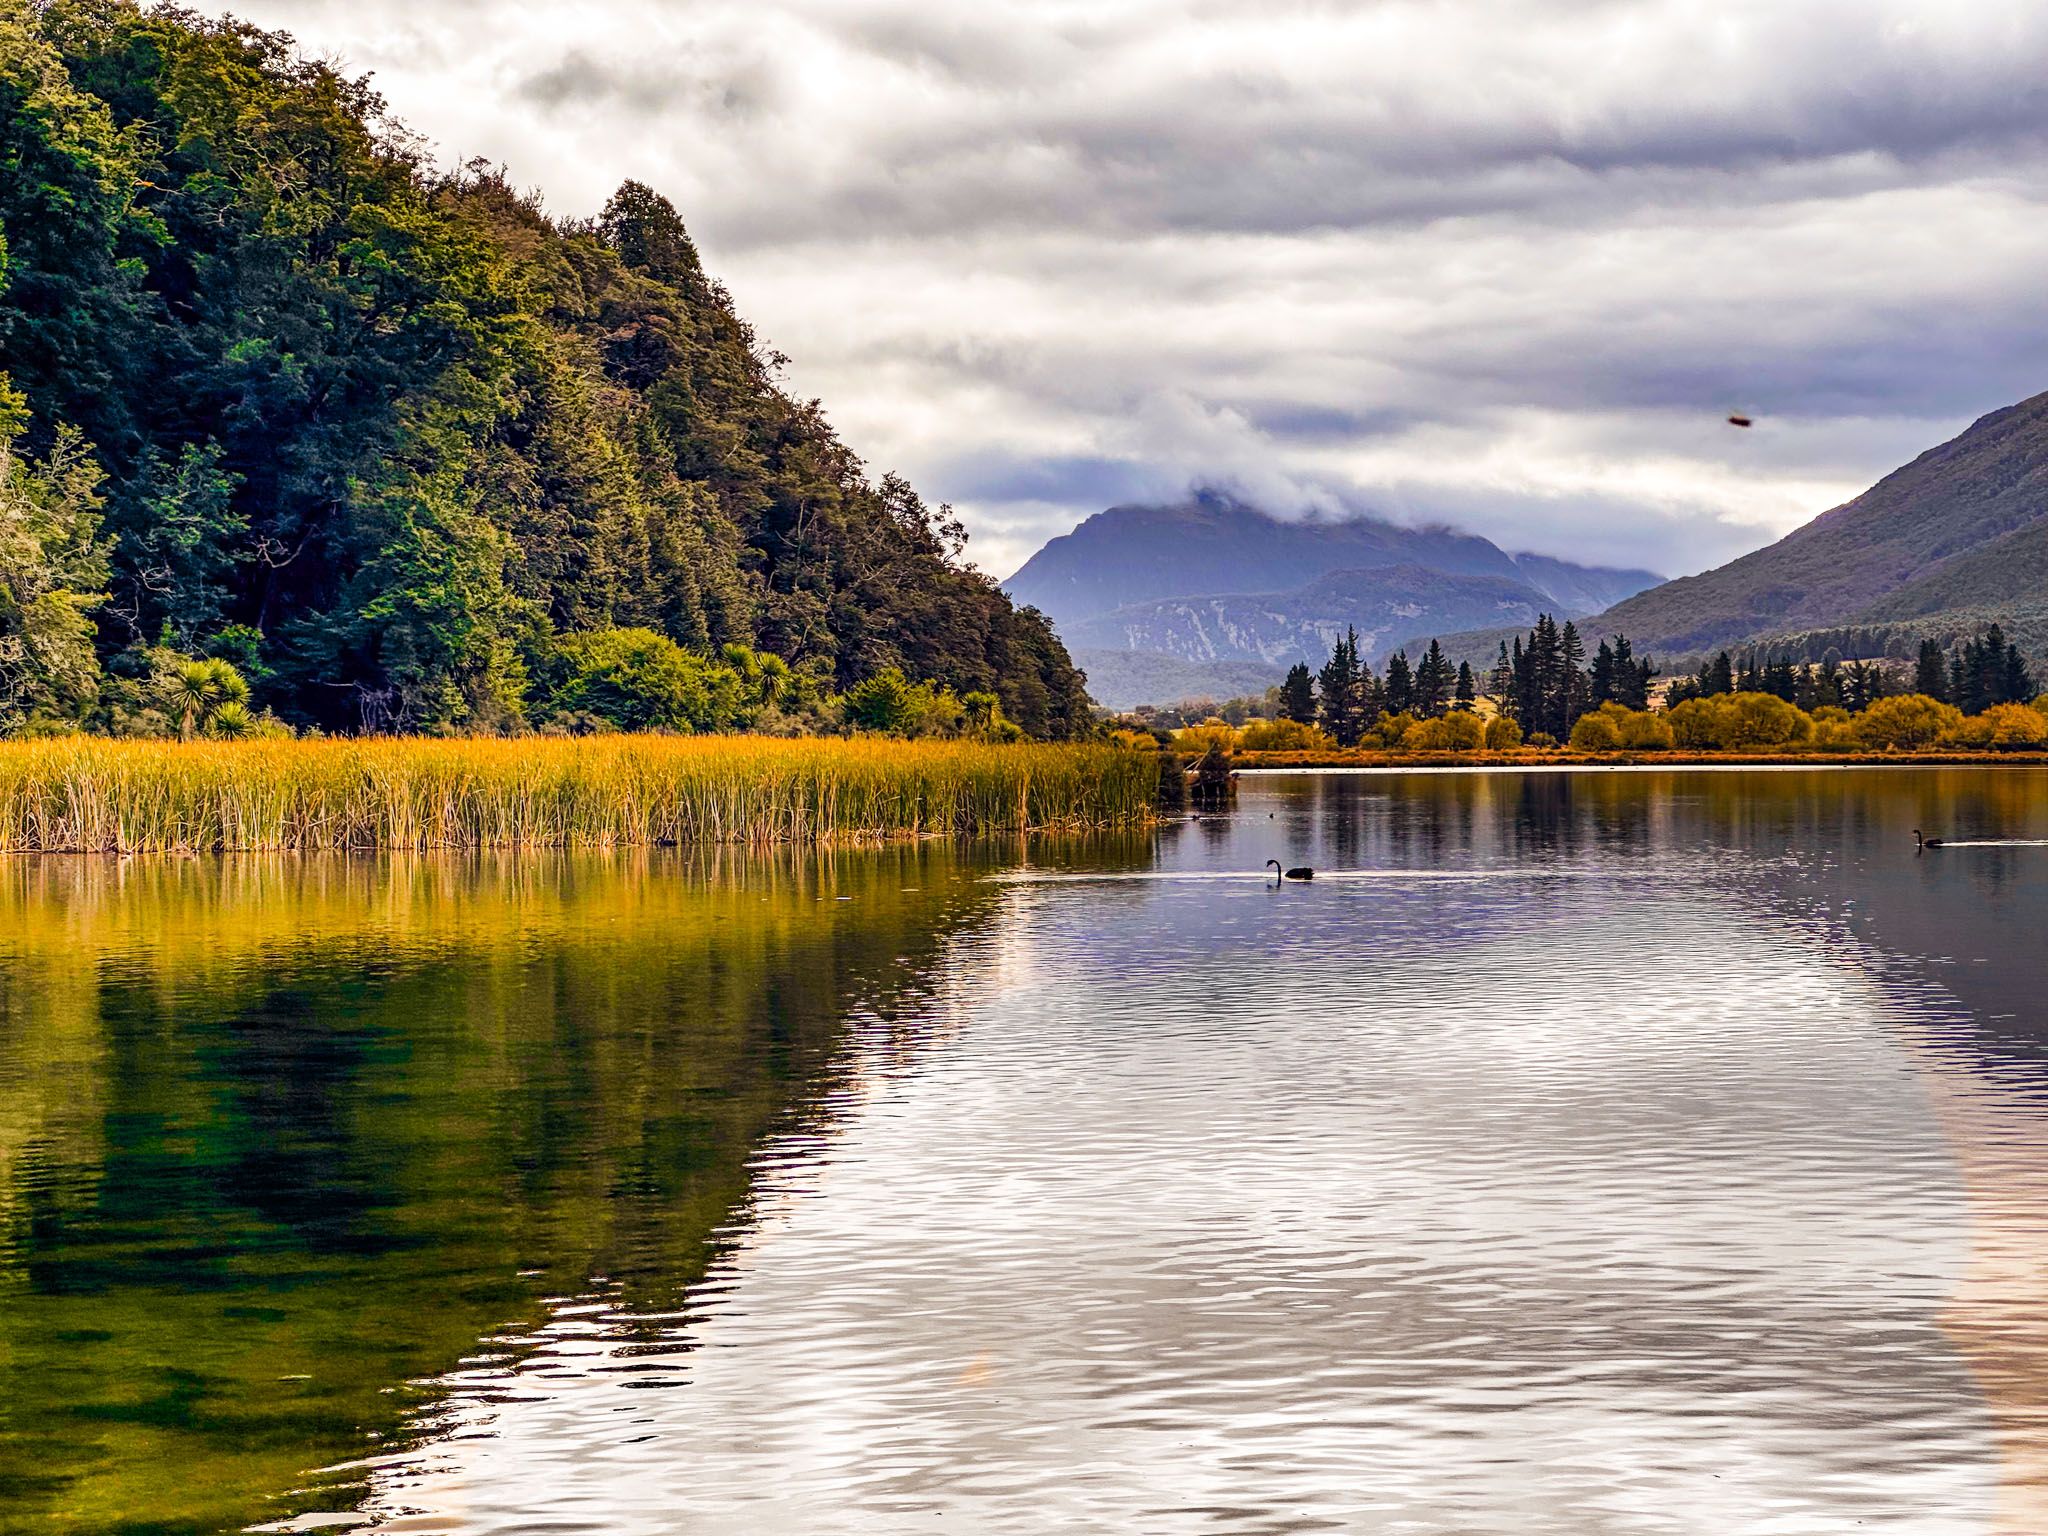
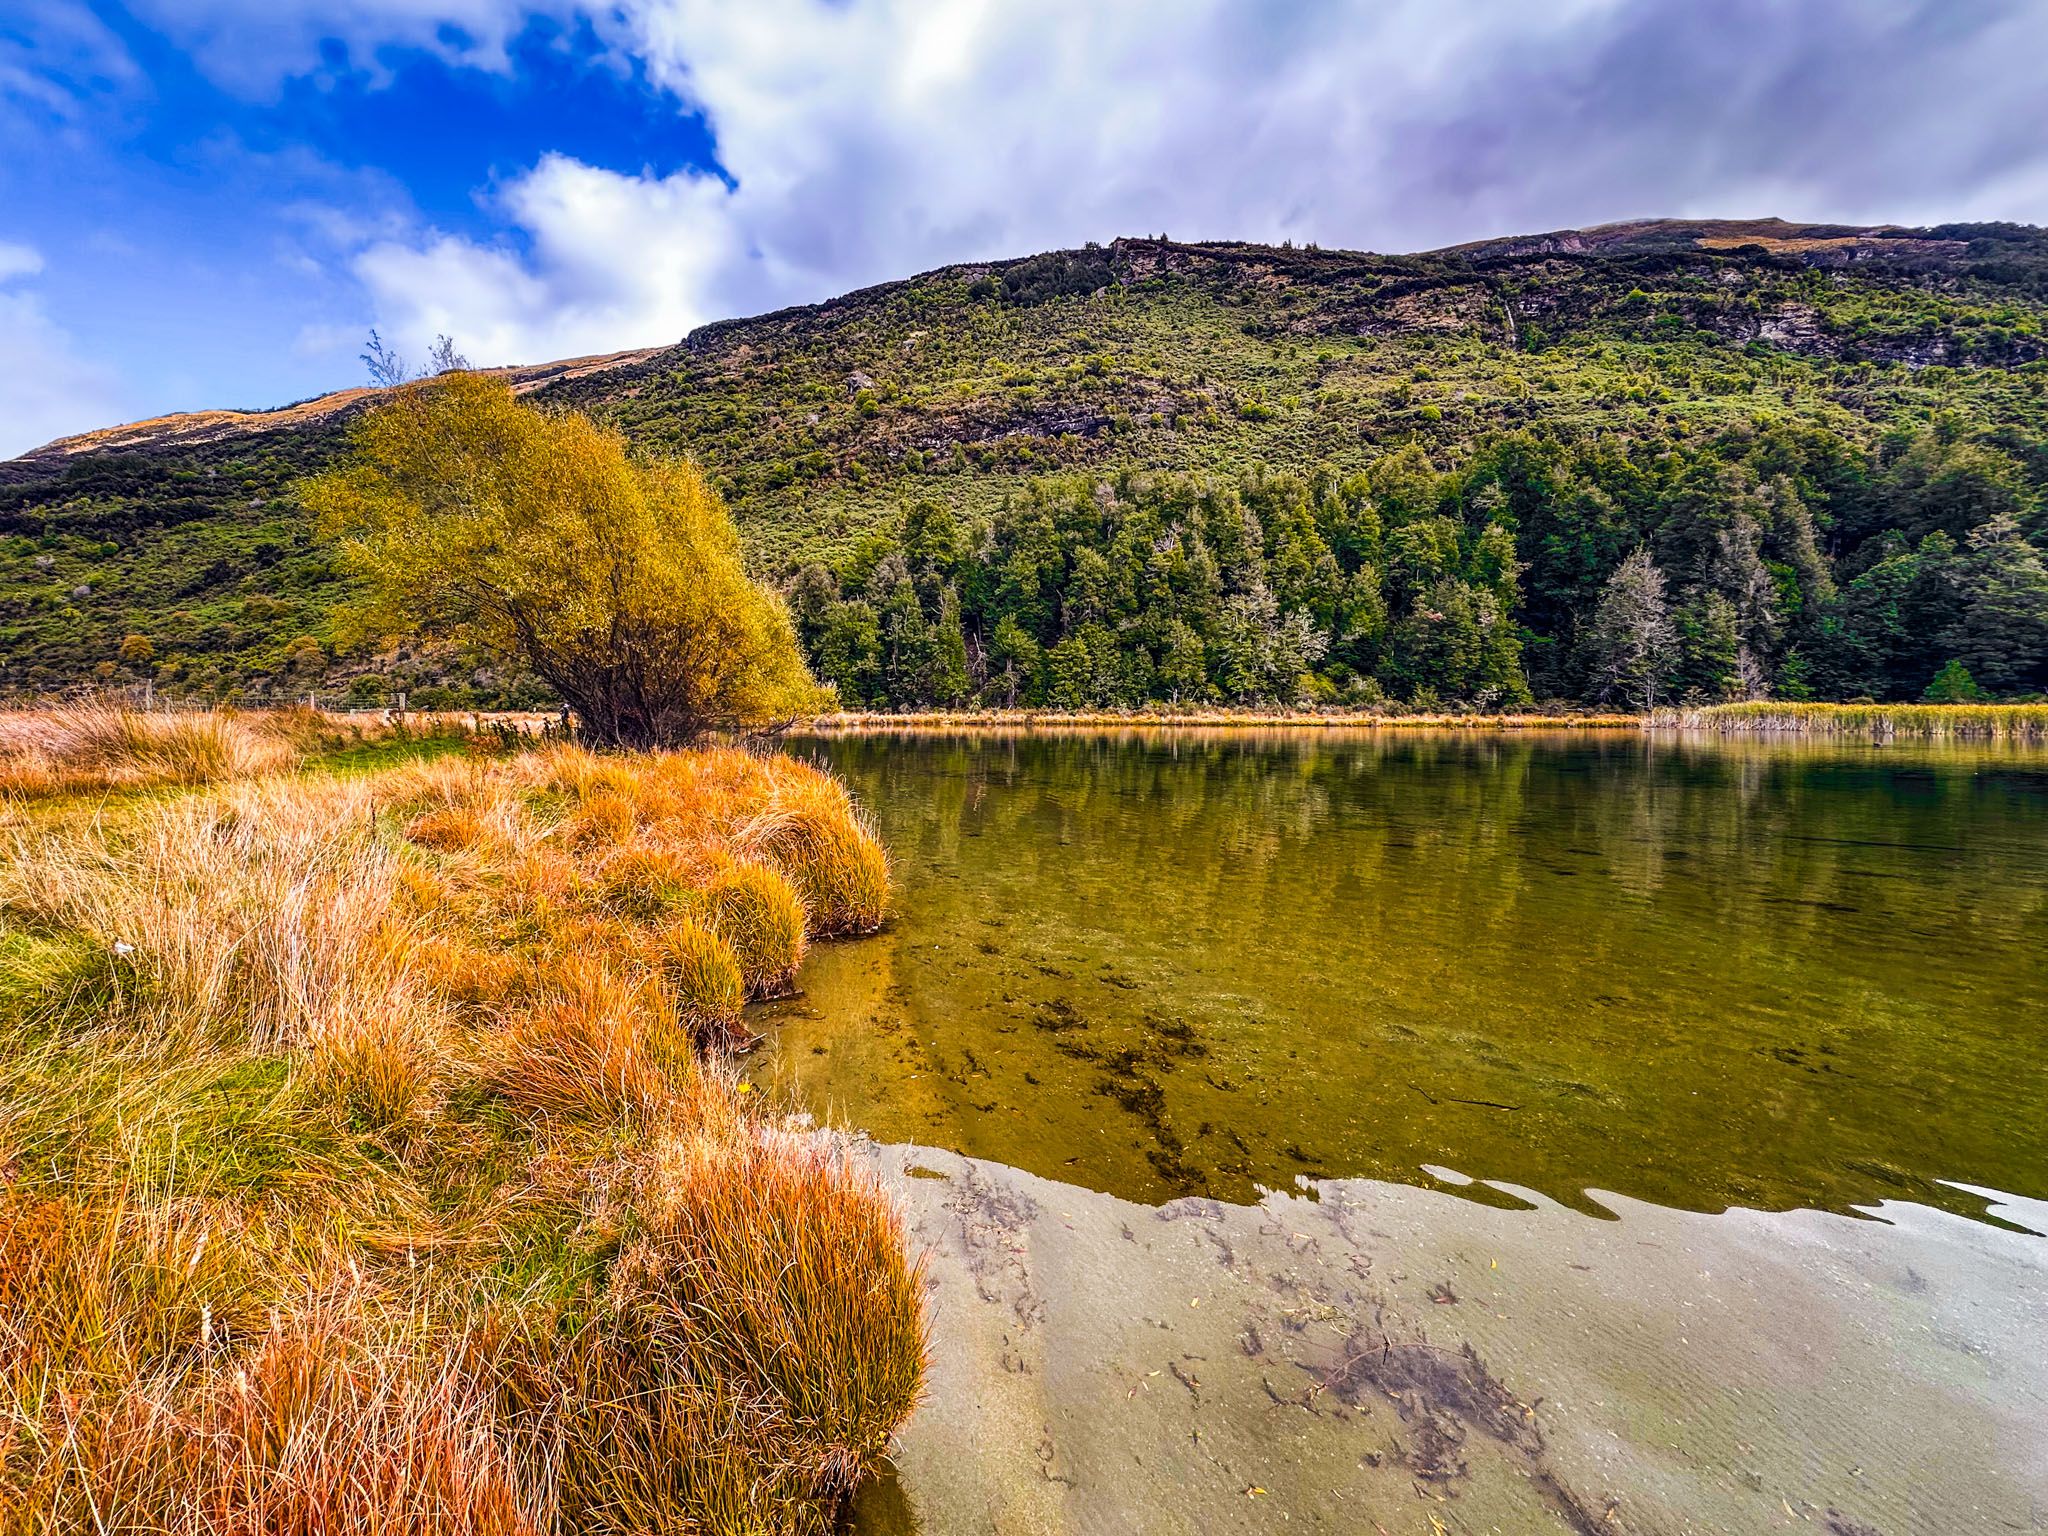
Fishing and Picnicking at Lake Reid
Both Diamond Creek and Lake Reid are popular trout-fishing spots, with Chinook salmon present in April and May. At Lake Reid, there is ample space for a picnic or to hone your fly fishing skills. The lake is shallow, inviting you to wade in, but be cautious of the mud.
How to Get There
Diamond Creek Walk is just a 15-minute drive from Glenorchy. To reach the track, take Glenorchy Paradise Road across the Rees Bridge, then turn onto Priory Road, staying on the sealed road. The car park and track access are located 700 metres along Priory Road.
Other places to visit include Paradise and the Dart Valley in Mt Aspiring National Park, a day walk on the Routeburn Track to Routeburn Falls, the drive to Kinloch, and the Kinloch Nature Trail. For a full-day outing, try the Rere Lake Walk.